
Blast freezing
Compare tray capacity, cabinet size and electrical requirements across four blast freezer series.
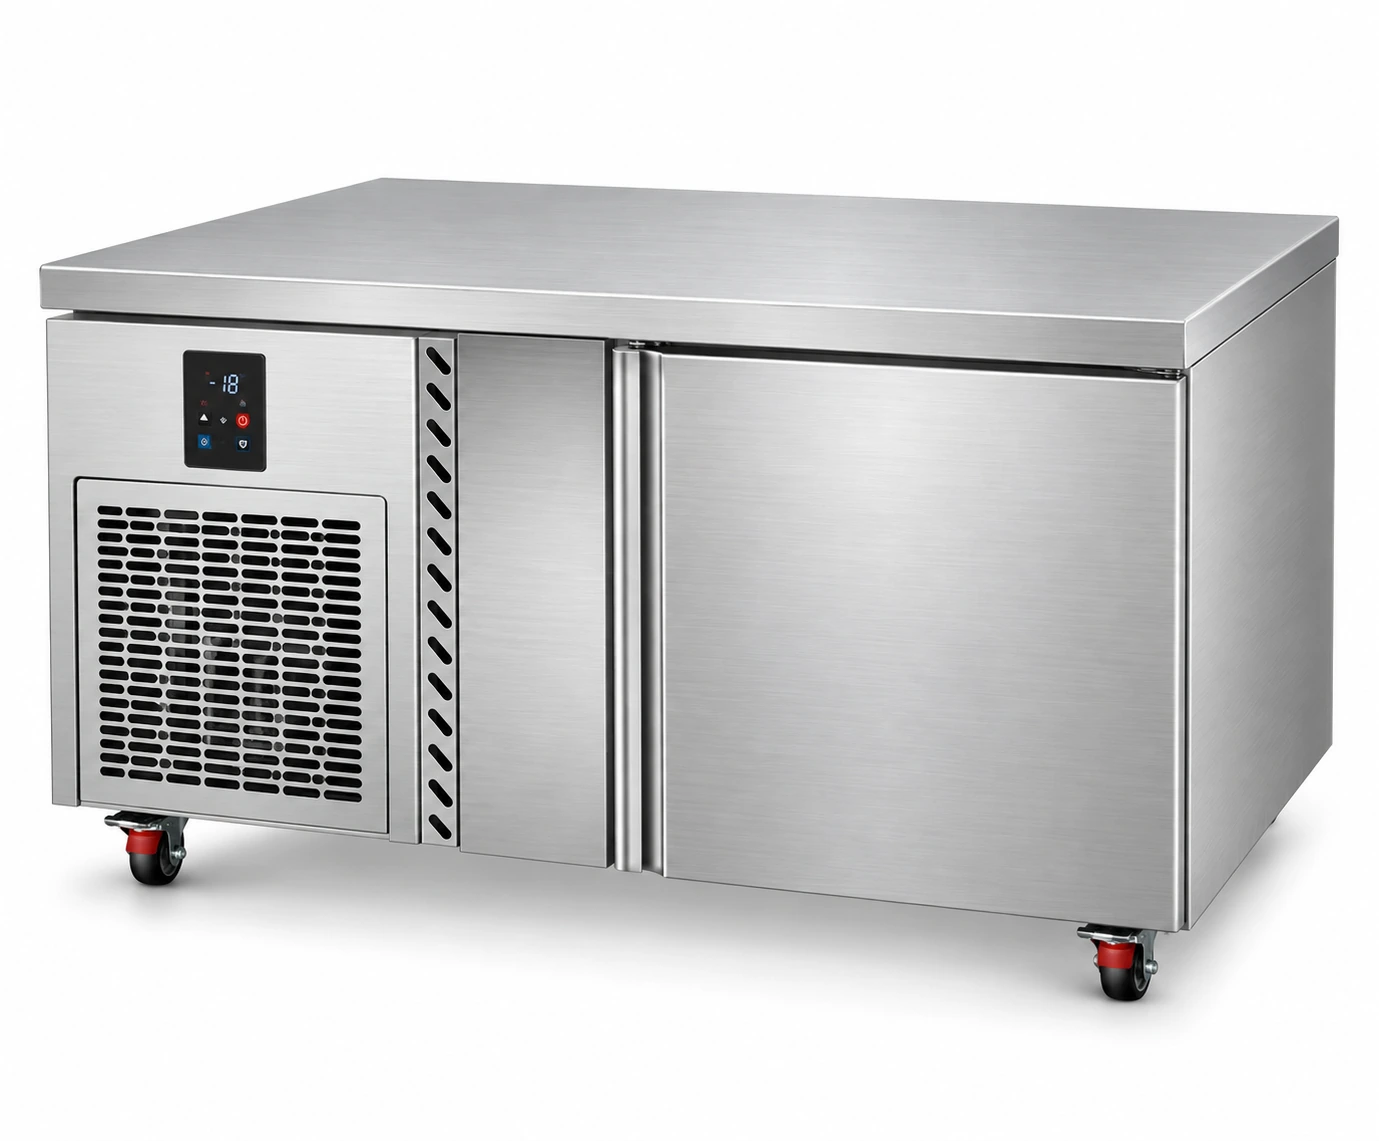
5-Tray Worktop Blast Freezer · −45°C
A 5-tray worktop blast freezer with 150 L cabinet volume and forced-air cooling. Compare its footprint, electrical requirements and loading format to your workflow.
Range reference image7-Tray Worktop Blast Freezer · −45°C
A 7-tray worktop blast freezer with 150 L cabinet volume and forced-air cooling. Compare its footprint, electrical requirements and loading format to your workflow.
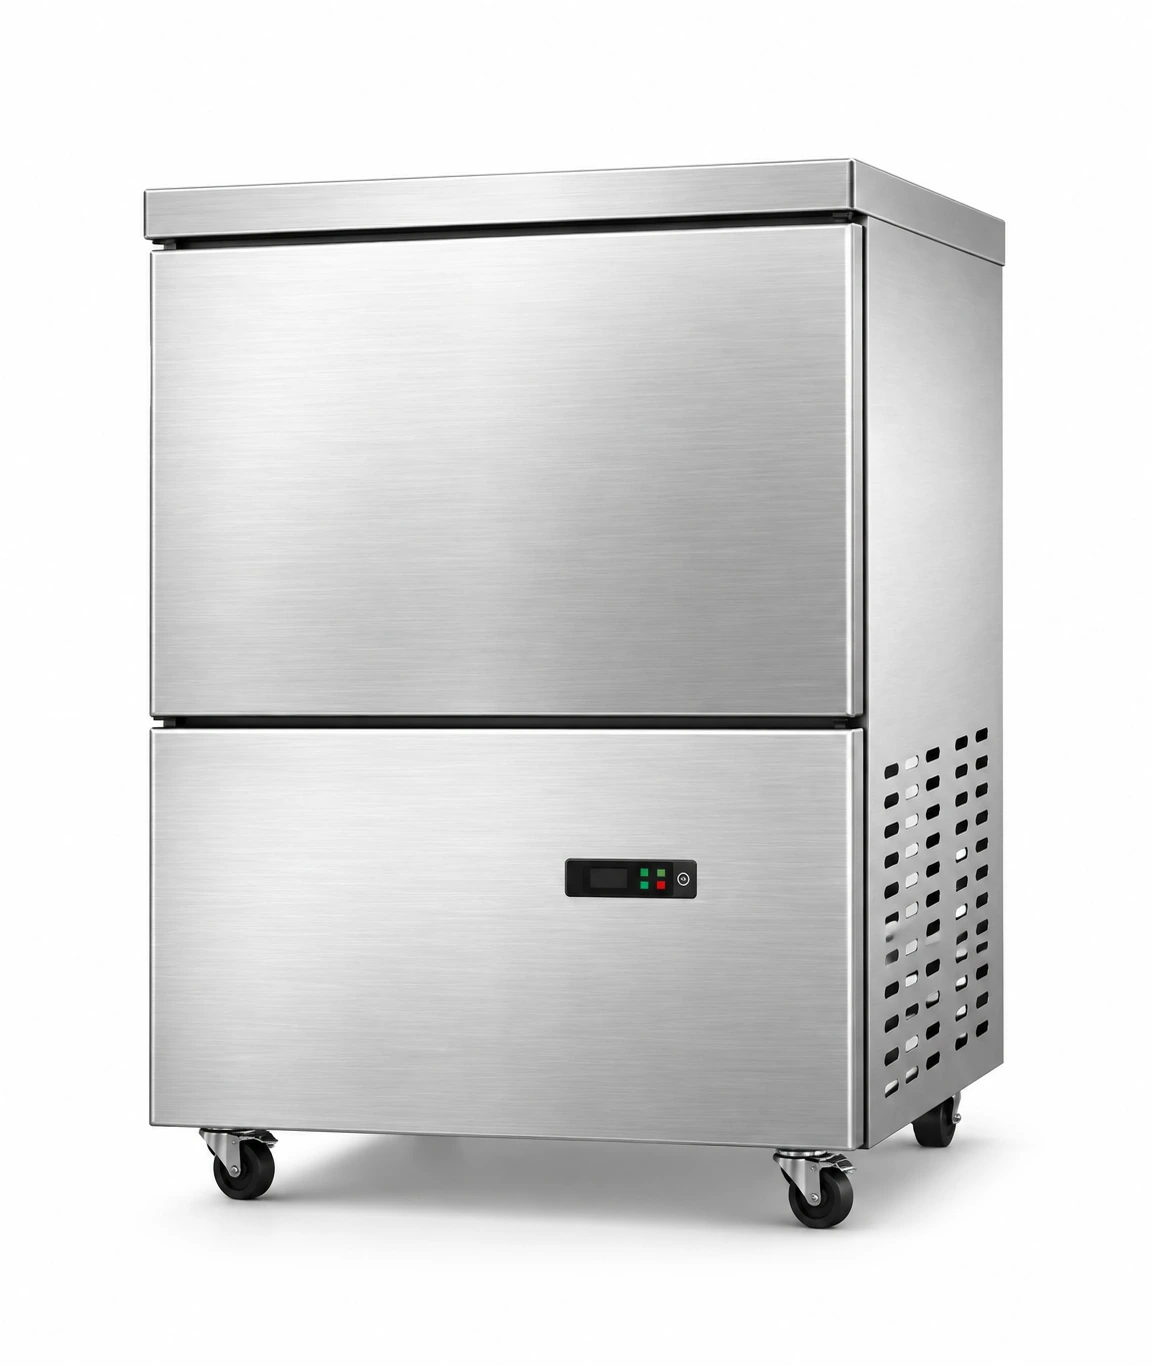
3-Tray Rack Blast Freezer · −45°C
A 3-tray tray rack blast freezer with 90 L cabinet volume and forced-air cooling. Compare its footprint, electrical requirements and loading format to your workflow.
 Range reference image
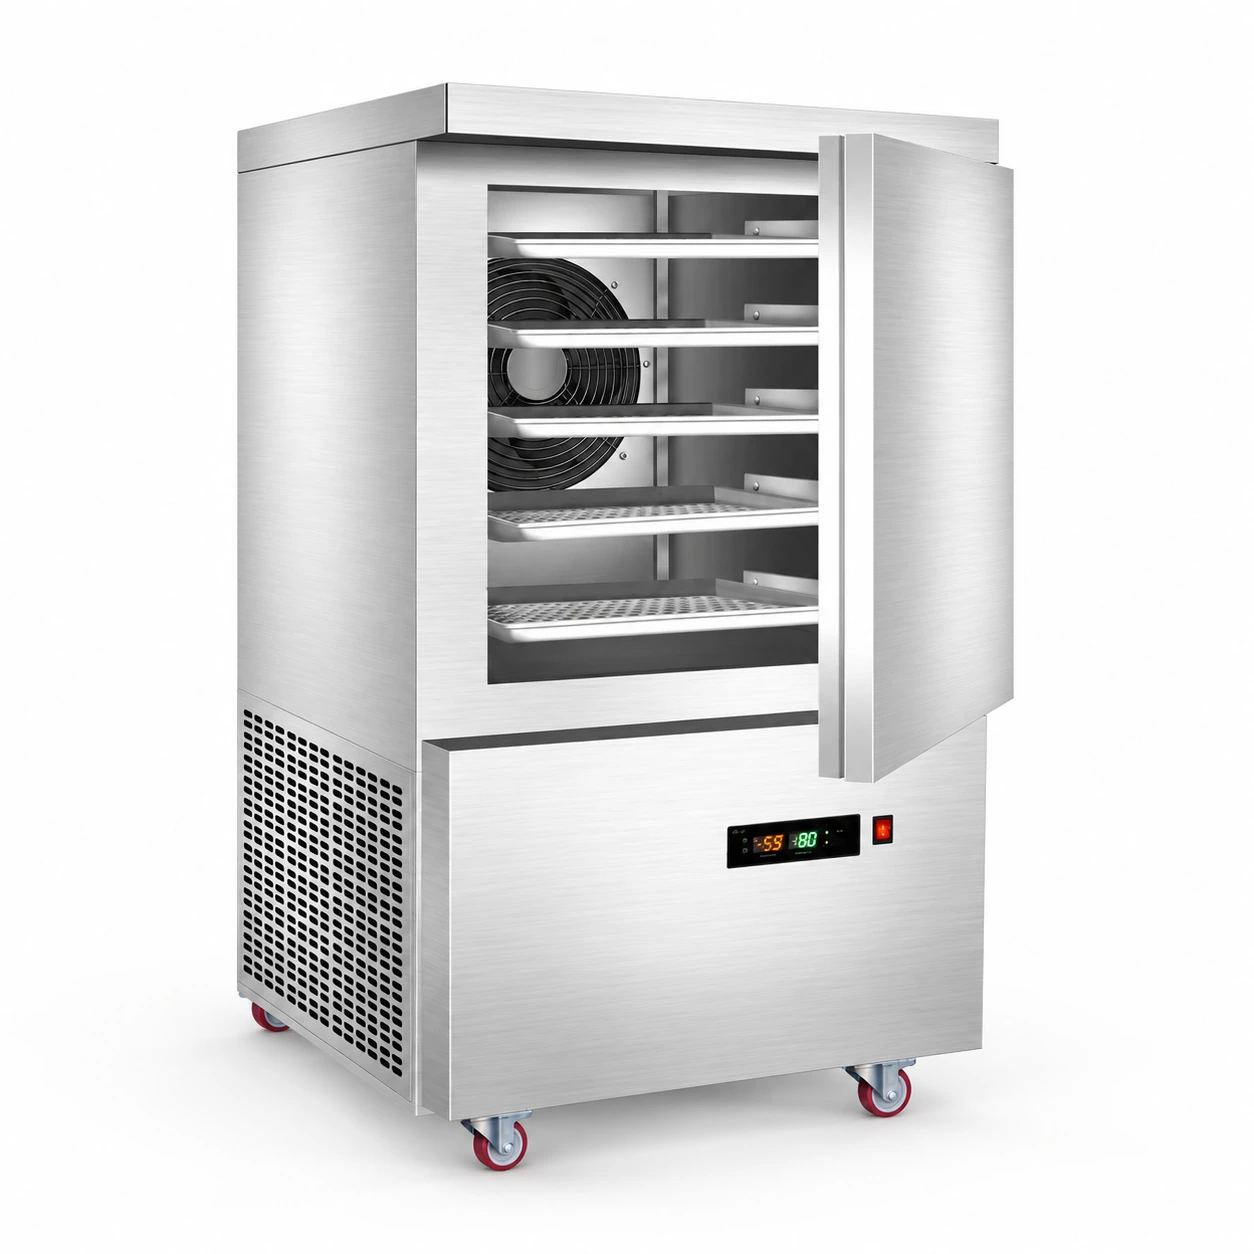
5-Tray Rack Blast Freezer · −45°C
A 5-tray tray rack blast freezer with 130 L cabinet volume and forced-air cooling. Compare its footprint, electrical requirements and loading format to your workflow.
 Range reference image
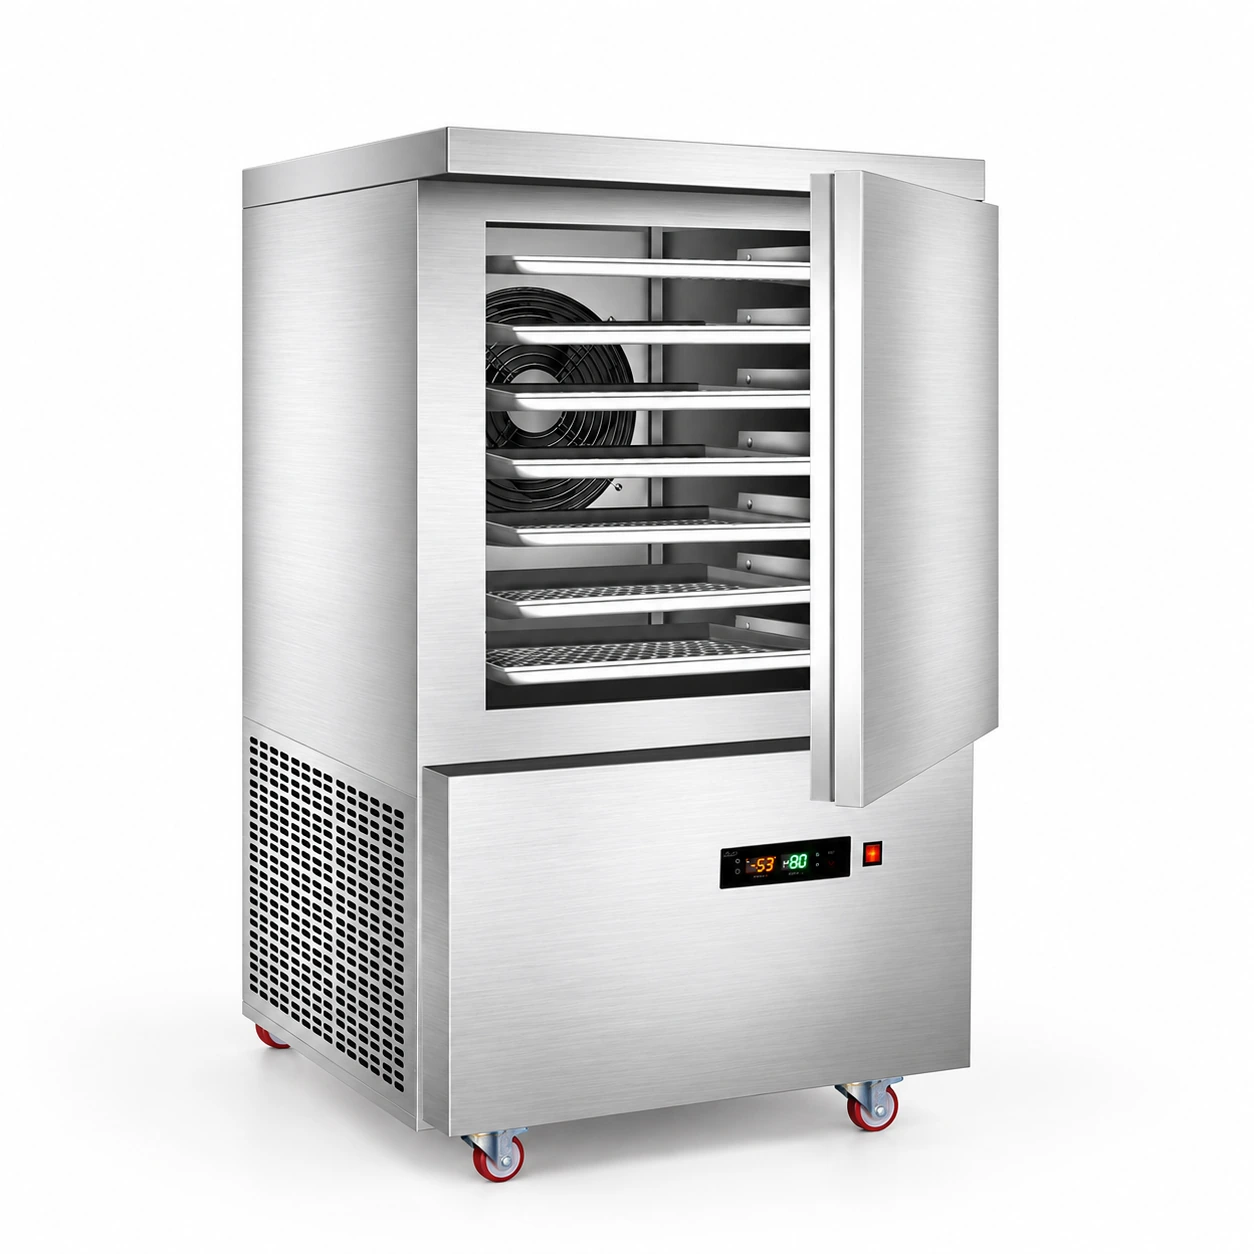
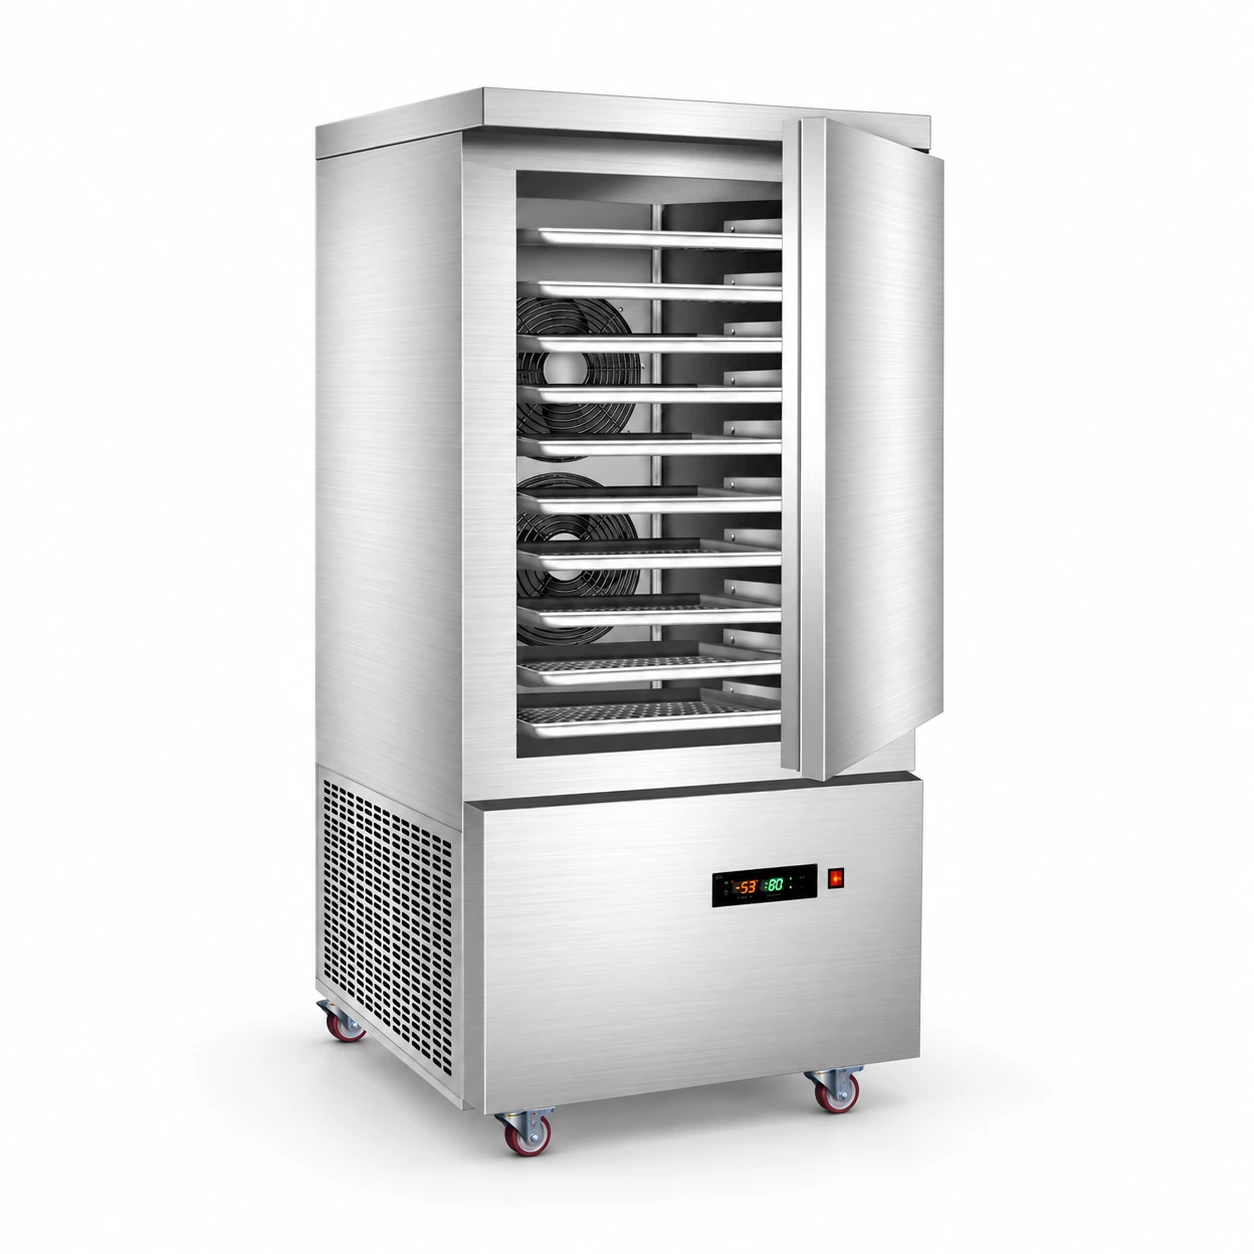
7-Tray Rack Blast Freezer · −45°C
A 7-tray tray rack blast freezer with 180 L cabinet volume and forced-air cooling. Compare its footprint, electrical requirements and loading format to your workflow.
 Range reference image
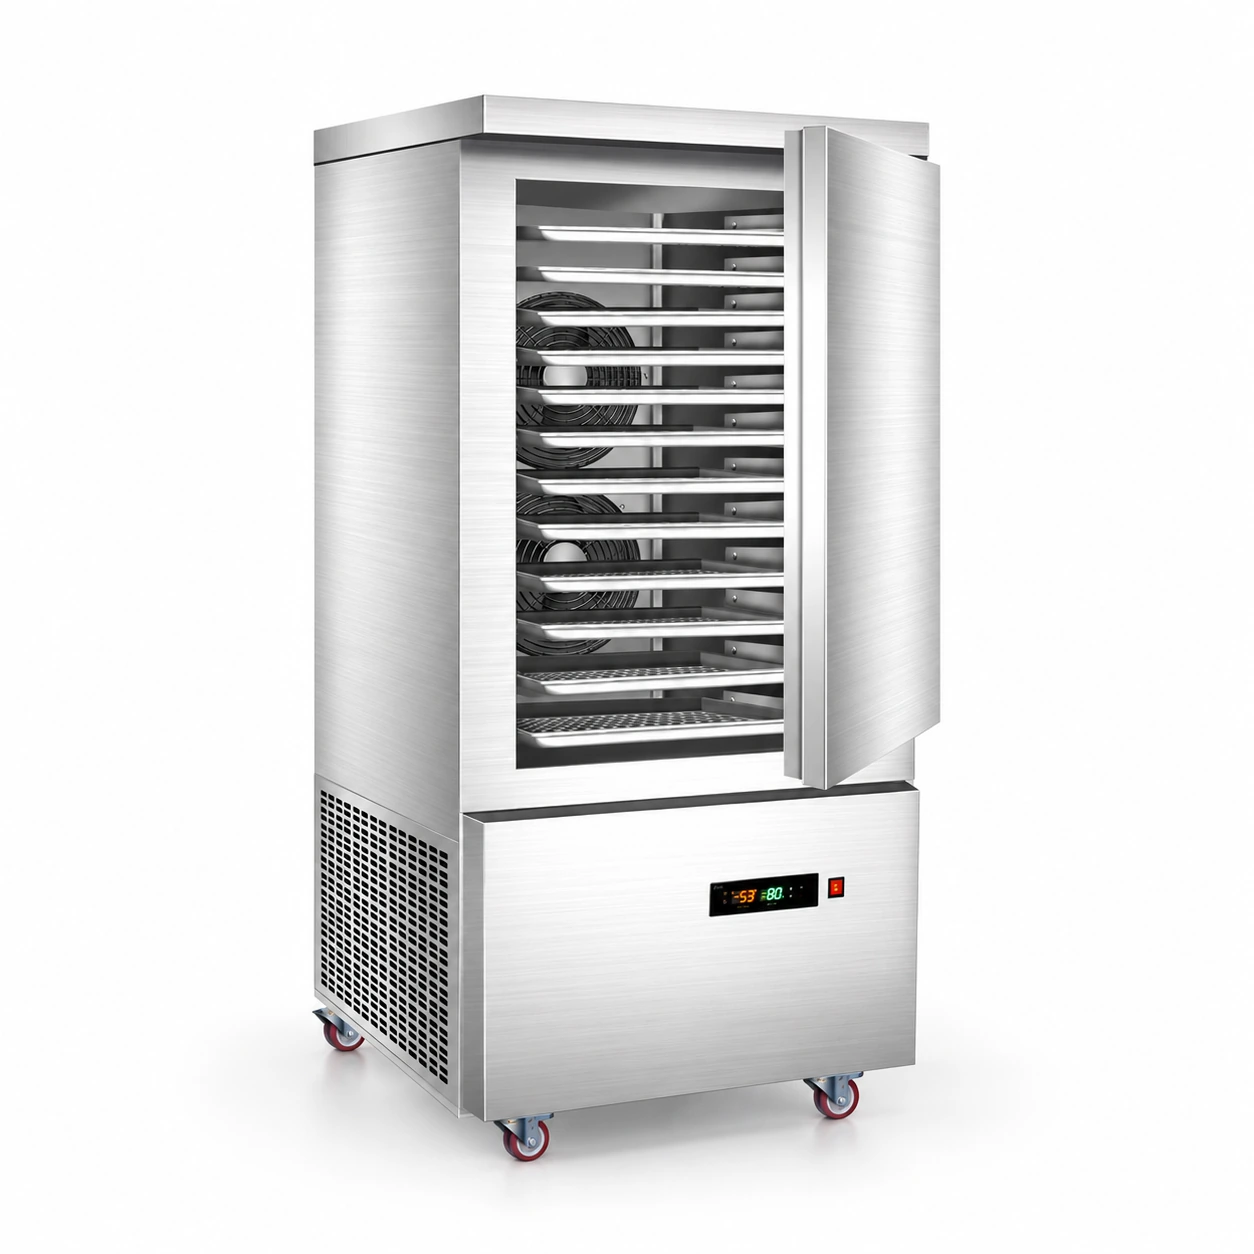
10-Tray Rack Blast Freezer · −45°C
A 10-tray tray rack blast freezer with 230 L cabinet volume and forced-air cooling. Compare its footprint, electrical requirements and loading format to your workflow.
 Range reference image
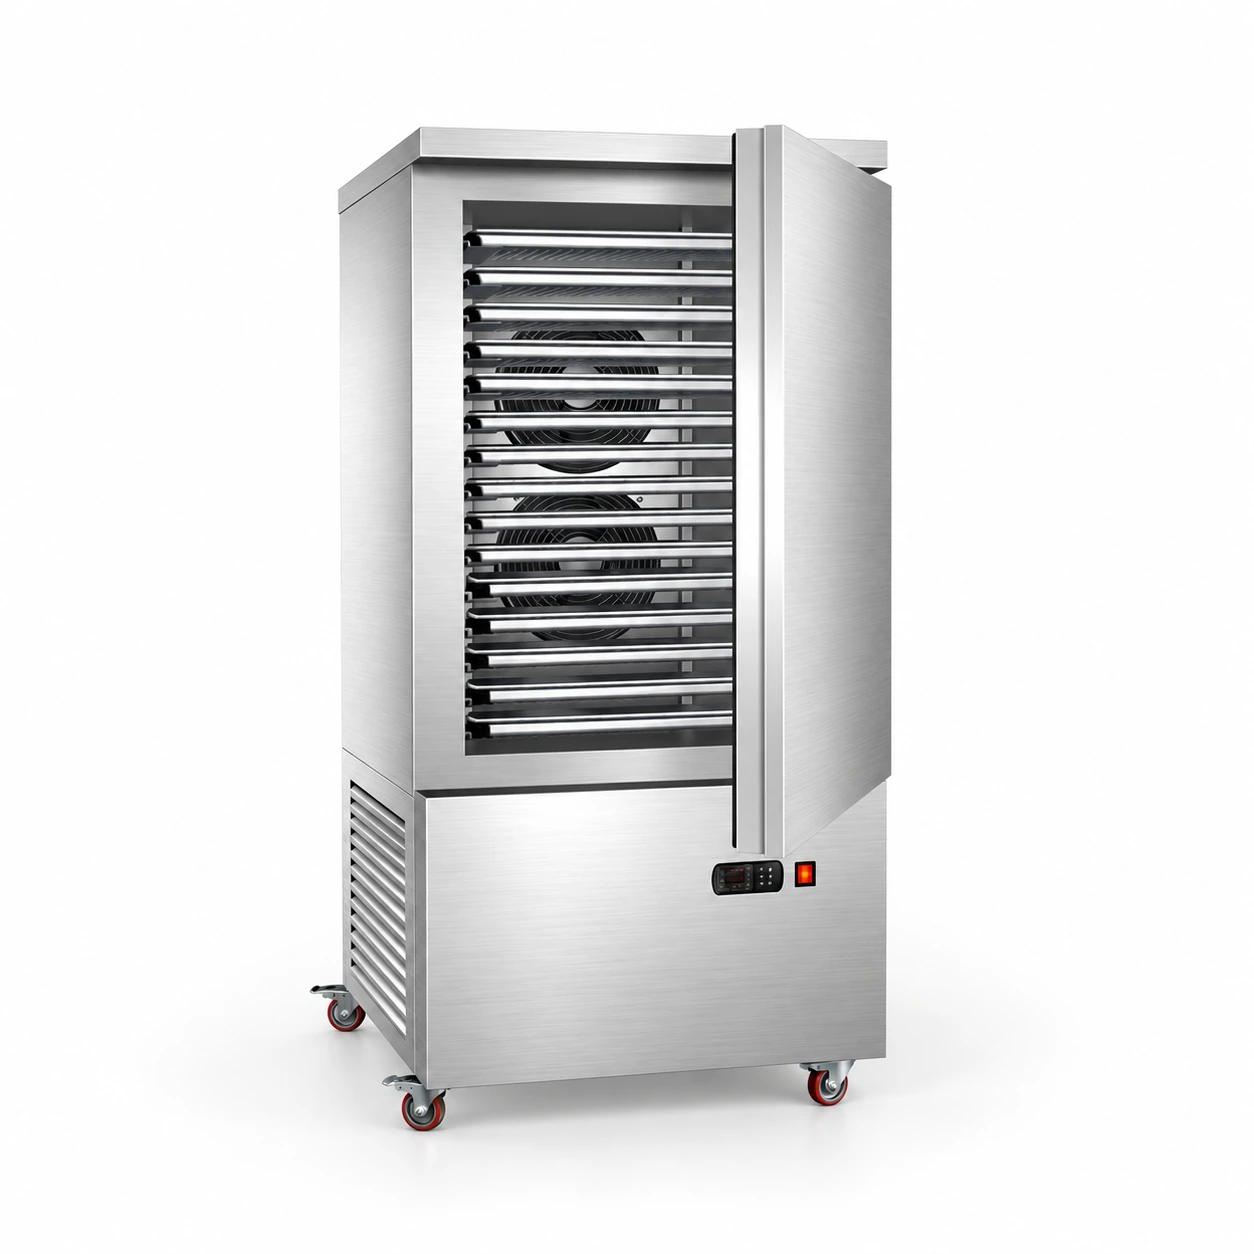
12-Tray Rack Blast Freezer · −45°C
A 12-tray tray rack blast freezer with 300 L cabinet volume and forced-air cooling. Compare its footprint, electrical requirements and loading format to your workflow.
 Range reference image
15-Tray Rack Blast Freezer · −45°C
A 15-tray tray rack blast freezer with 300 L cabinet volume and forced-air cooling. Compare its footprint, electrical requirements and loading format to your workflow.
Model-specific photo pending
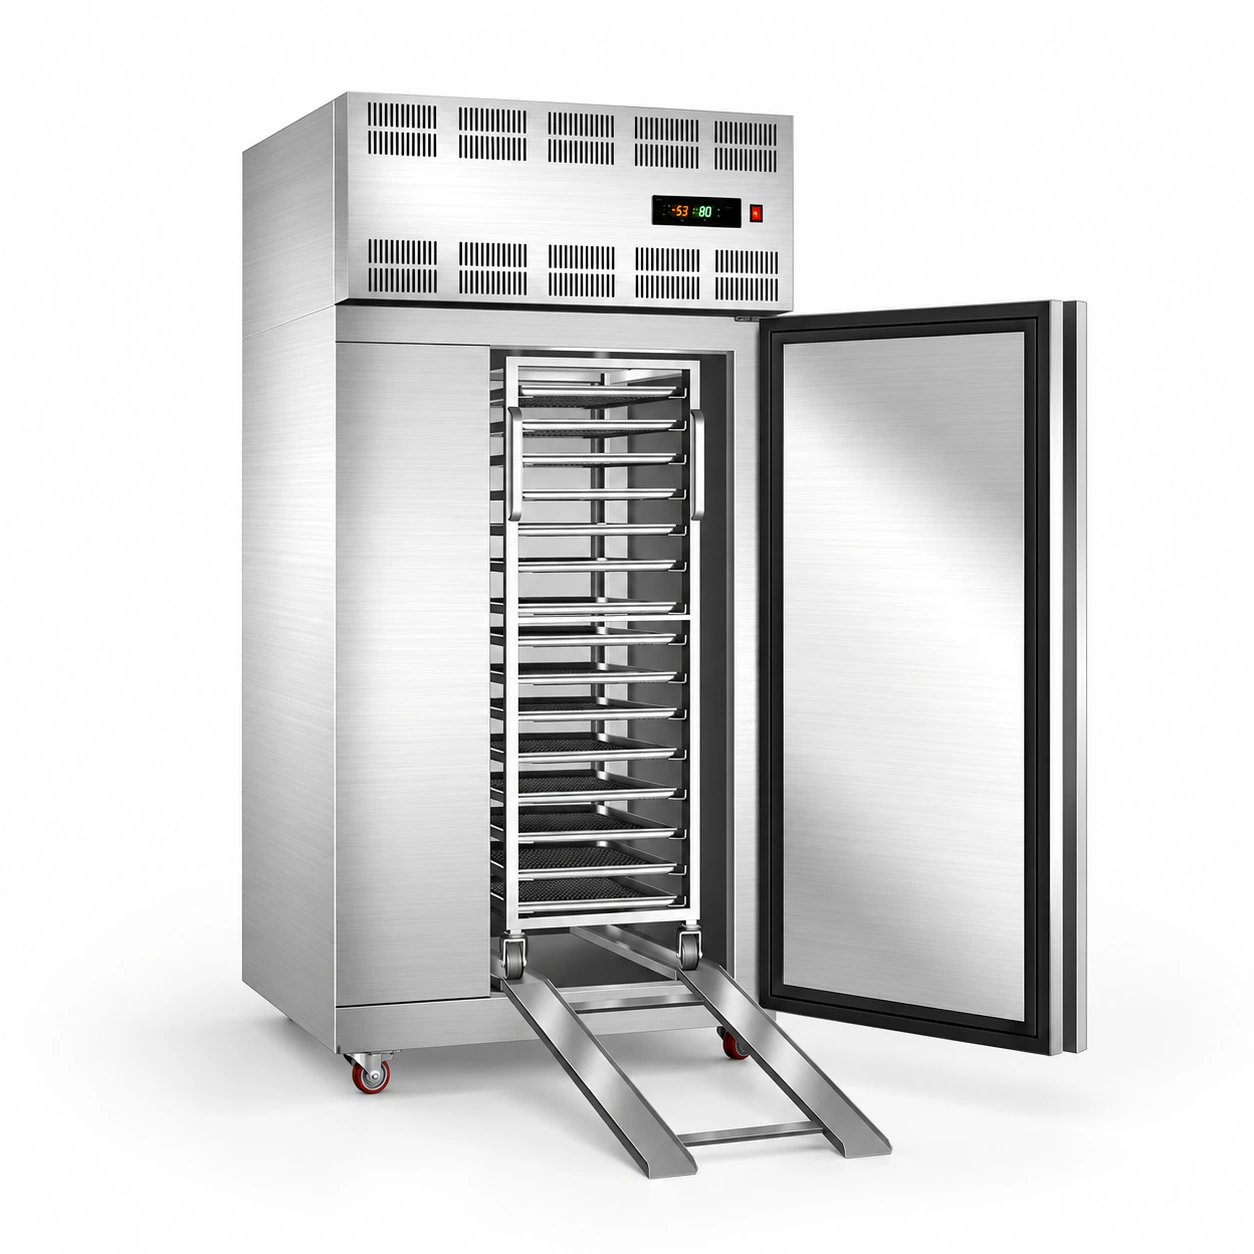
18-Tray Rack Blast Freezer · −45°C
A 18-tray tray rack blast freezer with 400 L cabinet volume and forced-air cooling. Compare its footprint, electrical requirements and loading format to your workflow. Included tray quantity is inconsistent in the catalog and must be confirmed.
 Range reference image
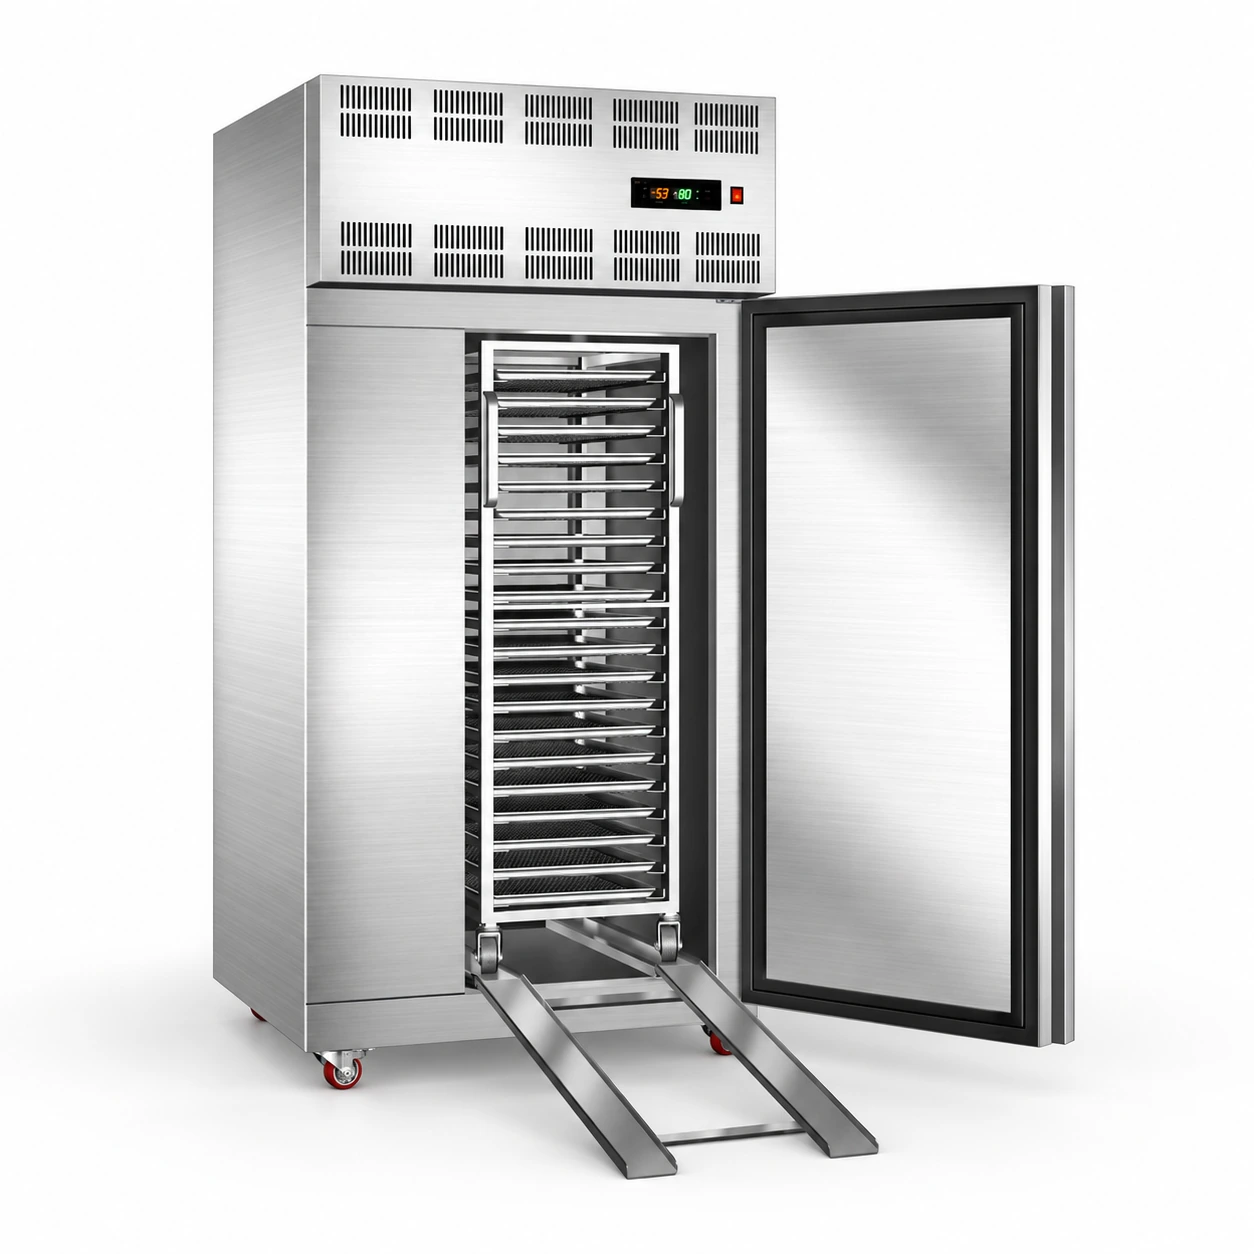
15-Tray Trolley Blast Freezer · −45°C
A 15-tray trolley blast freezer with 700 L cabinet volume and forced-air cooling. Compare its footprint, electrical requirements and loading format to your workflow.
 Range reference image
20-Tray Trolley Blast Freezer · −45°C
A 20-tray trolley blast freezer with 700 L cabinet volume and forced-air cooling. Compare its footprint, electrical requirements and loading format to your workflow.
Model-specific photo pending
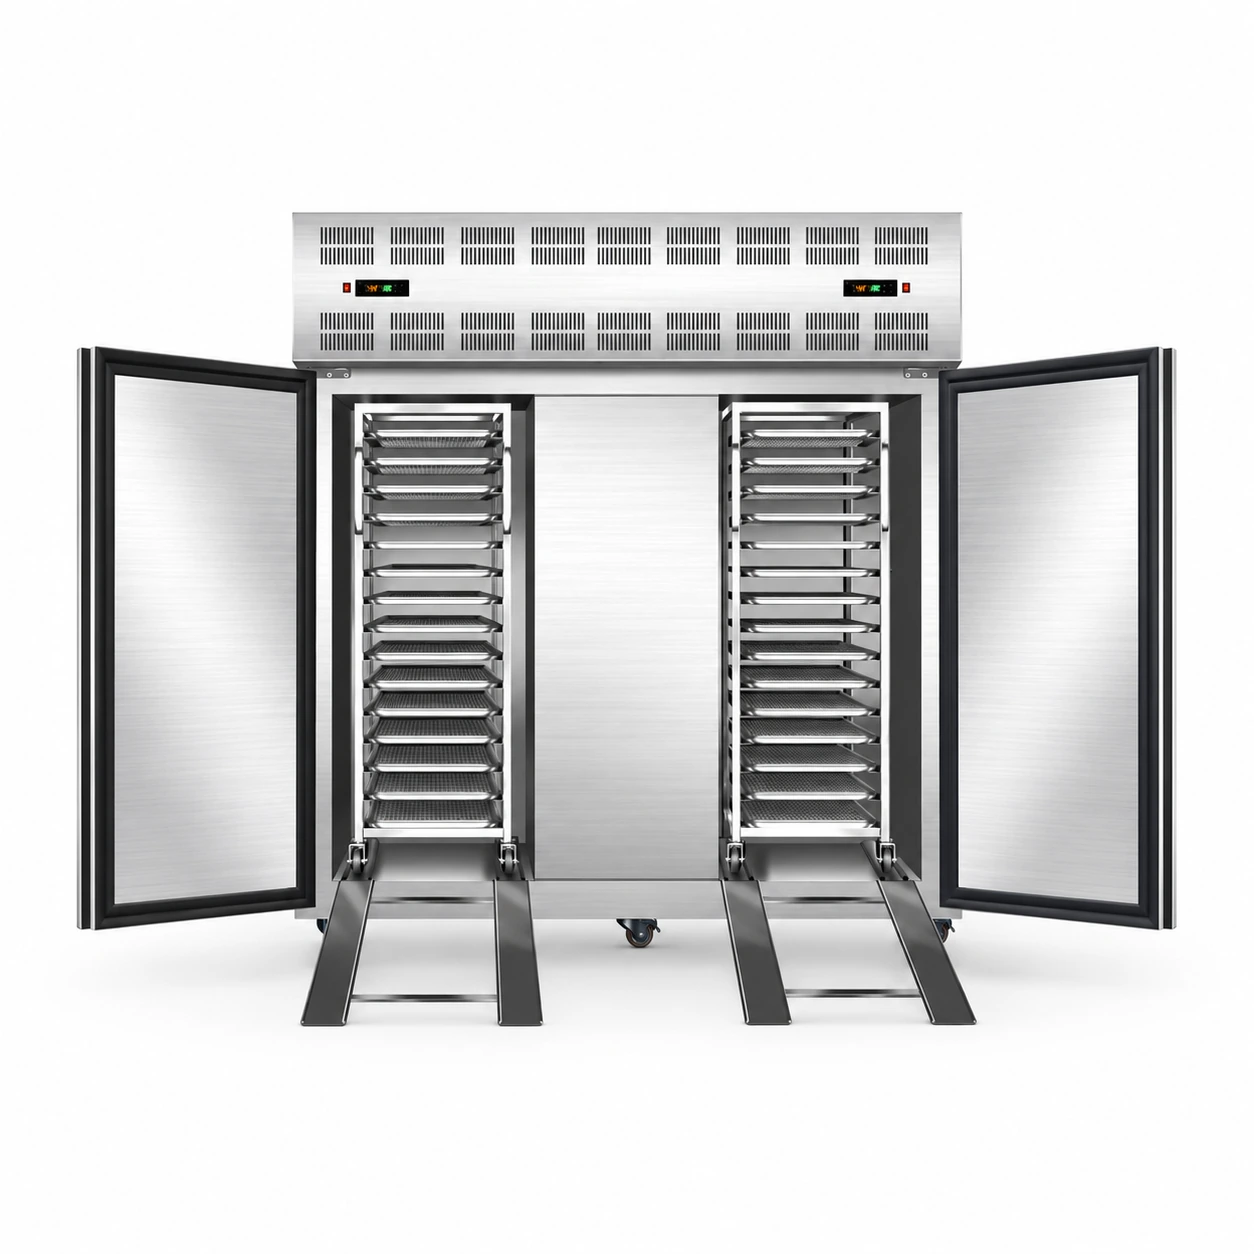
24-Tray Rack Blast Freezer · −45°C
A 24-tray tray rack blast freezer with 600 L cabinet volume and forced-air cooling. Compare its footprint, electrical requirements and loading format to your workflow.
 Range reference image
30-Tray Trolley Blast Freezer · −45°C
A 30-tray trolley blast freezer with 1400 L cabinet volume and forced-air cooling. Compare its footprint, electrical requirements and loading format to your workflow.
Model-specific photo pending
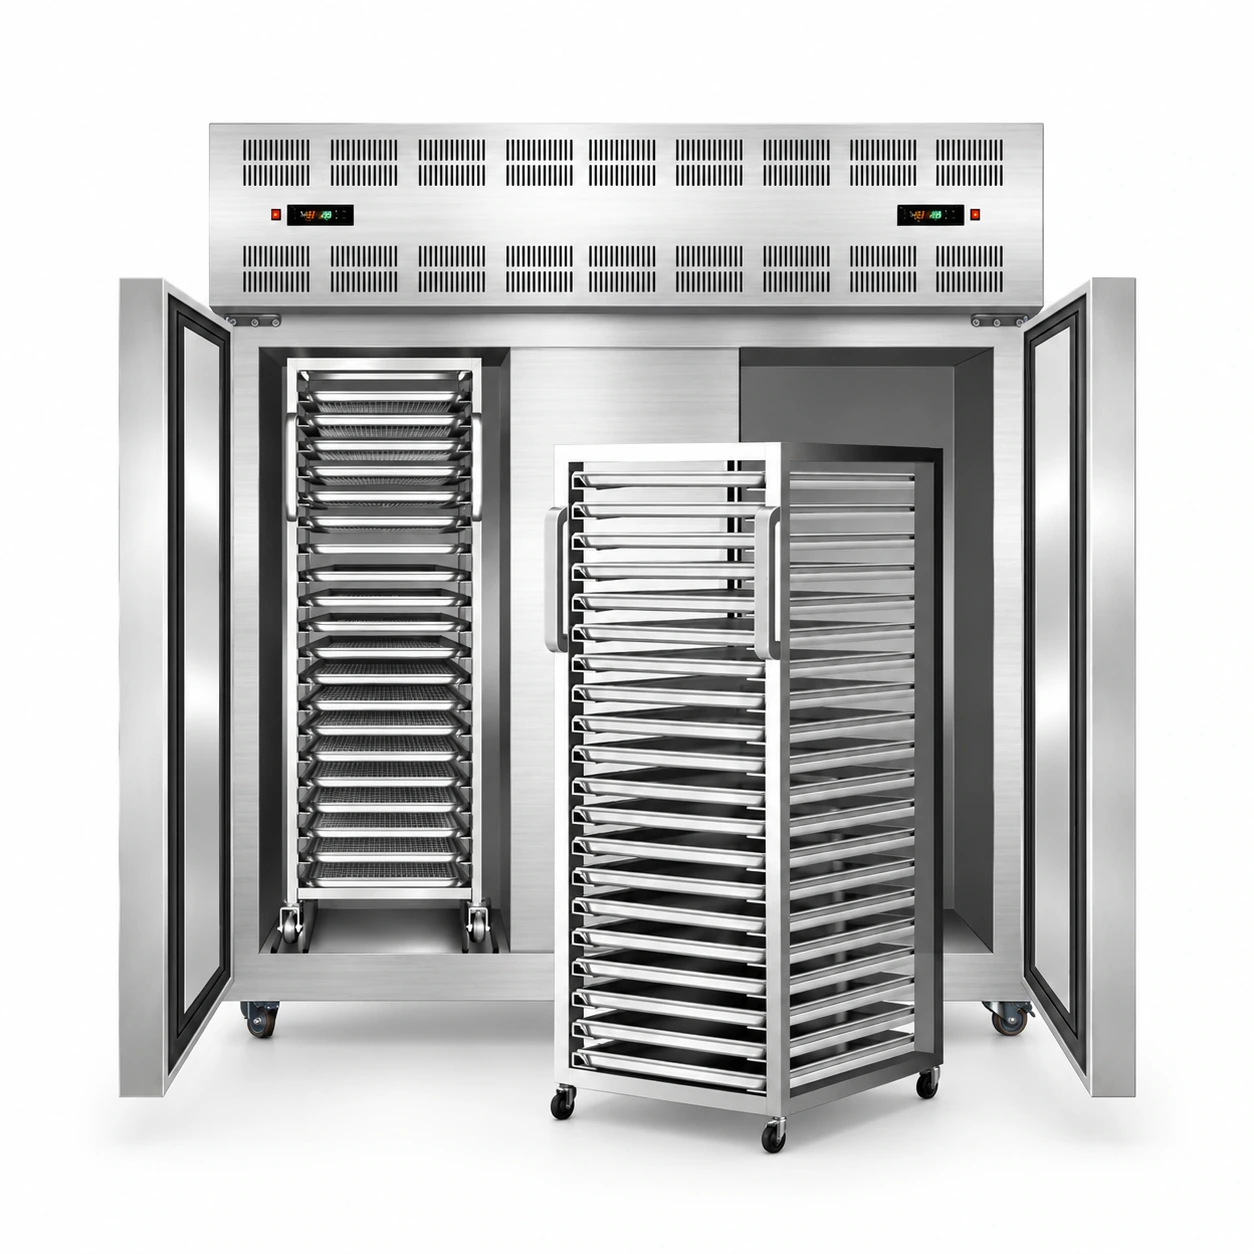
36-Tray Rack Blast Freezer · −45°C
A 36-tray tray rack blast freezer with 900 L cabinet volume and forced-air cooling. Compare its footprint, electrical requirements and loading format to your workflow. Included tray quantity is inconsistent in the catalog and must be confirmed.
 Range reference image
40-Tray Trolley Blast Freezer · −45°C
A 40-tray trolley blast freezer with 1400 L cabinet volume and forced-air cooling. Compare its footprint, electrical requirements and loading format to your workflow.
Range reference image5-Tray Rack Blast Freezer · −60°C
A 5-tray tray rack blast freezer with 180 L cabinet volume and forced-air cooling. Compare its footprint, electrical requirements and loading format to your workflow.
Range reference image7-Tray Rack Blast Freezer · −60°C
A 7-tray tray rack blast freezer with 180 L cabinet volume and forced-air cooling. Compare its footprint, electrical requirements and loading format to your workflow.
Range reference image10-Tray Rack Blast Freezer · −60°C
A 10-tray tray rack blast freezer with 300 L cabinet volume and forced-air cooling. Compare its footprint, electrical requirements and loading format to your workflow.
Range reference image12-Tray Rack Blast Freezer · −60°C
A 12-tray tray rack blast freezer with 300 L cabinet volume and forced-air cooling. Compare its footprint, electrical requirements and loading format to your workflow.
Range reference image15-Tray Rack Blast Freezer · −60°C
A 15-tray tray rack blast freezer with 300 L cabinet volume and forced-air cooling. Compare its footprint, electrical requirements and loading format to your workflow.
Range reference image15-Tray Trolley Blast Freezer · −60°C
A 15-tray trolley blast freezer with 700 L cabinet volume and forced-air cooling. Compare its footprint, electrical requirements and loading format to your workflow.
Range reference image20-Tray Trolley Blast Freezer · −60°C
A 20-tray trolley blast freezer with 700 L cabinet volume and forced-air cooling. Compare its footprint, electrical requirements and loading format to your workflow.
Model-specific photo pending
24-Tray Rack Blast Freezer · −60°C
A 24-tray tray rack blast freezer with 600 L cabinet volume and forced-air cooling. Compare its footprint, electrical requirements and loading format to your workflow.
Range reference image30-Tray Trolley Blast Freezer · −60°C
A 30-tray trolley blast freezer with 1400 L cabinet volume and forced-air cooling. Compare its footprint, electrical requirements and loading format to your workflow.
Model-specific photo pending
36-Tray Rack Blast Freezer · −60°C
A 36-tray tray rack blast freezer with 900 L cabinet volume and forced-air cooling. Compare its footprint, electrical requirements and loading format to your workflow. Included tray quantity is inconsistent in the catalog and must be confirmed.
Range reference image40-Tray Trolley Blast Freezer · −60°C
A 40-tray trolley blast freezer with 1400 L cabinet volume and forced-air cooling. Compare its footprint, electrical requirements and loading format to your workflow.
Range reference image5-Tray Rack Blast Freezer · −70°C
A 5-tray tray rack blast freezer with 180 L cabinet volume and forced-air cooling. Compare its footprint, electrical requirements and loading format to your workflow.
Range reference image7-Tray Rack Blast Freezer · −70°C
A 7-tray tray rack blast freezer with 180 L cabinet volume and forced-air cooling. Compare its footprint, electrical requirements and loading format to your workflow.
Range reference image10-Tray Rack Blast Freezer · −70°C
A 10-tray tray rack blast freezer with 300 L cabinet volume and forced-air cooling. Compare its footprint, electrical requirements and loading format to your workflow.
Range reference image12-Tray Rack Blast Freezer · −70°C
A 12-tray tray rack blast freezer with 300 L cabinet volume and forced-air cooling. Compare its footprint, electrical requirements and loading format to your workflow.
Range reference image15-Tray Rack Blast Freezer · −70°C
A 15-tray tray rack blast freezer with 300 L cabinet volume and forced-air cooling. Compare its footprint, electrical requirements and loading format to your workflow.
Range reference image15-Tray Trolley Blast Freezer · −70°C
A 15-tray trolley blast freezer with 700 L cabinet volume and forced-air cooling. Compare its footprint, electrical requirements and loading format to your workflow.
Range reference image20-Tray Trolley Blast Freezer · −70°C
A 20-tray trolley blast freezer with 700 L cabinet volume and forced-air cooling. Compare its footprint, electrical requirements and loading format to your workflow.
Model-specific photo pending
24-Tray Rack Blast Freezer · −70°C
A 24-tray tray rack blast freezer with 600 L cabinet volume and forced-air cooling. Compare its footprint, electrical requirements and loading format to your workflow.
Range reference image30-Tray Trolley Blast Freezer · −70°C
A 30-tray trolley blast freezer with 1400 L cabinet volume and forced-air cooling. Compare its footprint, electrical requirements and loading format to your workflow.
Model-specific photo pending
36-Tray Rack Blast Freezer · −70°C
A 36-tray tray rack blast freezer with 900 L cabinet volume and forced-air cooling. Compare its footprint, electrical requirements and loading format to your workflow. Included tray quantity is inconsistent in the catalog and must be confirmed.
Range reference image40-Tray Trolley Blast Freezer · −70°C
A 40-tray trolley blast freezer with 1400 L cabinet volume and forced-air cooling. Compare its footprint, electrical requirements and loading format to your workflow.
Range reference image5-Tray Rack Blast Freezer · −80°C
A 5-tray tray rack blast freezer with 180 L cabinet volume and forced-air cooling. Compare its footprint, electrical requirements and loading format to your workflow.
Range reference image7-Tray Rack Blast Freezer · −80°C
A 7-tray tray rack blast freezer with 180 L cabinet volume and forced-air cooling. Compare its footprint, electrical requirements and loading format to your workflow.
Range reference image10-Tray Rack Blast Freezer · −80°C
A 10-tray tray rack blast freezer with 300 L cabinet volume and forced-air cooling. Compare its footprint, electrical requirements and loading format to your workflow.
Range reference image12-Tray Rack Blast Freezer · −80°C
A 12-tray tray rack blast freezer with 300 L cabinet volume and forced-air cooling. Compare its footprint, electrical requirements and loading format to your workflow.
Range reference image15-Tray Rack Blast Freezer · −80°C
A 15-tray tray rack blast freezer with 300 L cabinet volume and forced-air cooling. Compare its footprint, electrical requirements and loading format to your workflow.
Range reference image15-Tray Trolley Blast Freezer · −80°C
A 15-tray trolley blast freezer with 700 L cabinet volume and forced-air cooling. Compare its footprint, electrical requirements and loading format to your workflow.
Range reference image20-Tray Trolley Blast Freezer · −80°C
A 20-tray trolley blast freezer with 700 L cabinet volume and forced-air cooling. Compare its footprint, electrical requirements and loading format to your workflow.
Model-specific photo pending
24-Tray Rack Blast Freezer · −80°C
A 24-tray tray rack blast freezer with 600 L cabinet volume and forced-air cooling. Compare its footprint, electrical requirements and loading format to your workflow.
Range reference image30-Tray Trolley Blast Freezer · −80°C
A 30-tray trolley blast freezer with 1400 L cabinet volume and forced-air cooling. Compare its footprint, electrical requirements and loading format to your workflow.
Model-specific photo pending
36-Tray Rack Blast Freezer · −80°C
A 36-tray tray rack blast freezer with 900 L cabinet volume and forced-air cooling. Compare its footprint, electrical requirements and loading format to your workflow. Included tray quantity is inconsistent in the catalog and must be confirmed.
Range reference image40-Tray Trolley Blast Freezer · −80°C
A 40-tray trolley blast freezer with 1400 L cabinet volume and forced-air cooling. Compare its footprint, electrical requirements and loading format to your workflow.