
Your process.
Your equipment.
Find the machine that fits your product. Explore specifications, configurations and USD reference prices.
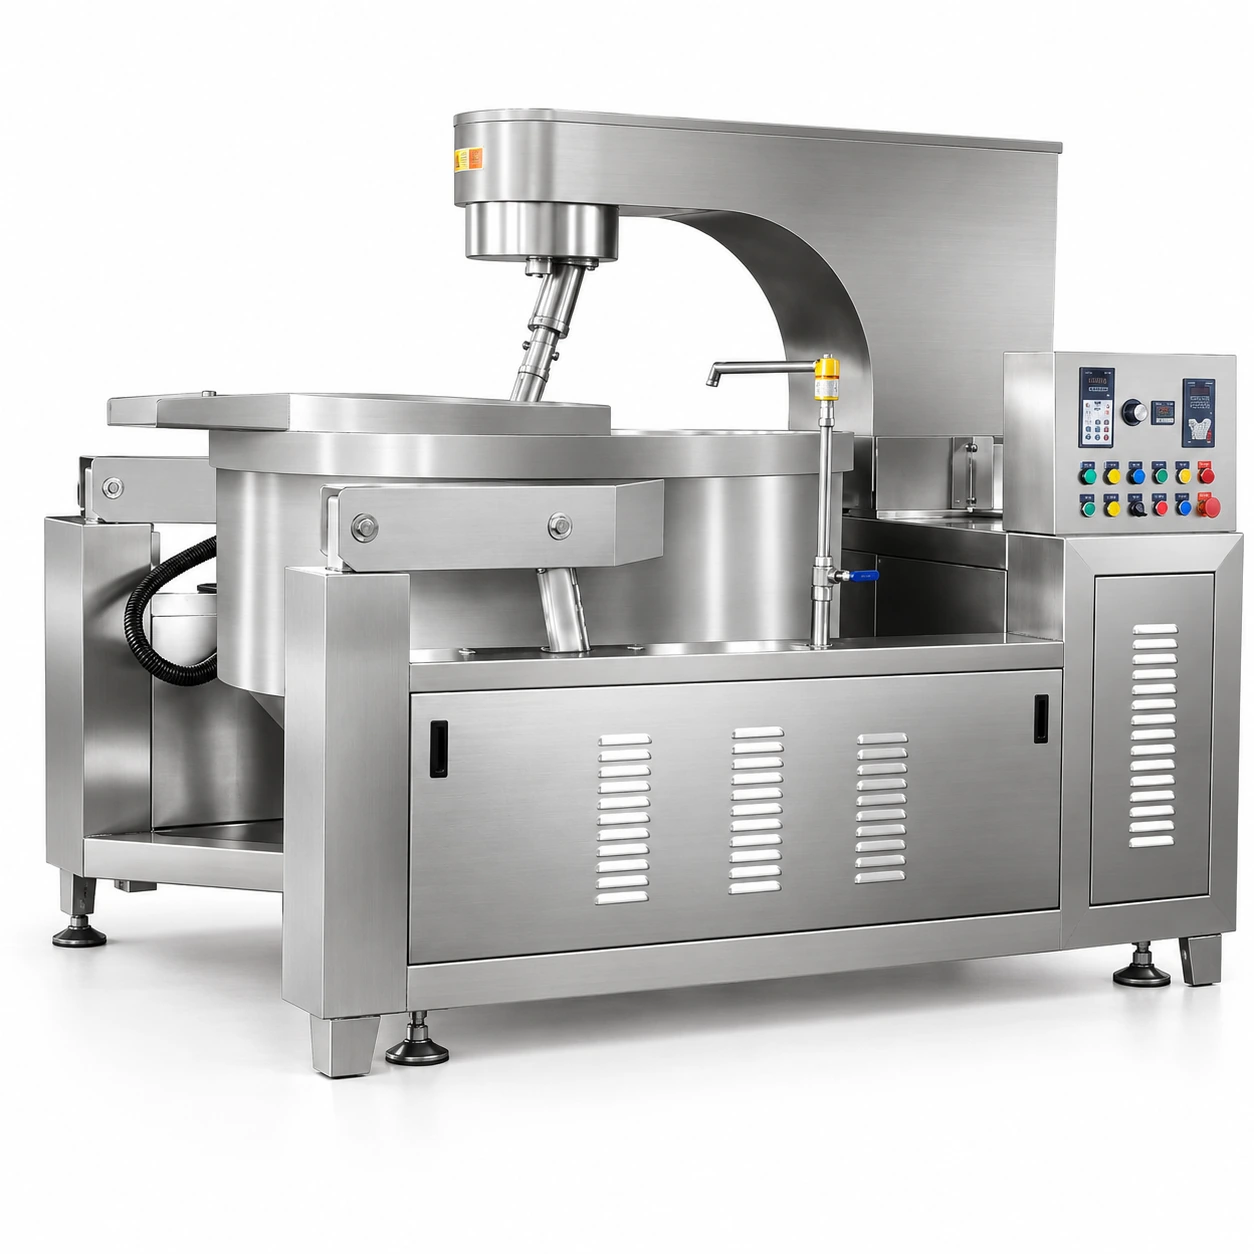
Automatic Induction Cooking Mixer
Induction-heated cooking mixer with planetary scraping and hydraulic discharge, offered as a 100–500 L series.
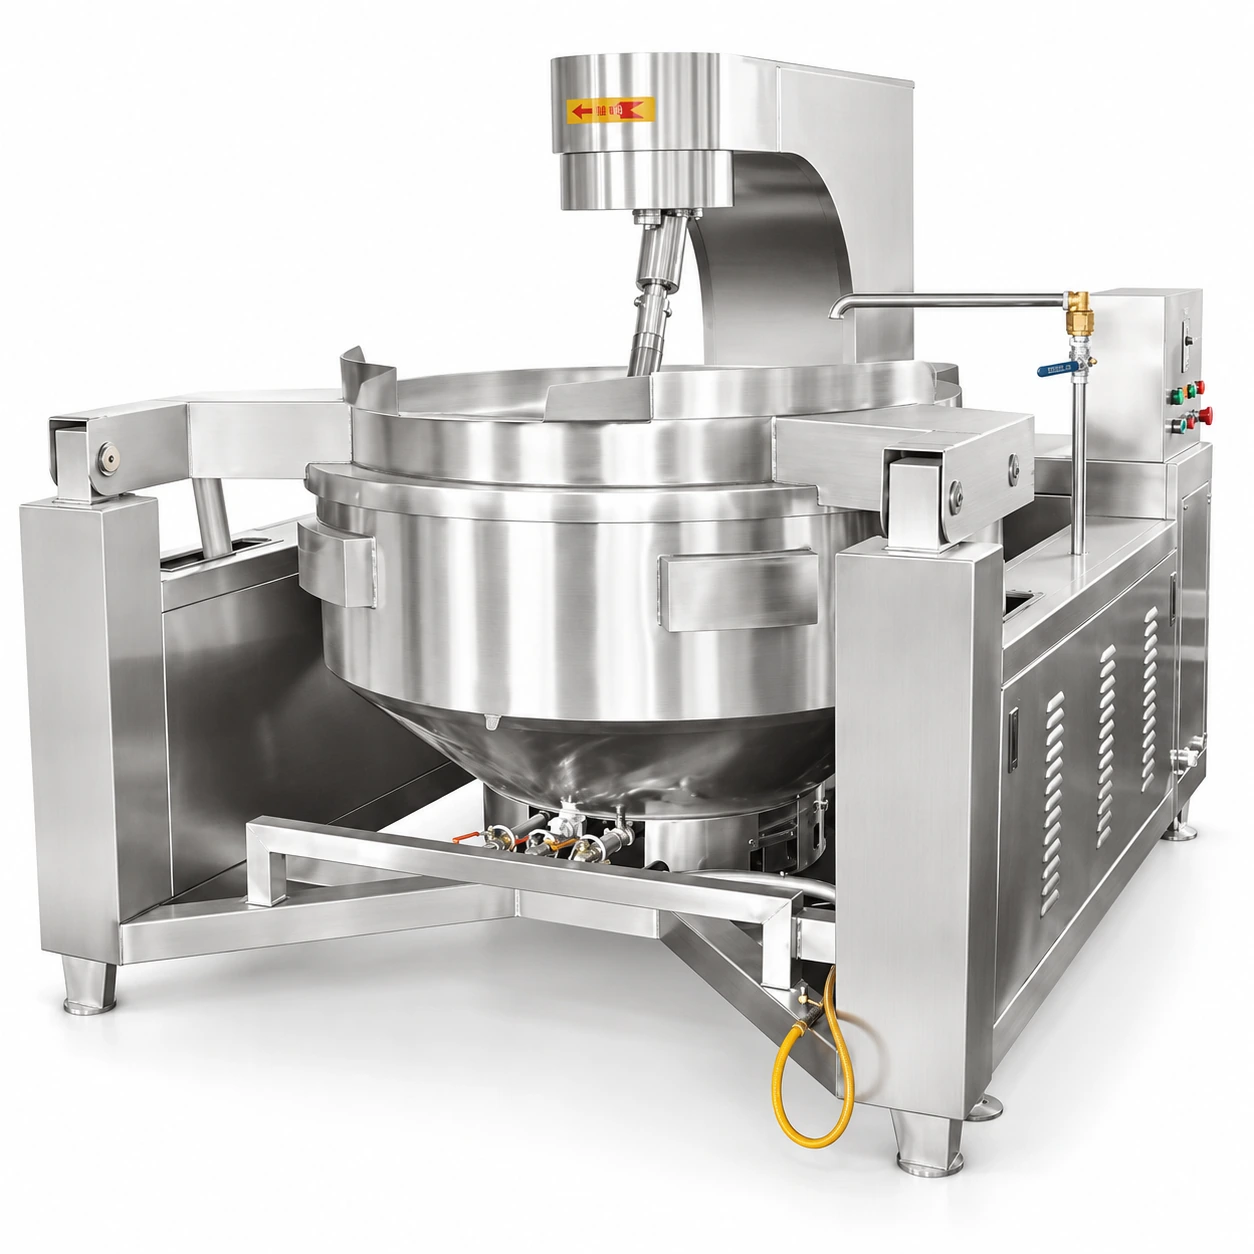
Gas Cooking Mixer
Gas-heated planetary cooking mixer with a stainless steel food-contact bowl and hydraulic discharge.
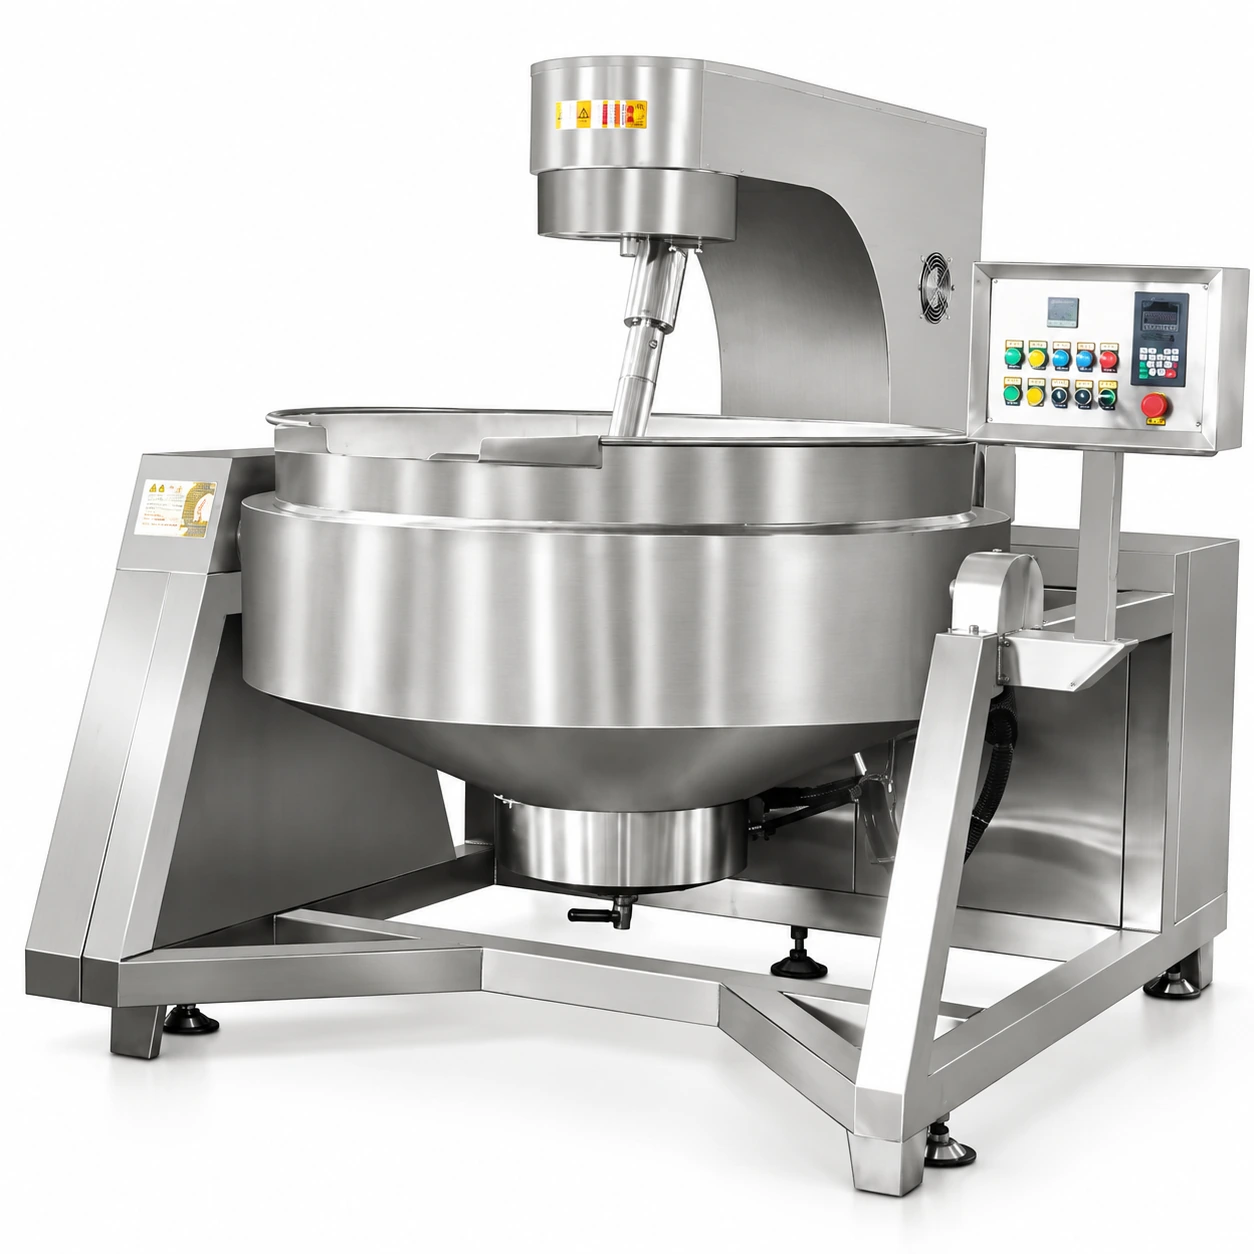
Electric Thermal Oil Cooking Mixer
Electric thermal oil cooking mixer for uniform heating and planetary mixing of fillings and other viscous ingredients.
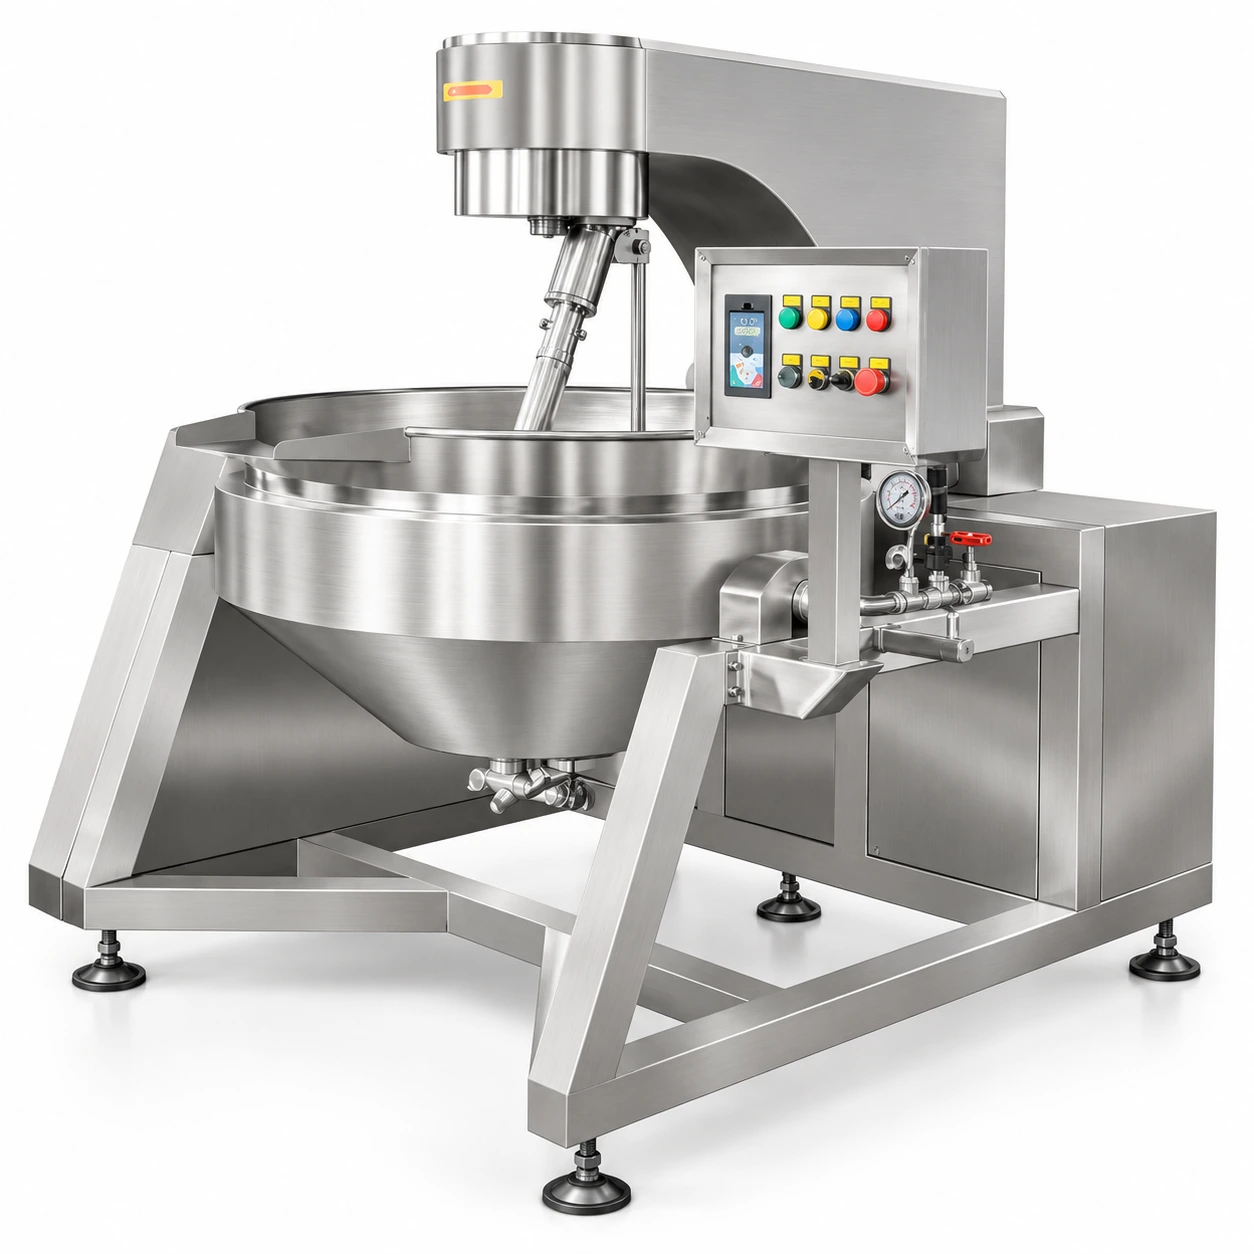
Steam Cooking Mixer
Steam-heated cooking mixer for food materials that require indirect heating and continuous stirring.
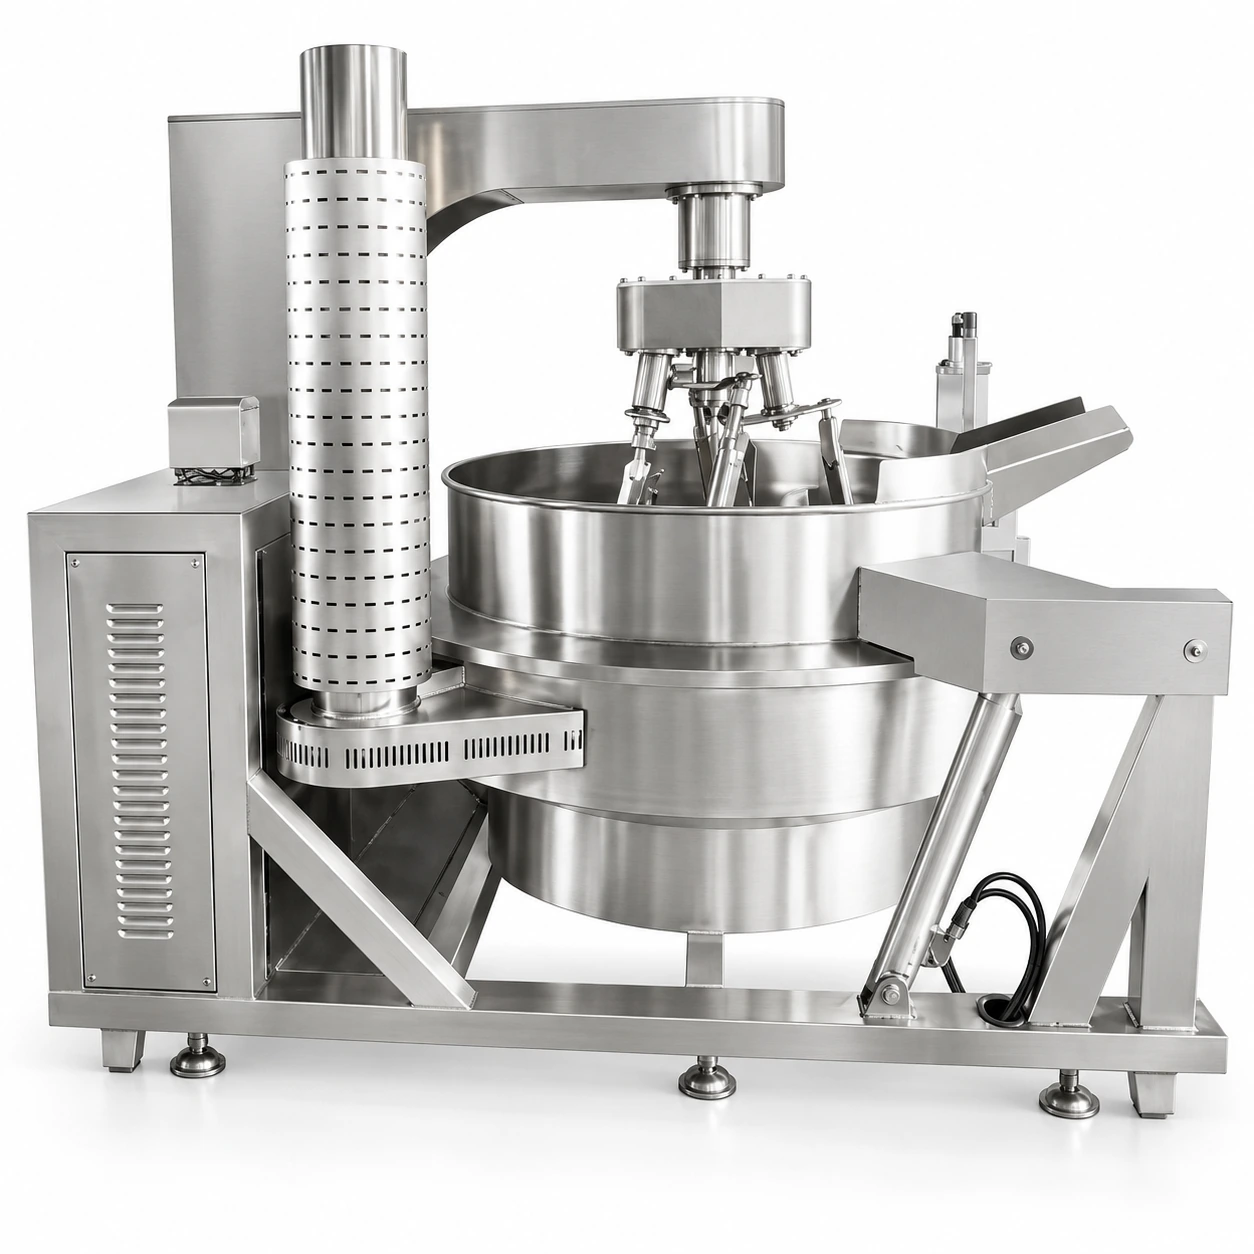
Hot Pot Base Cooking Mixer
Large gas cooking mixer for hot pot bases and sauces, combining planetary mixing with side and bottom scraping.
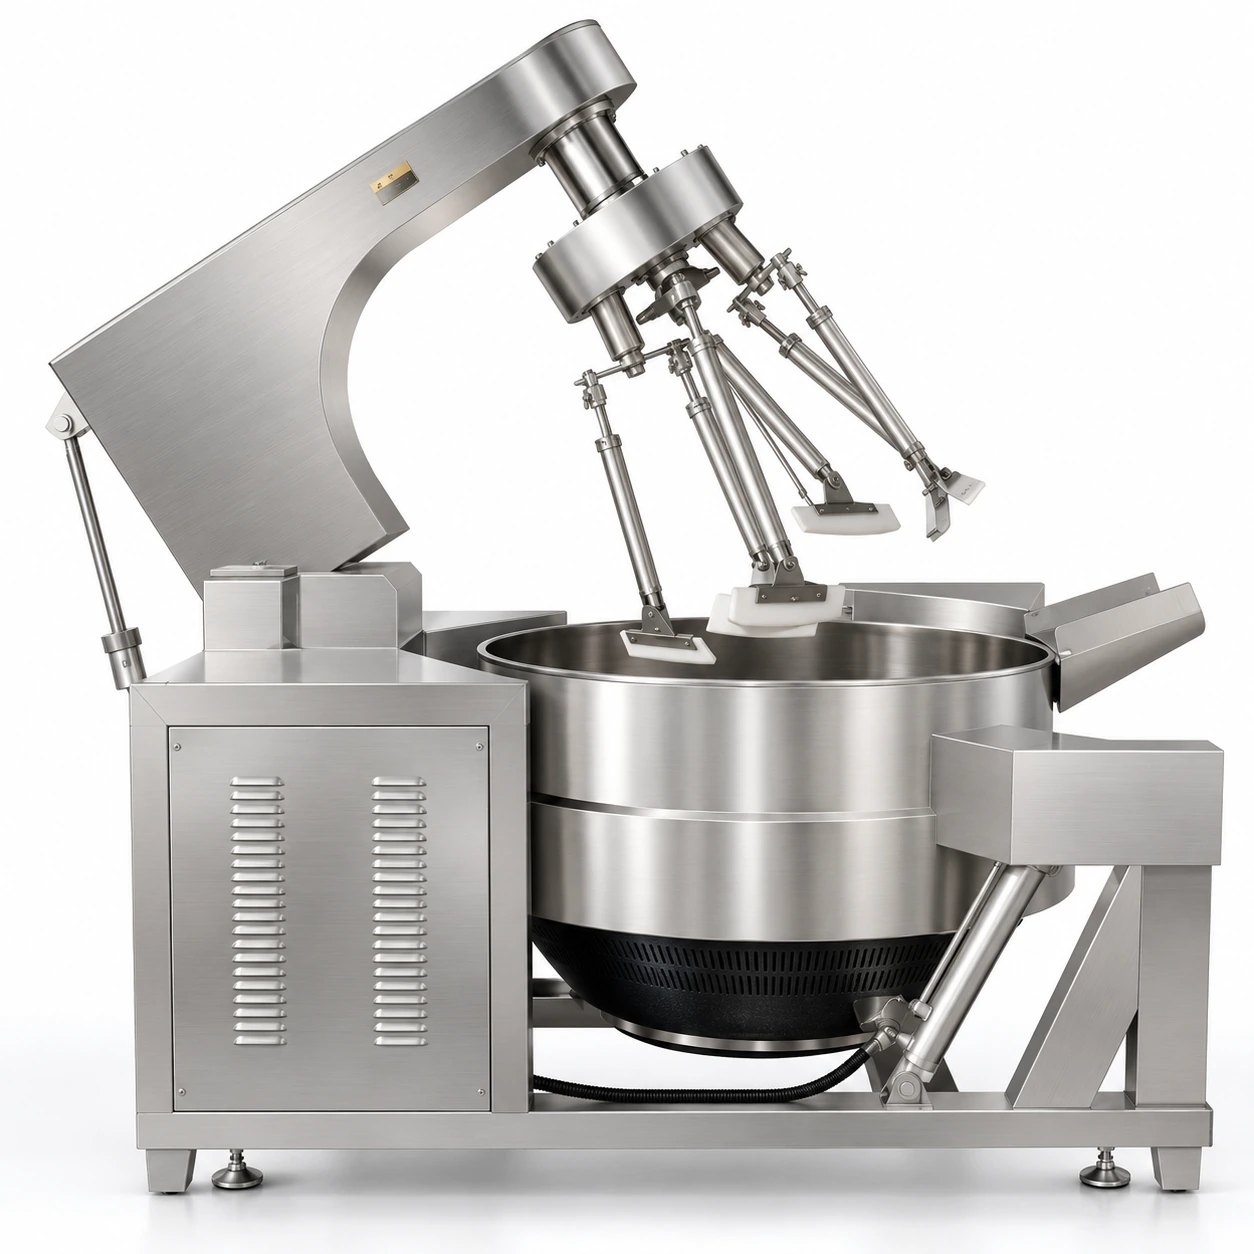
Multi-head Cooking Mixer
Cooking mixer with six mixing heads, bottom scraping and hydraulic discharge for large-batch food preparation.
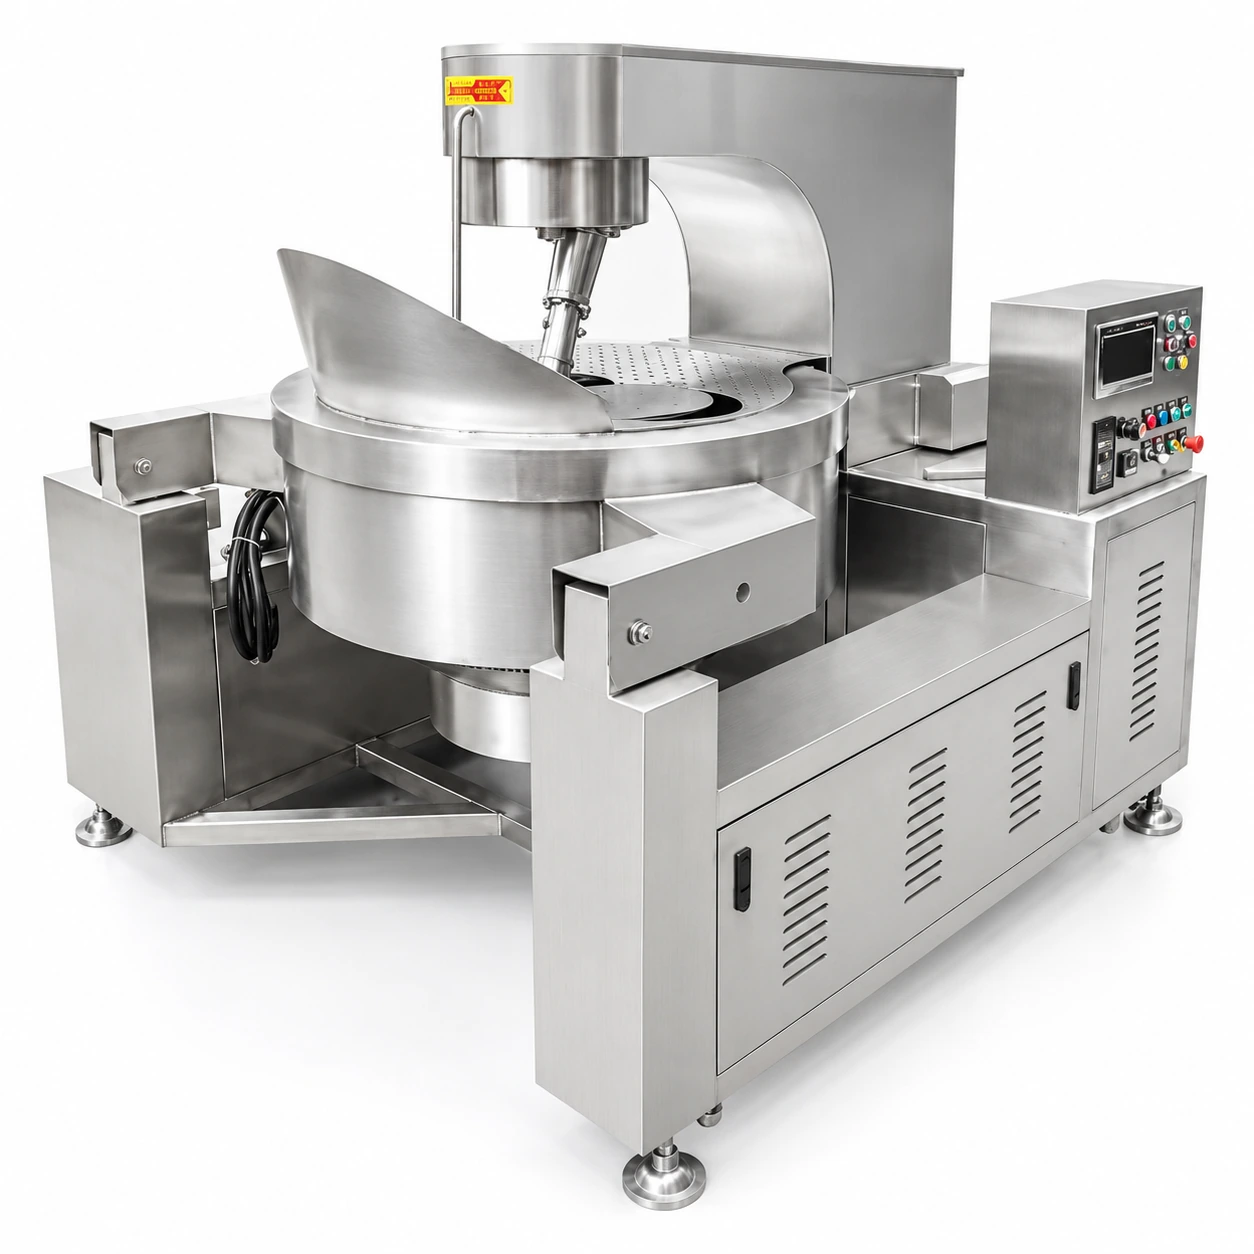
Automatic Popcorn Machine
Automatic 100 L popcorn cooking machine for mixing and popping flavored corn with variable speed control.
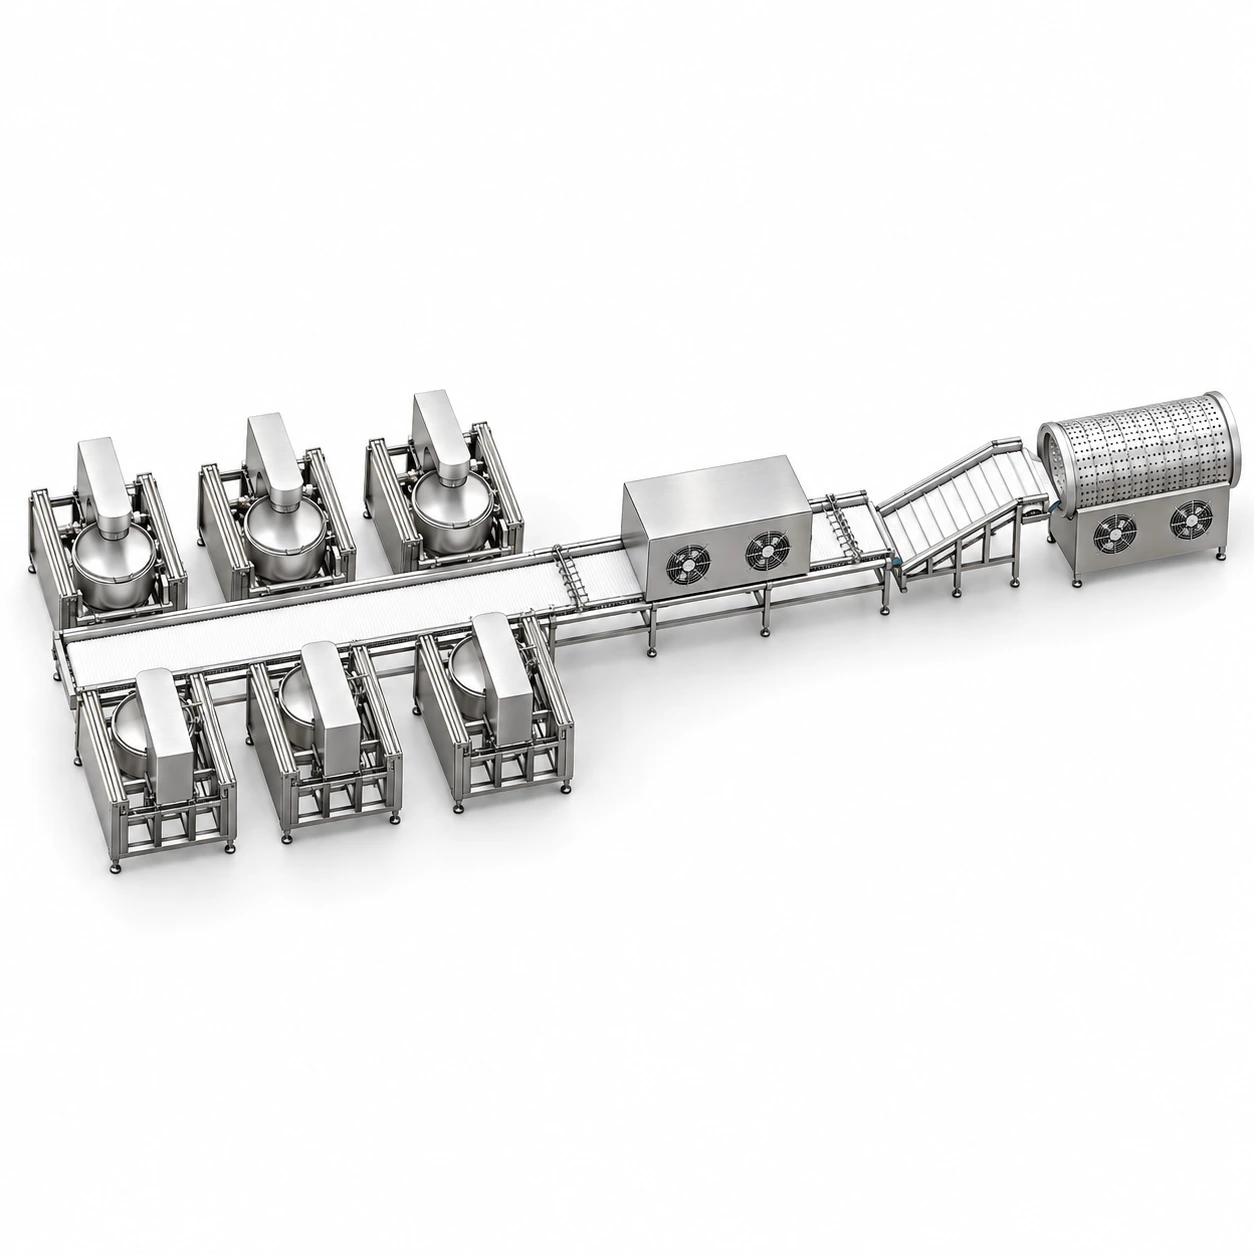
Popcorn Production Line
Popcorn production line shown as a sequence of popping, conveying, separation, cooling, elevation and rotary screening.
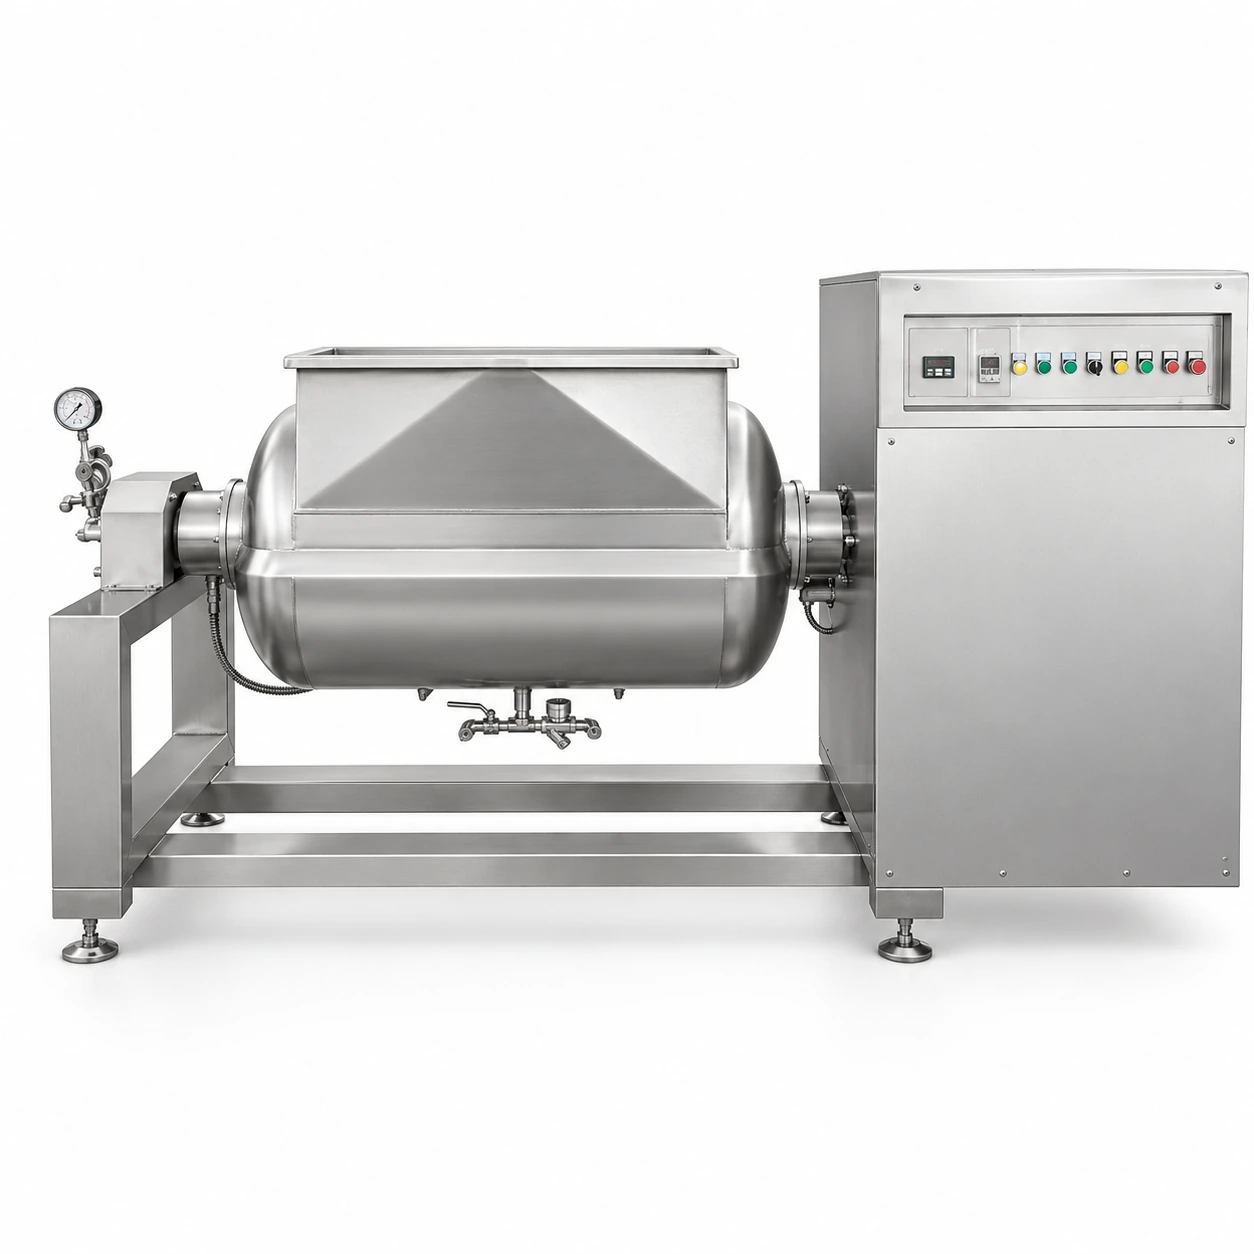
Horizontal Cooking Mixer
U-shaped horizontal cooking mixer with scraping blades and powered bowl discharge for viscous food products.
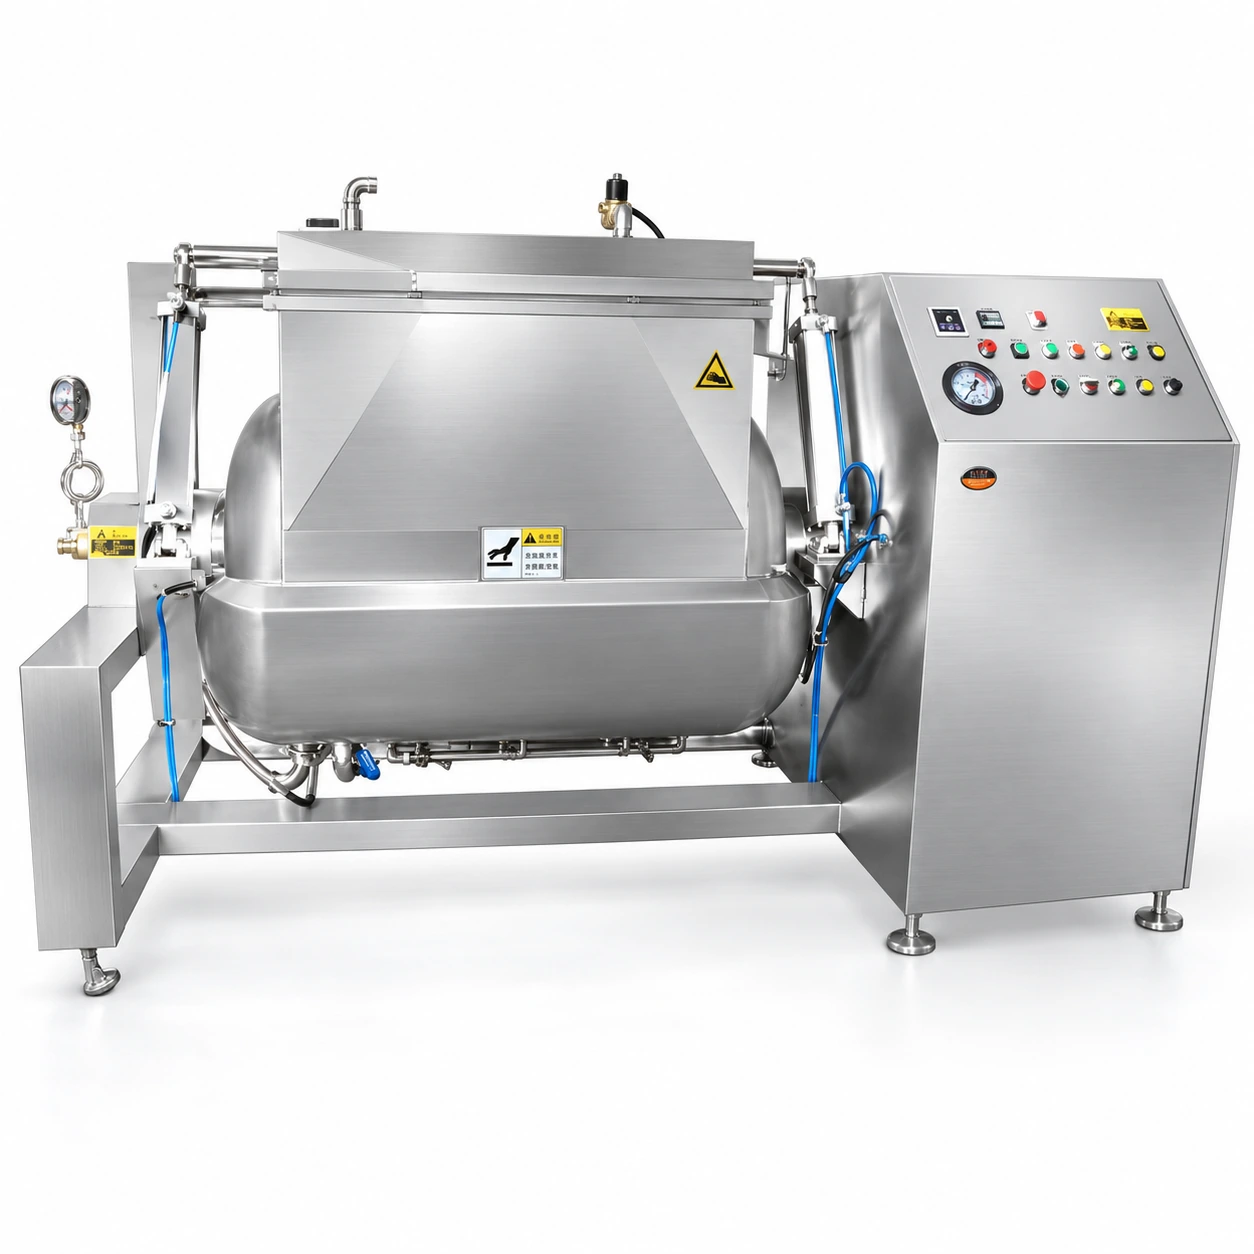
Vacuum Horizontal Cooking Mixer
Enclosed horizontal cooking mixer with vacuum processing, wall-scraping blades and powered opening and discharge.
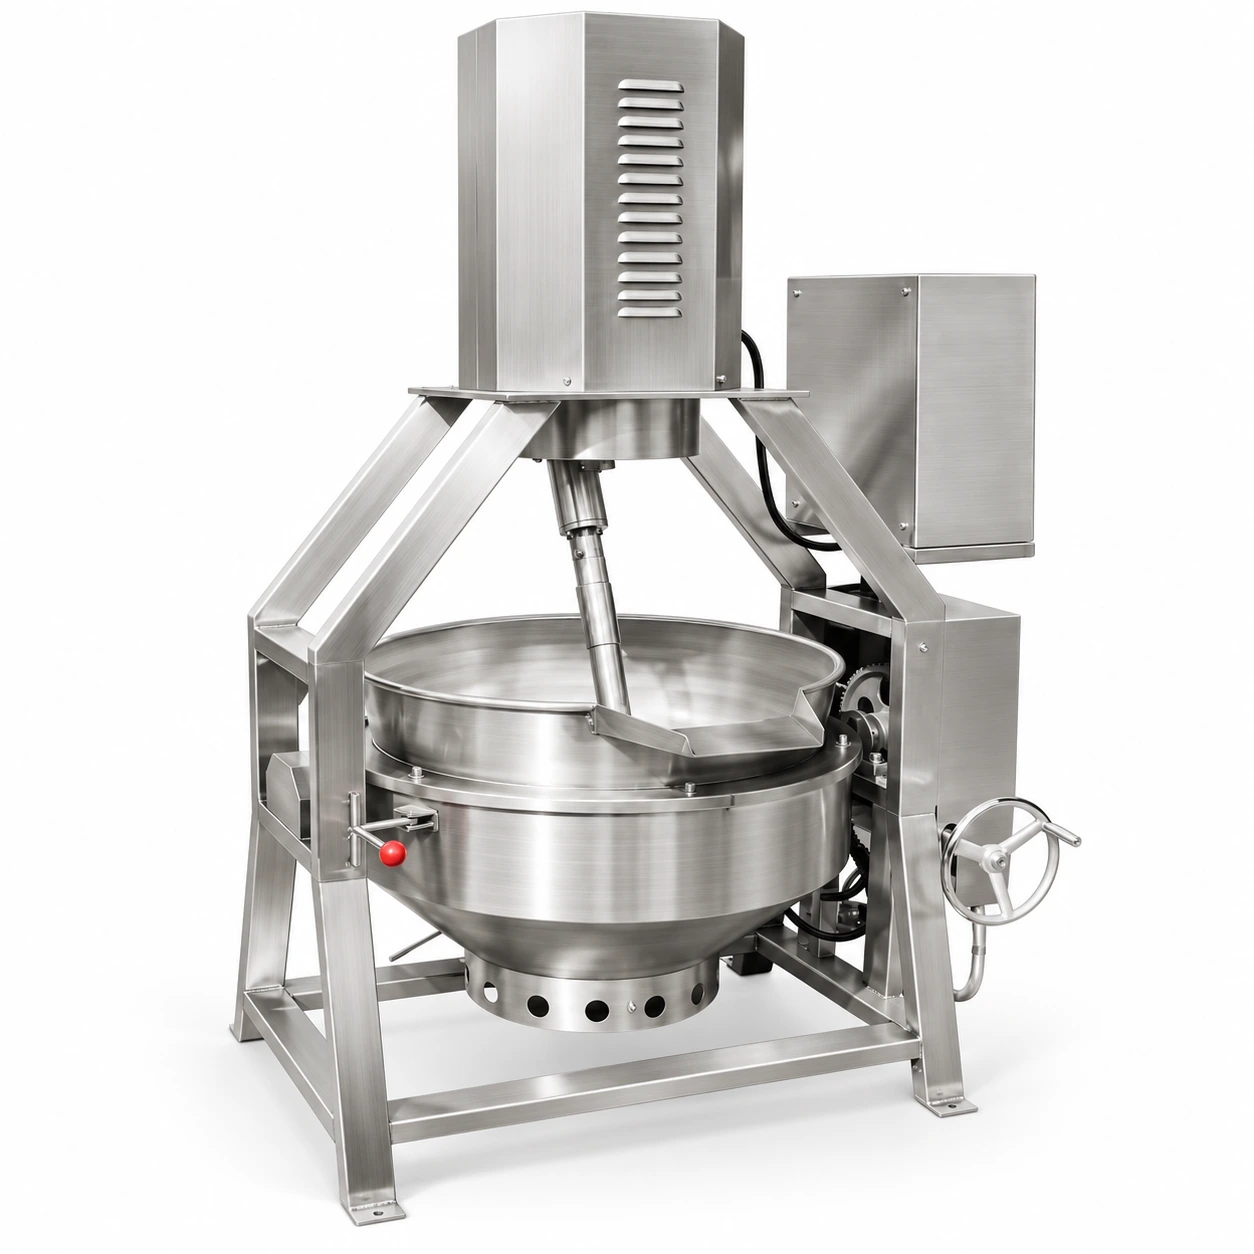
Manual Tilting Cooking Mixer
Cooking mixer with a fixed stirring arm, variable speed drive and manual worm-gear bowl tilting.
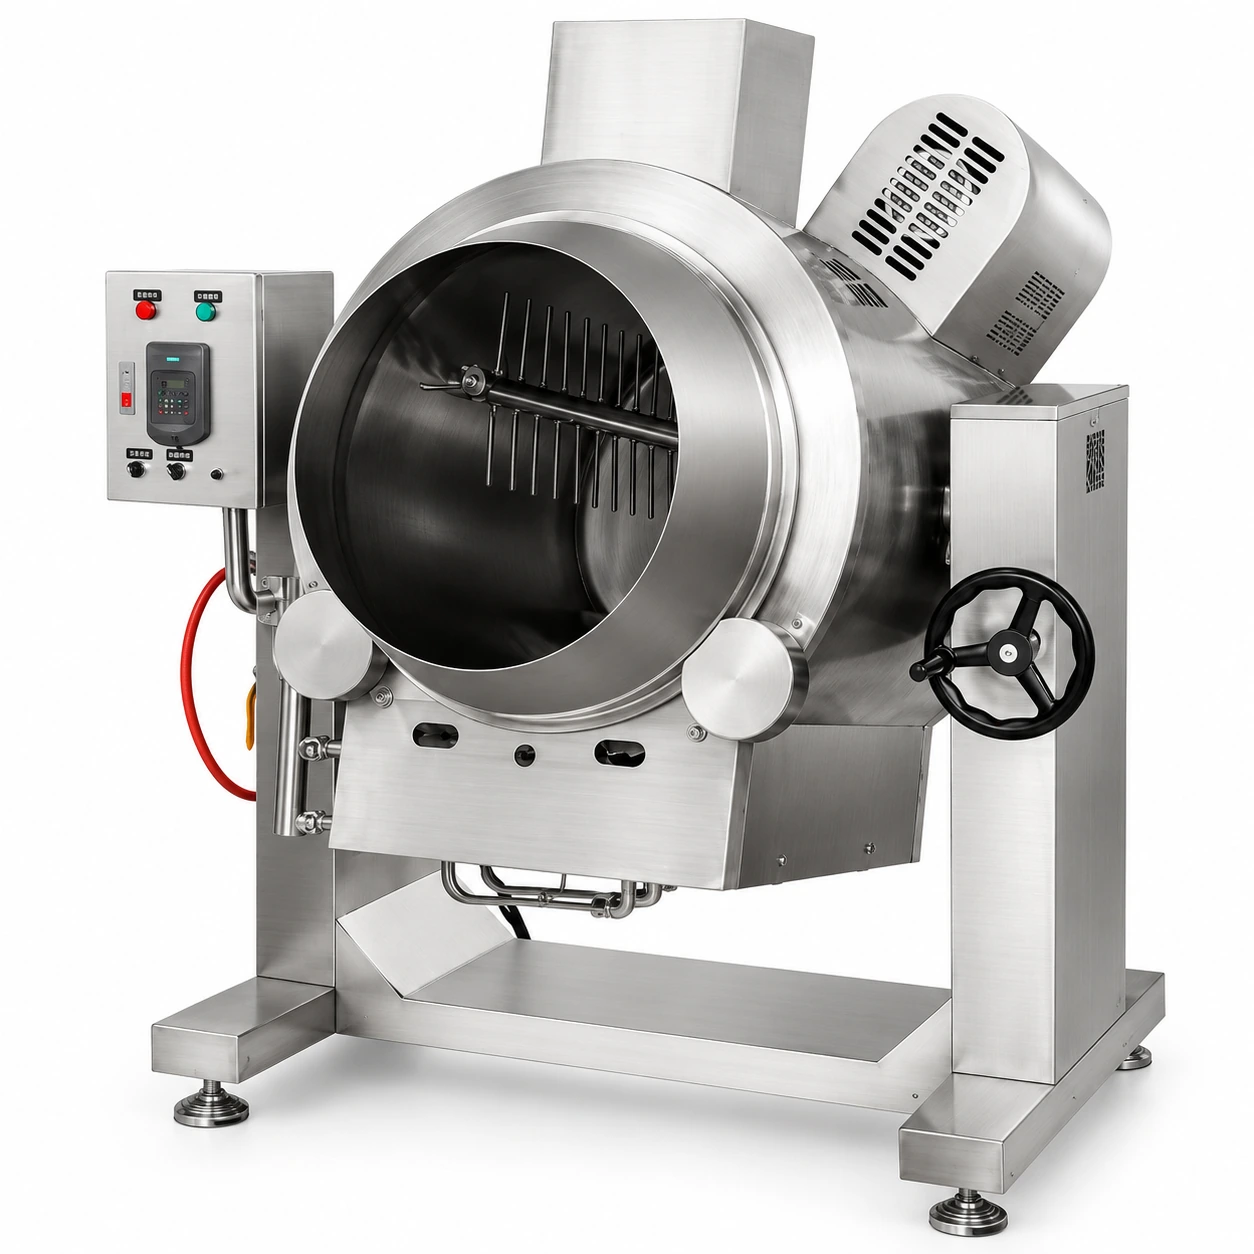
Automatic Rotary Drum Cooker
Stainless steel rotary cooking drum that turns ingredients around a horizontal axis, with manual tilting discharge.
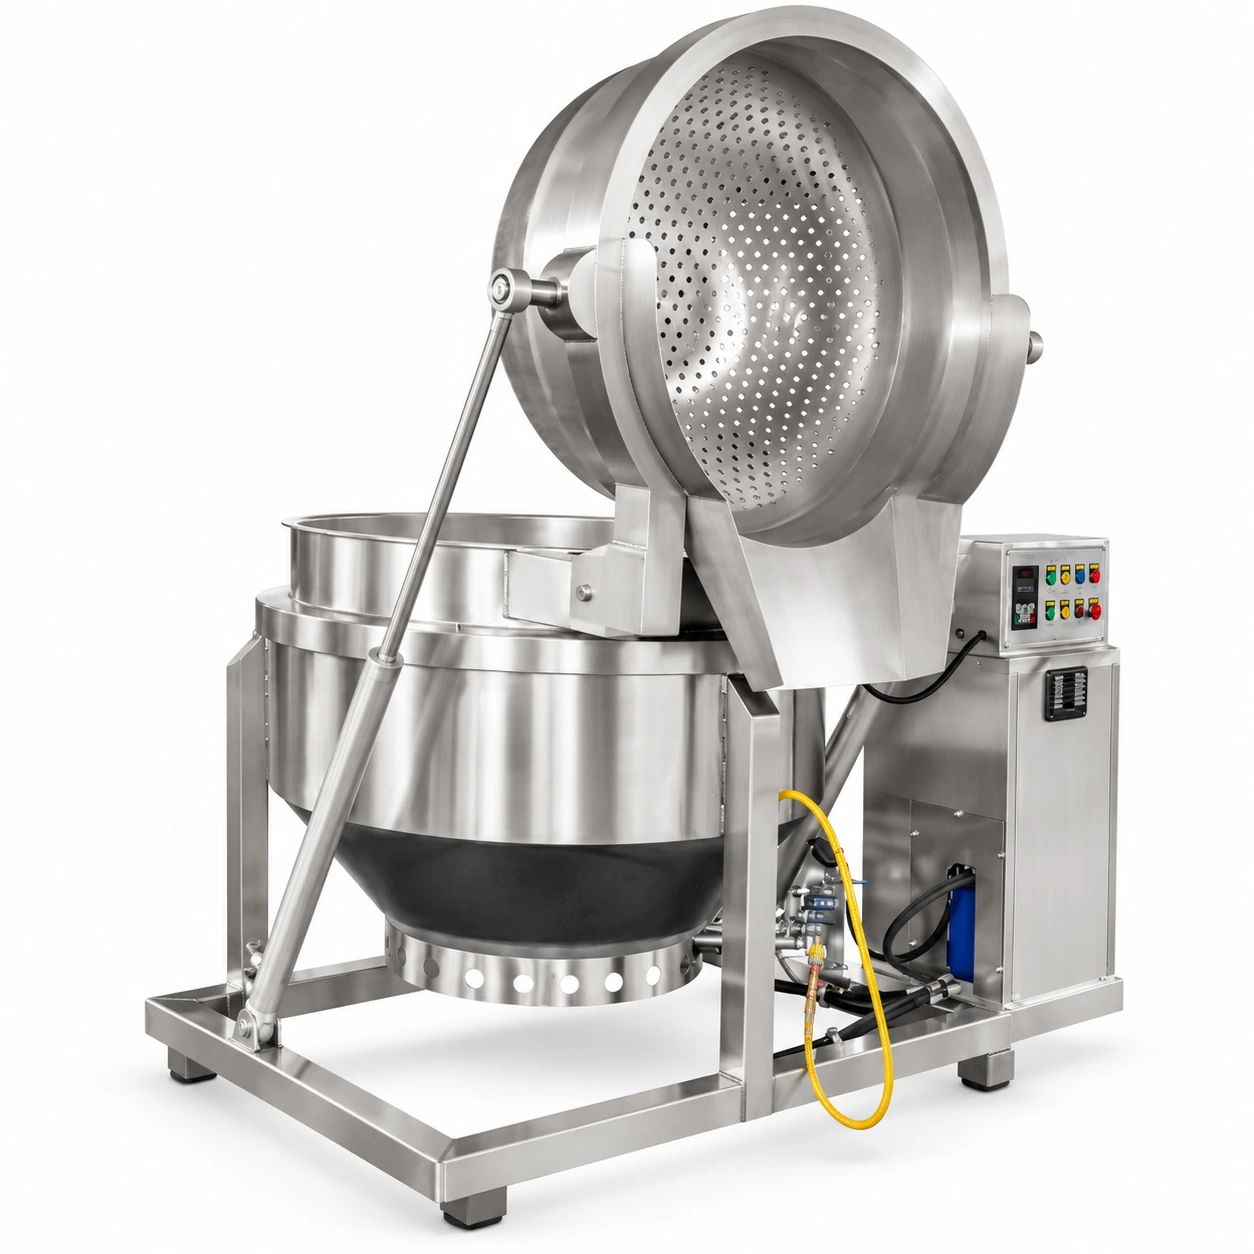
Tilting Blanching Kettle
Steam-powered blanching kettle with electric tilting and adjustable processing temperature and time.
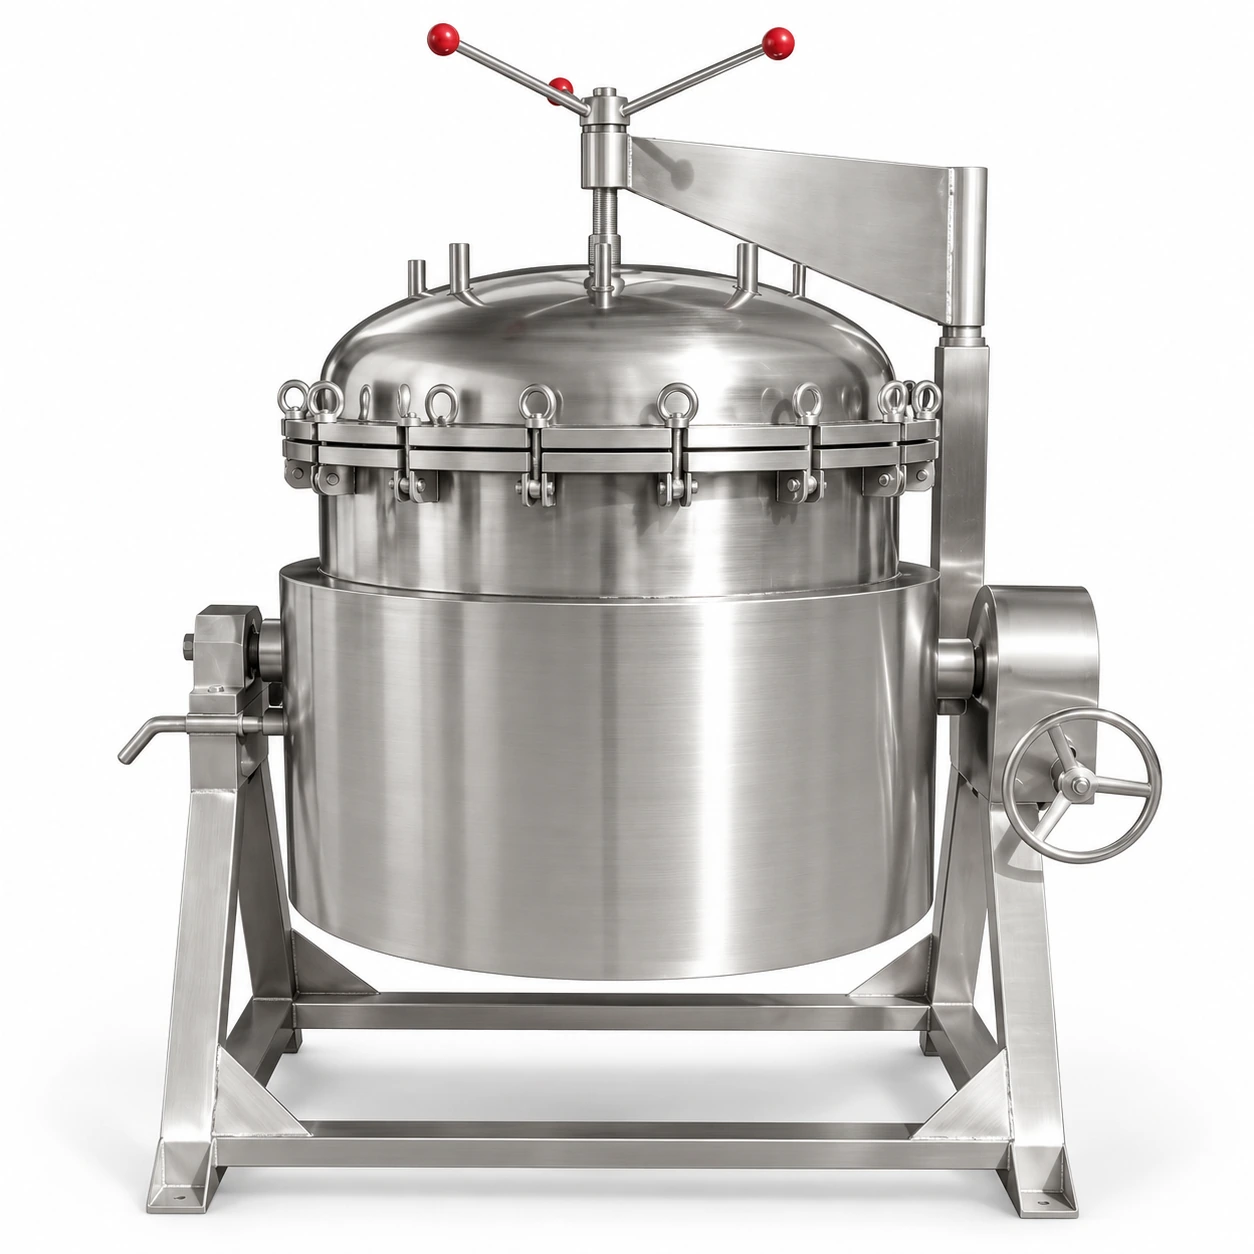
Pressure Cooking Kettle
Pressure cooking kettle series with a hemispherical stainless steel vessel and several heating and frame options.
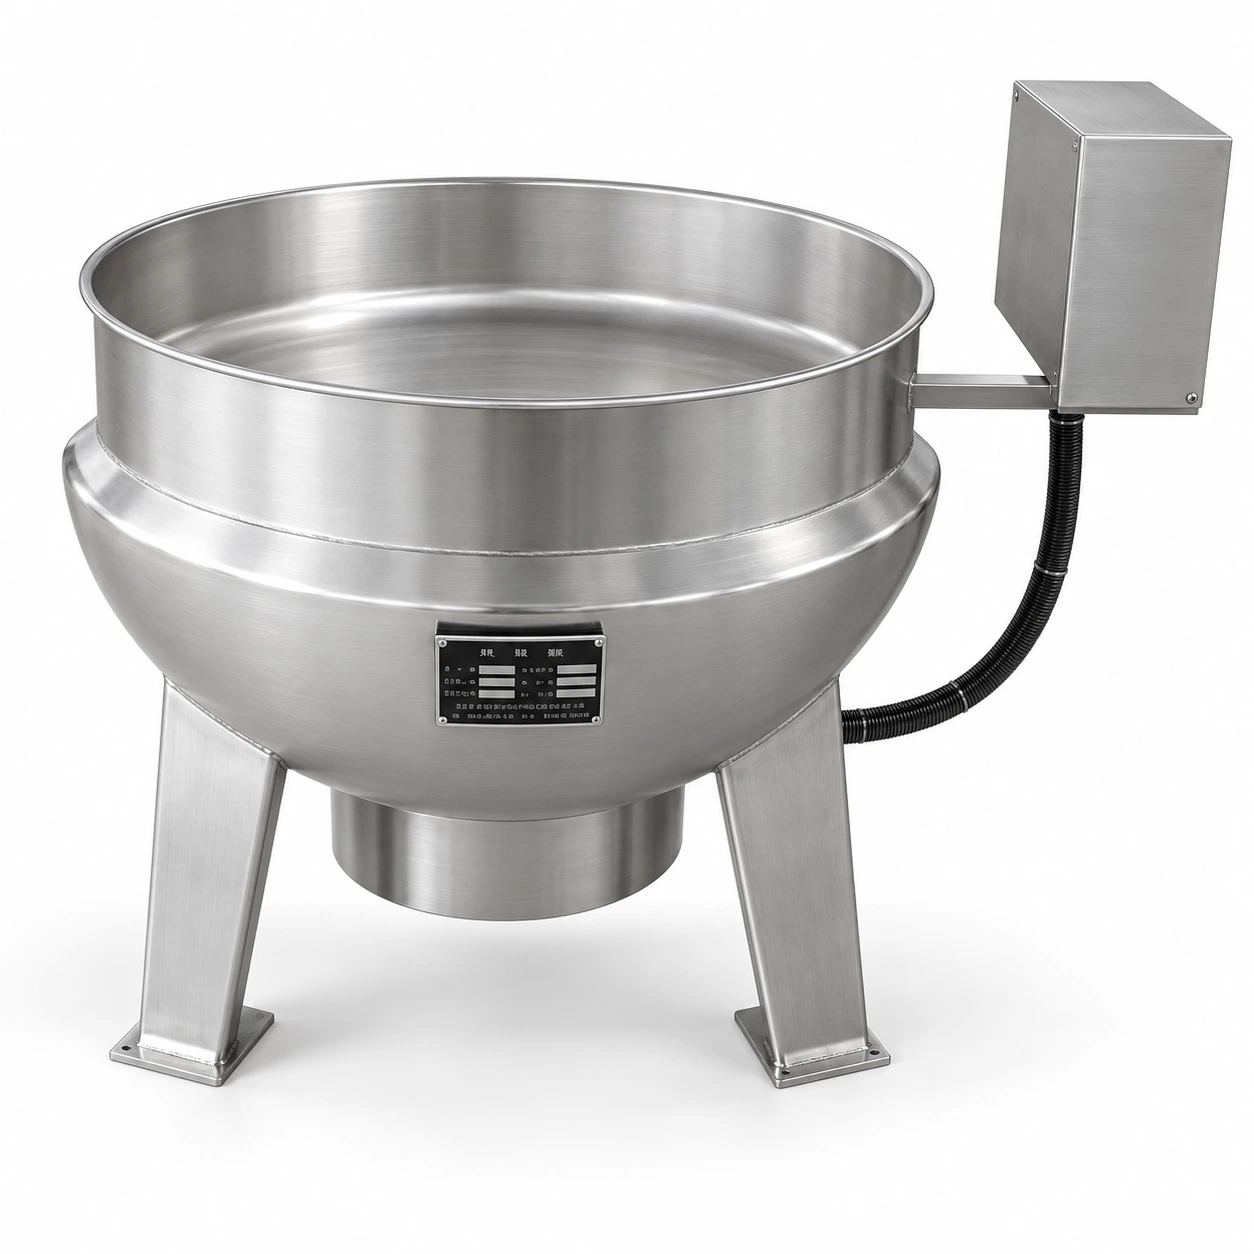
Stationary Thermal Oil Jacketed Kettle
A stationary jacketed cooking kettle with thermal oil heating.
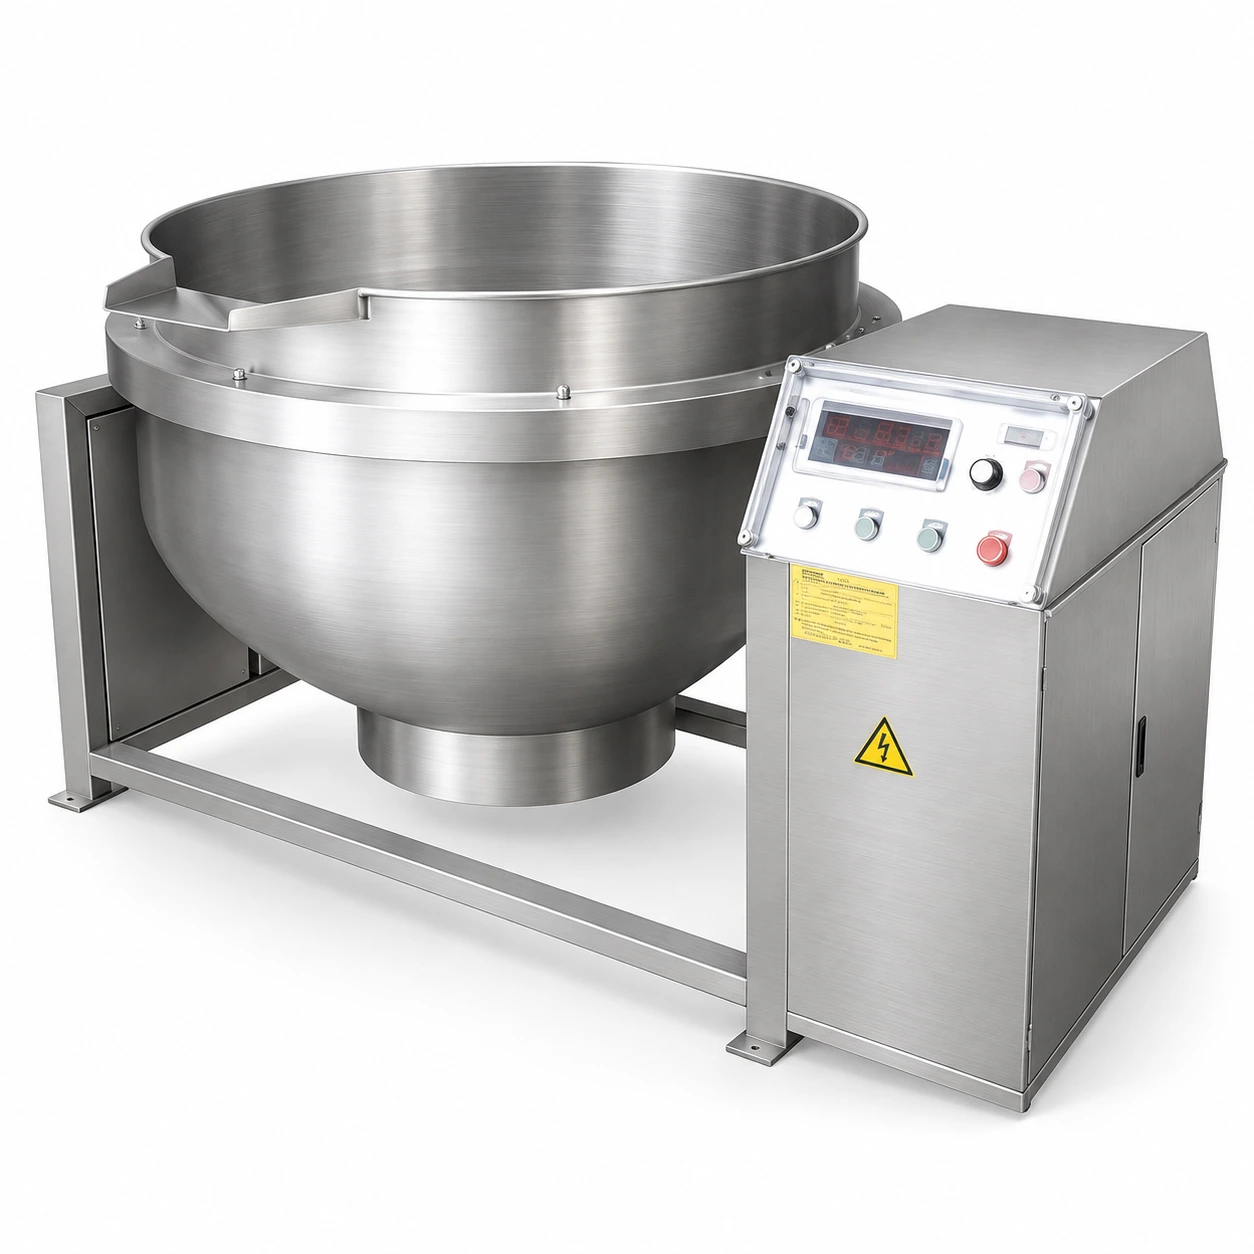
Tilting Induction Jacketed Kettle
A tilting jacketed cooking kettle with induction heating.
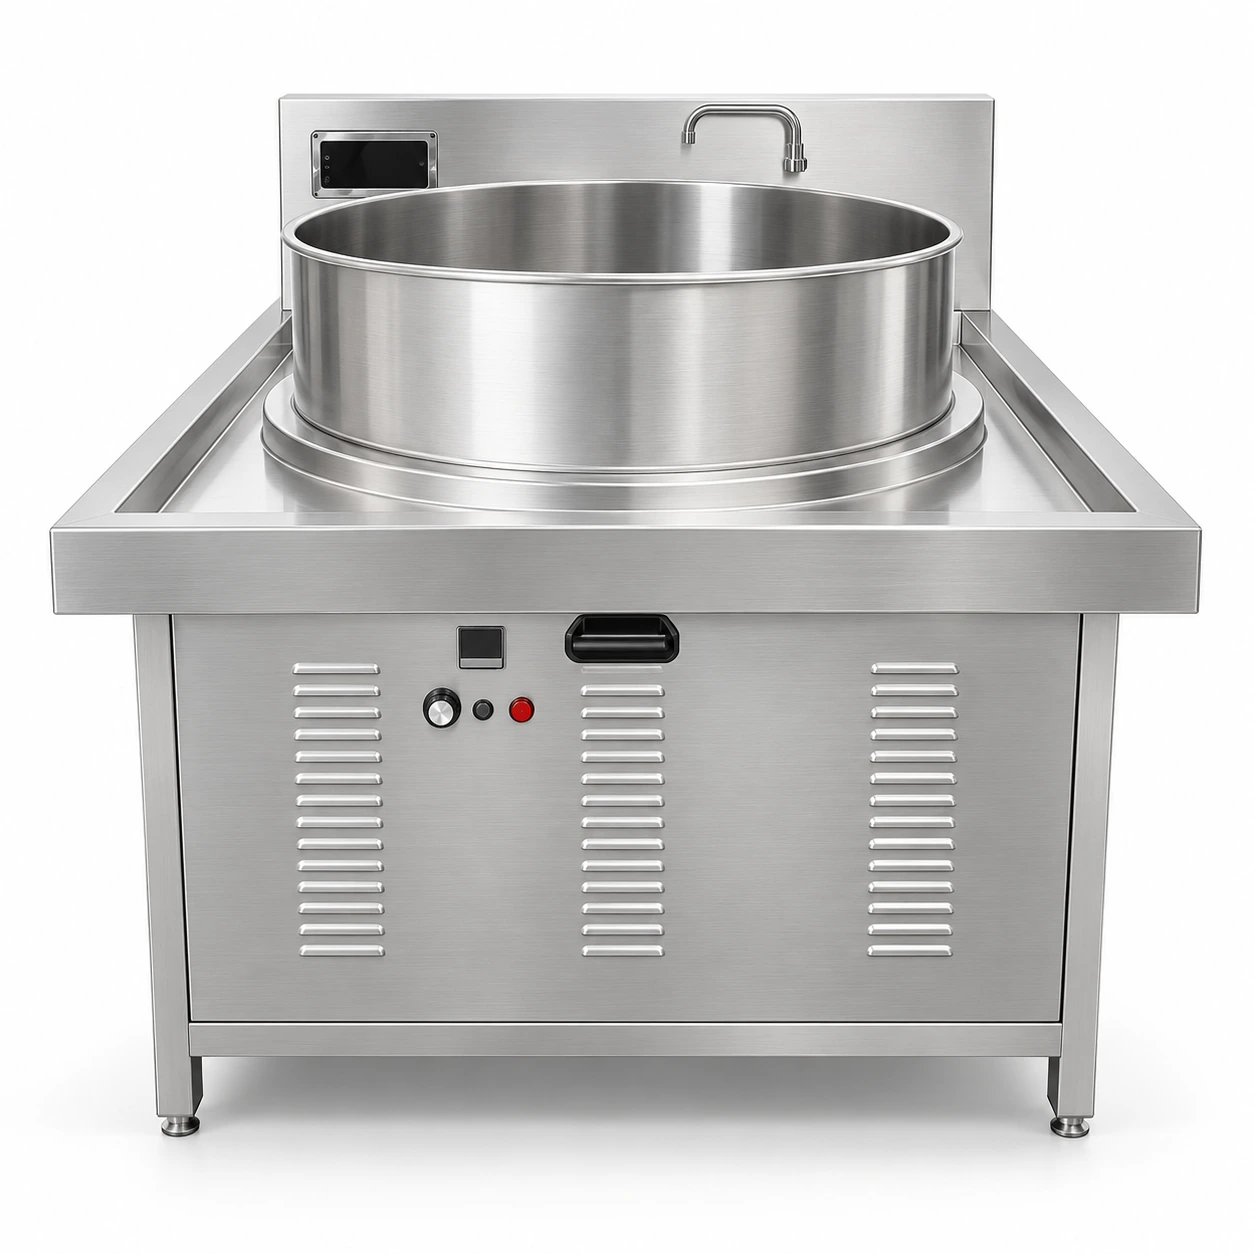
Platform Induction Cooking Kettle
An induction cooking kettle integrated into a platform-style housing.
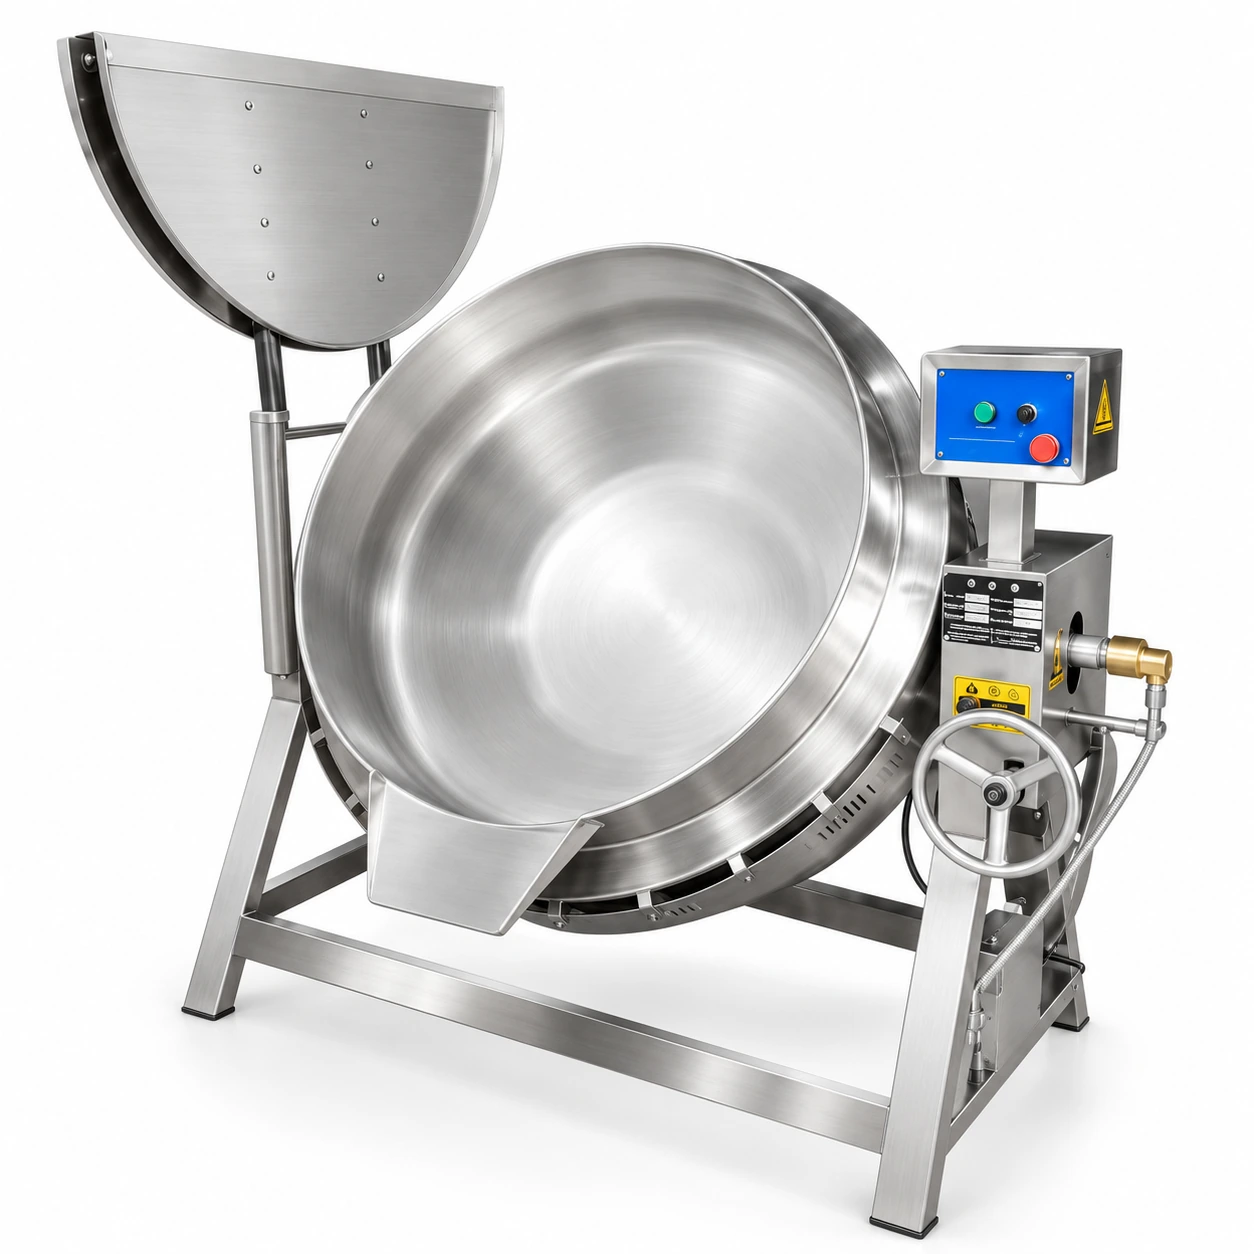
Tilting Gas Cooking Kettle
A gas-heated cooking kettle with a tilting bowl.
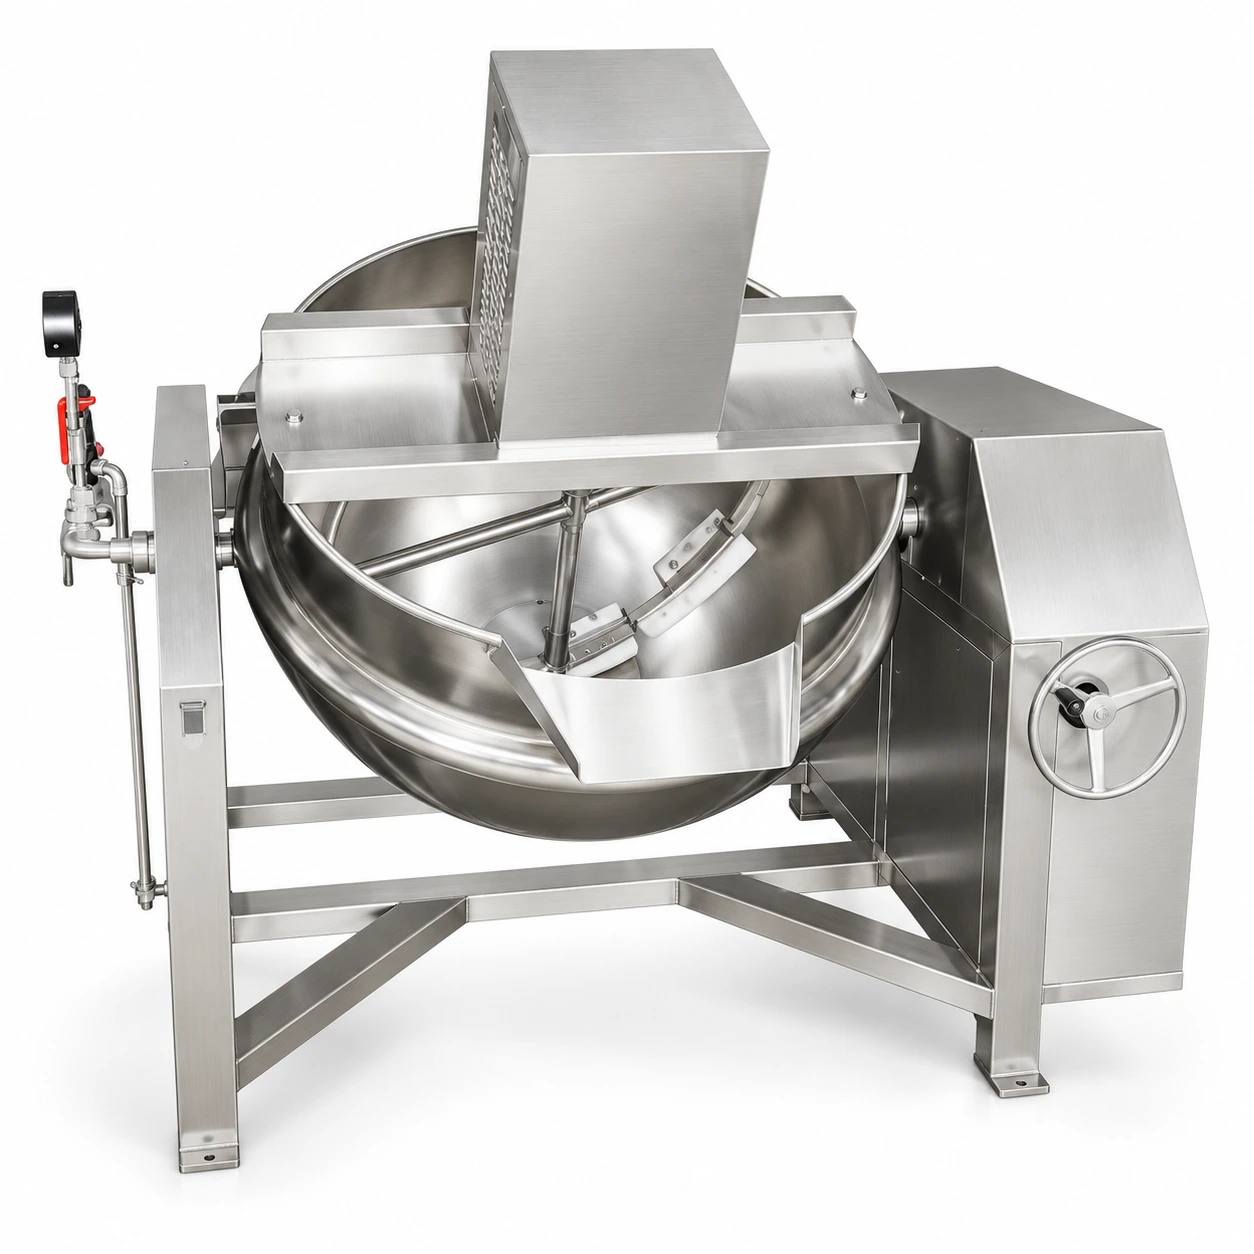
Tilting Steam Mixing Kettle
A steam-heated jacketed kettle with mixing and a tilting bowl.
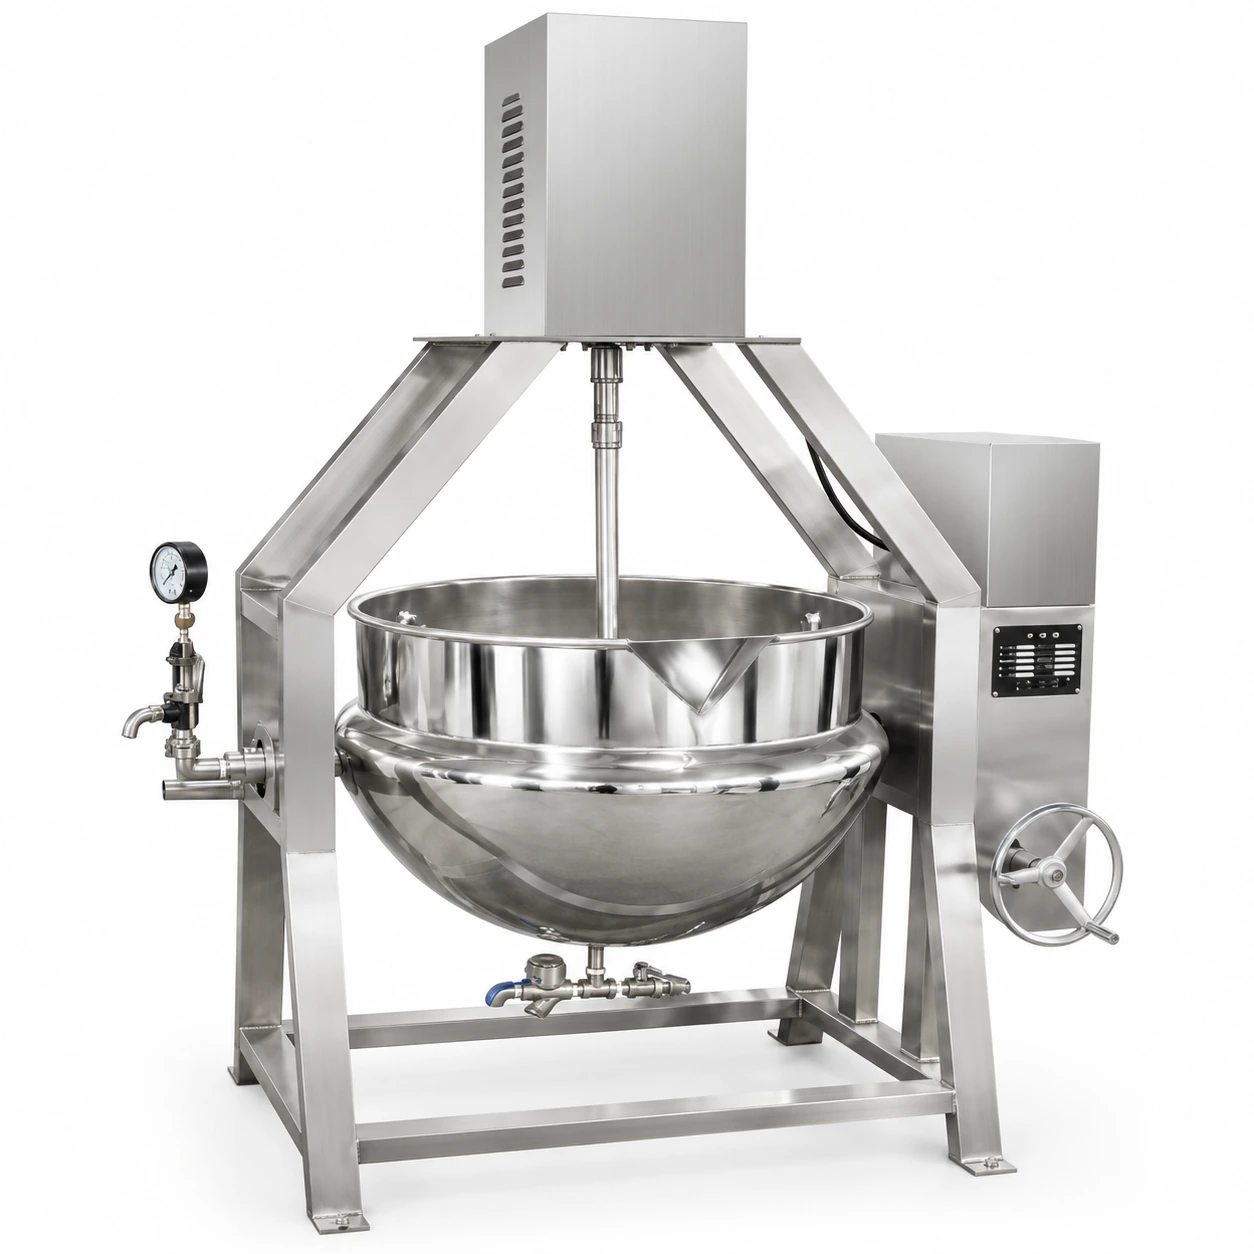
A-frame Mixing Kettle
A jacketed kettle with an A-frame mounted mixer.
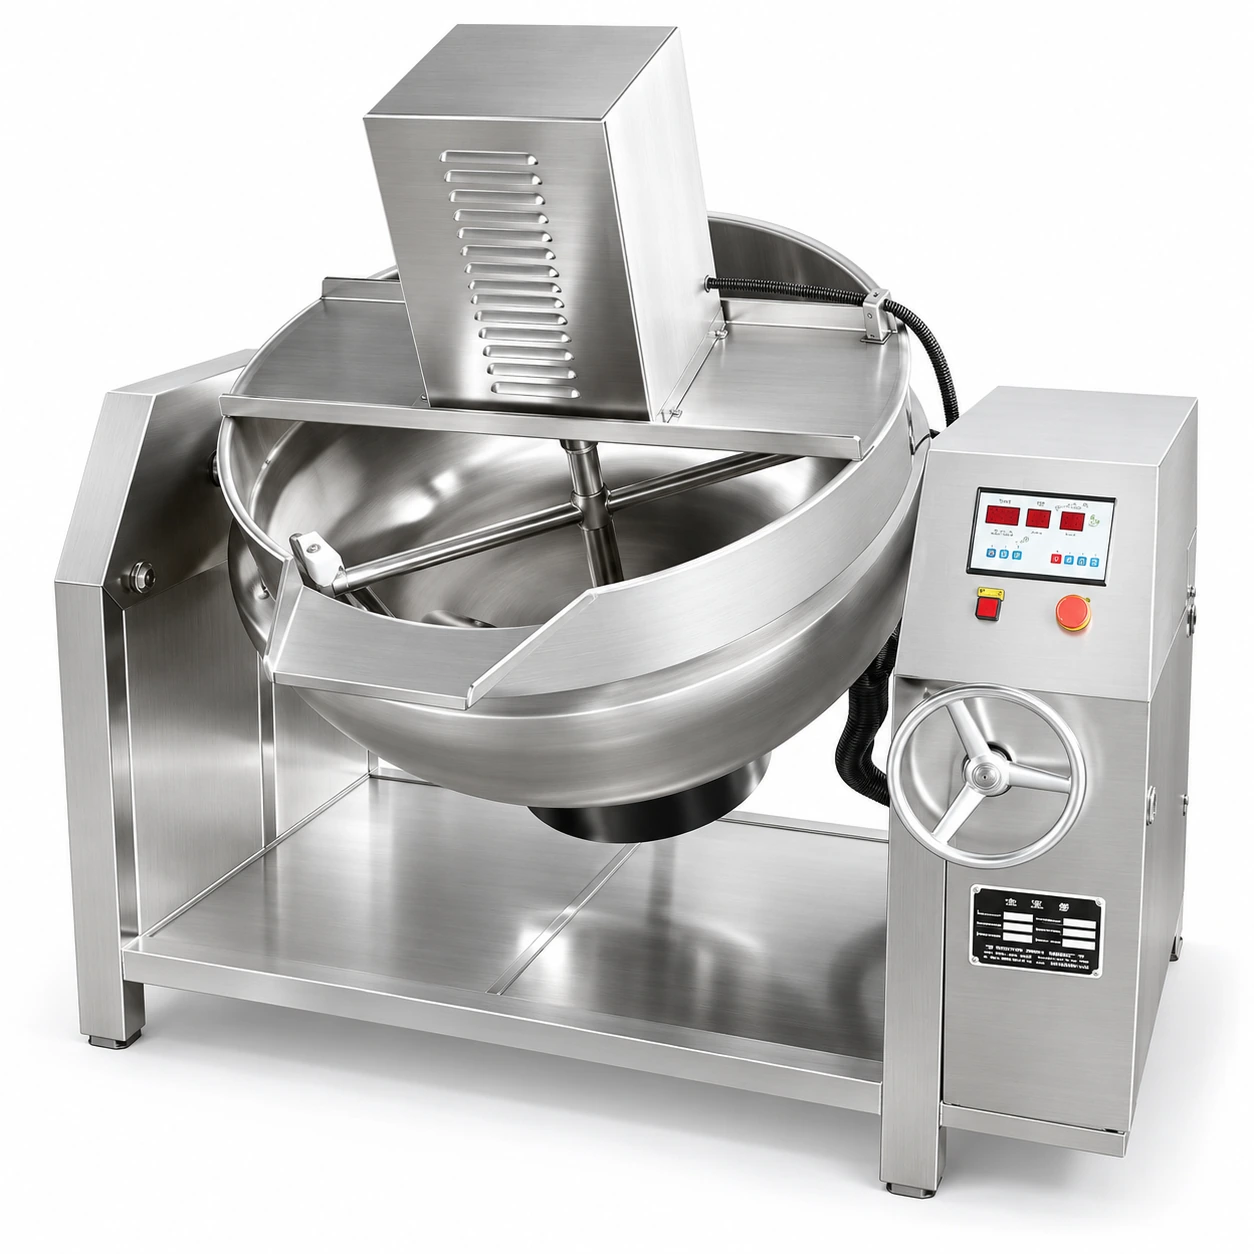
Tilting Gas Mixing Kettle
A gas-heated jacketed kettle with mixing and a tilting bowl.
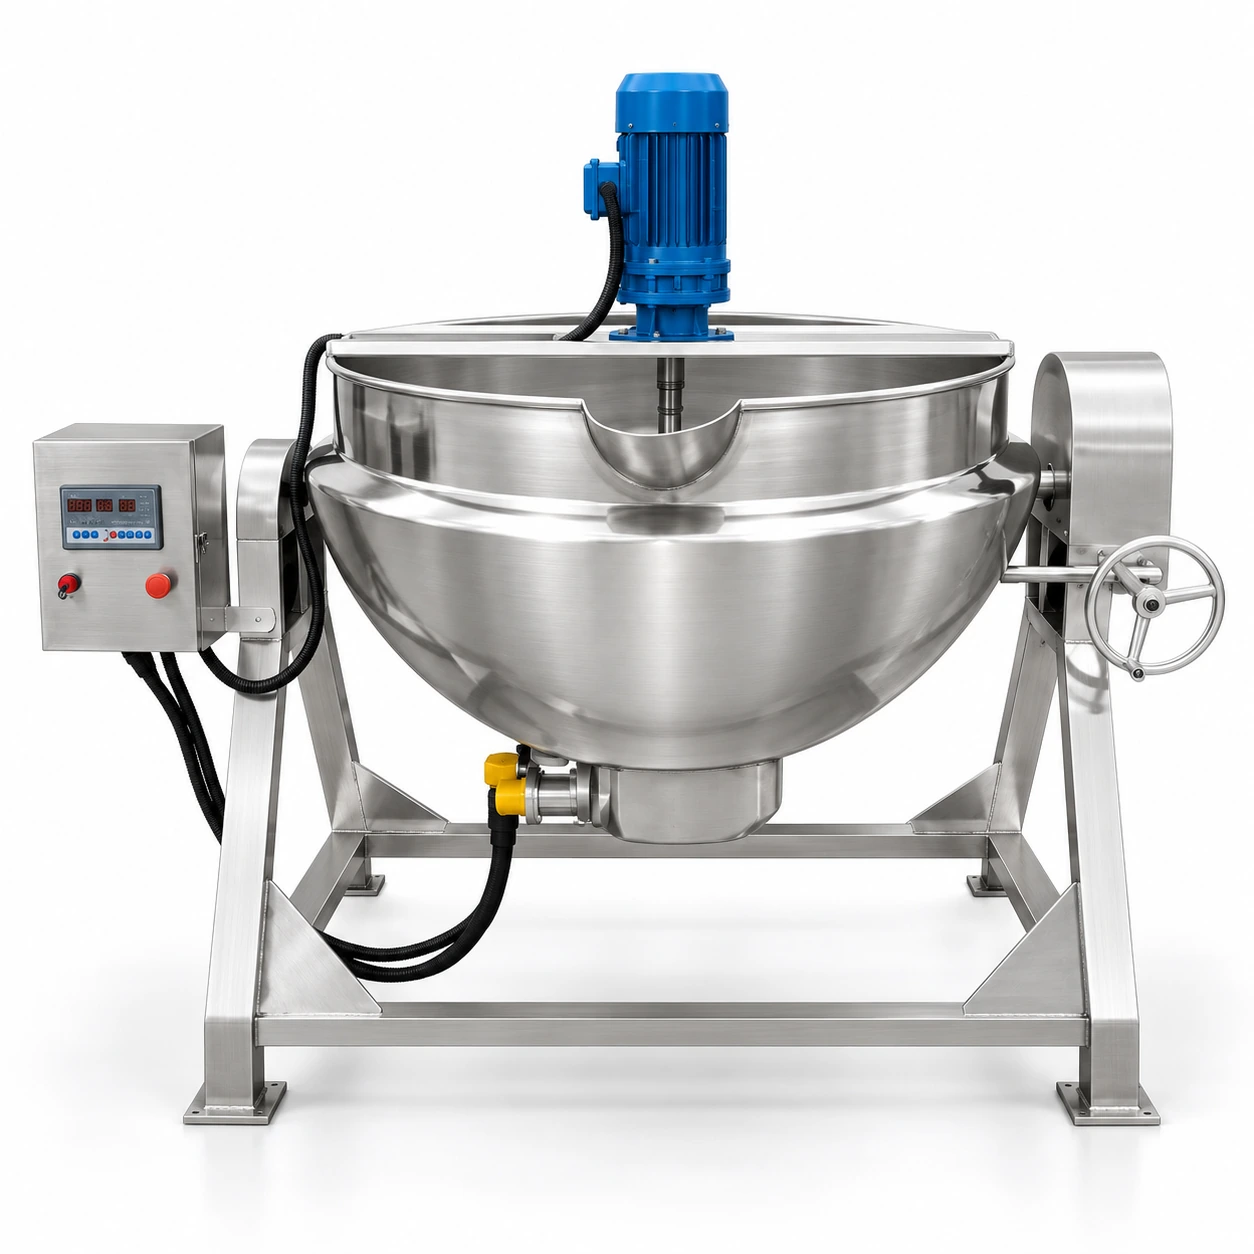
Tilting Mixing Kettle
A jacketed kettle with an integrated mixer and tilting bowl.
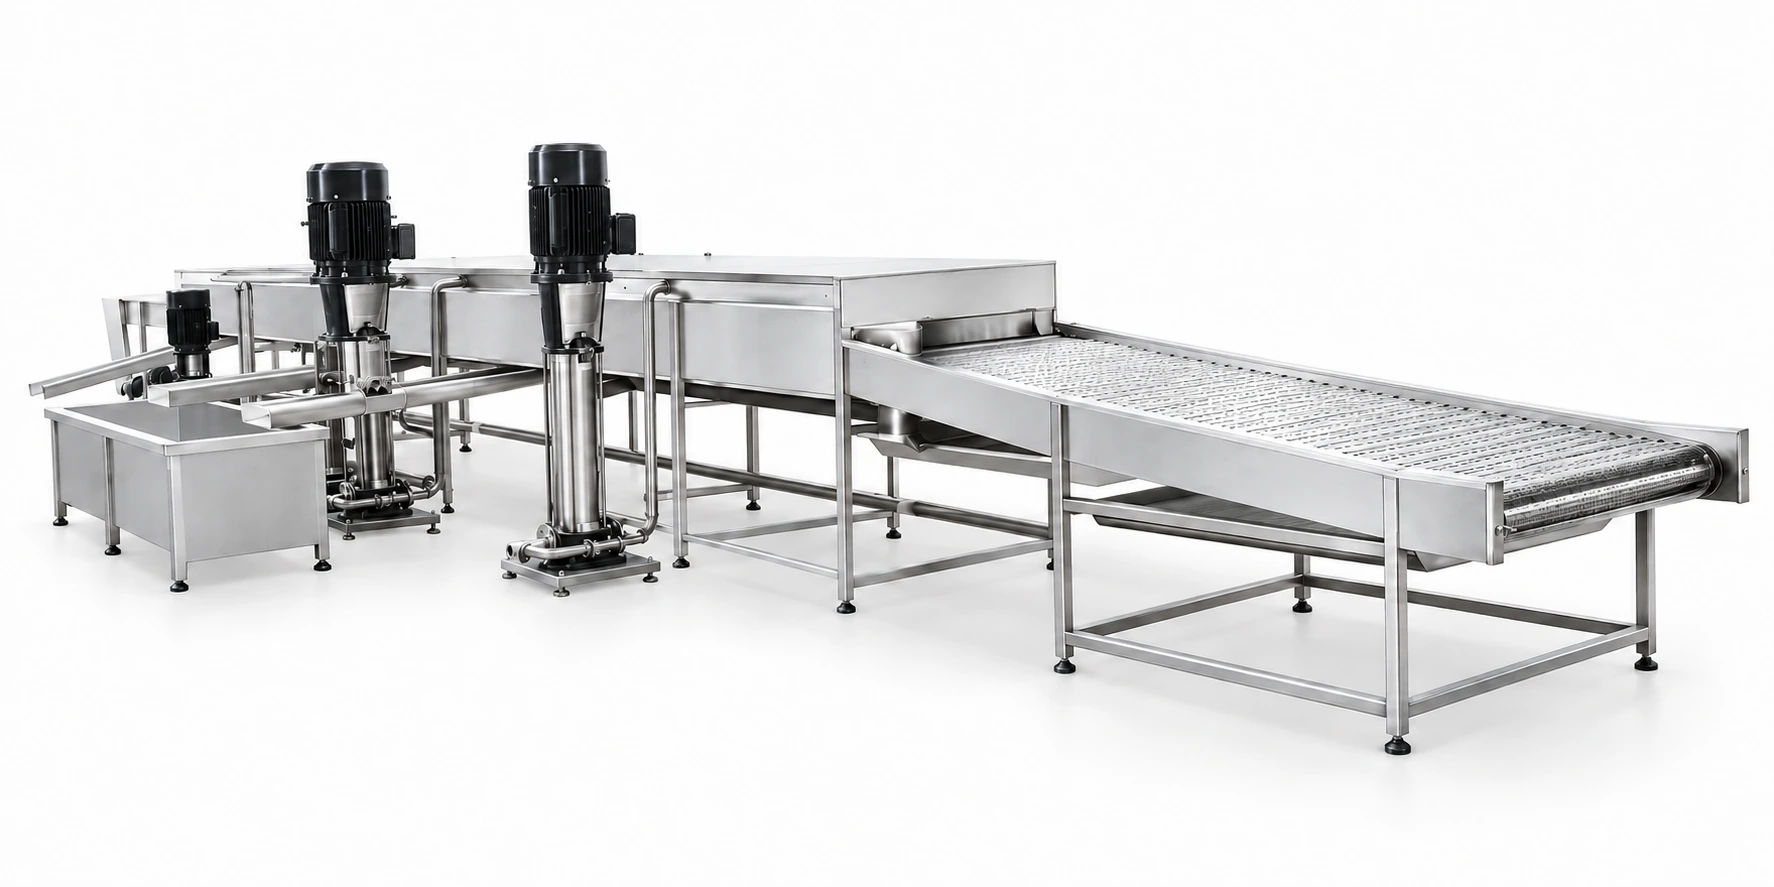
Corn Washing Machine
Conveyor-type washing machine that carries ingredients through high-pressure spray washing and recirculates filtered water.
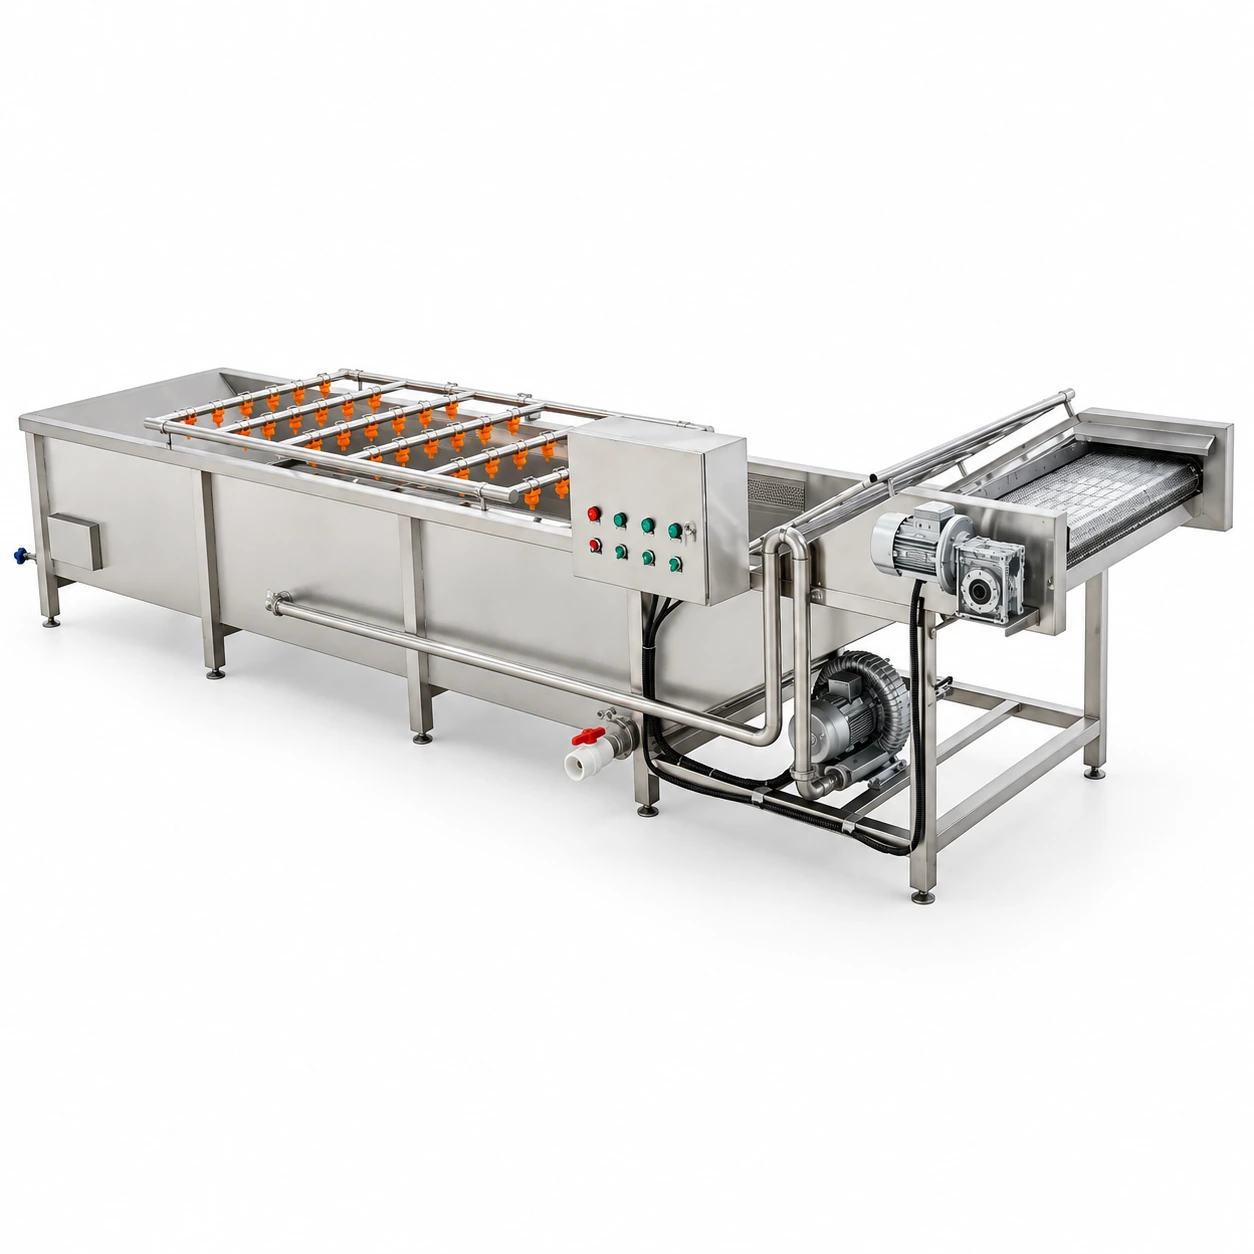
Multifunctional Bubble Washing Machine
Bubble washing equipment with impurity separation, floating-debris filtering and recirculating process water.
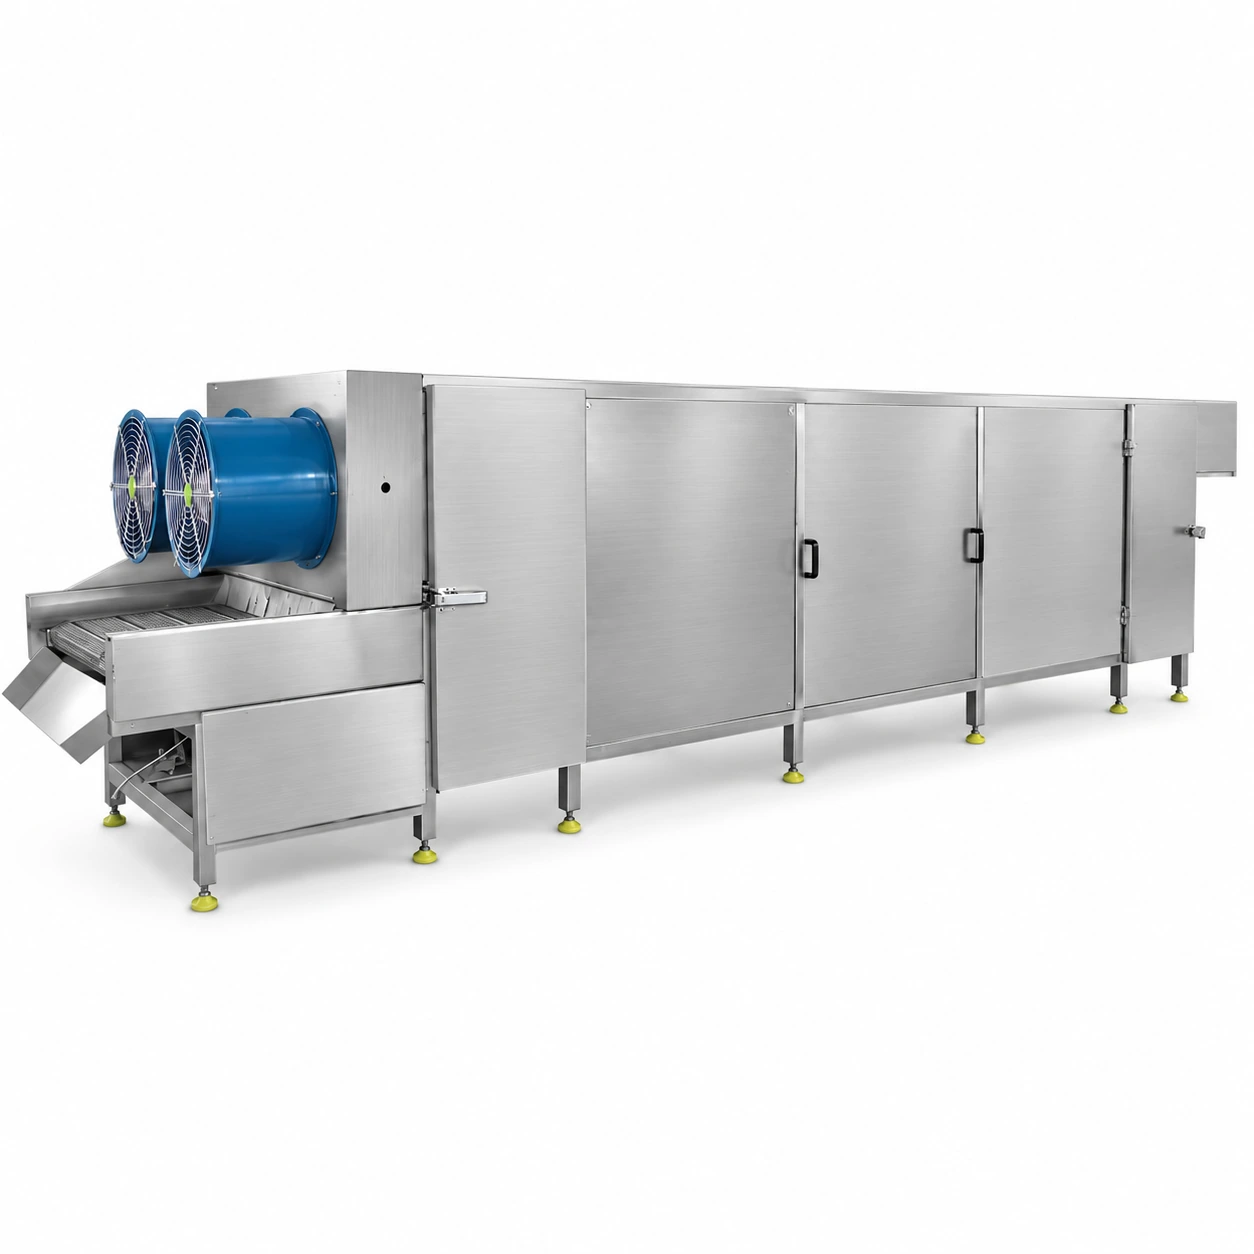
Multi-layer Food Dryer
Continuous drying equipment for sheet, strip, block and granular food and agricultural materials.
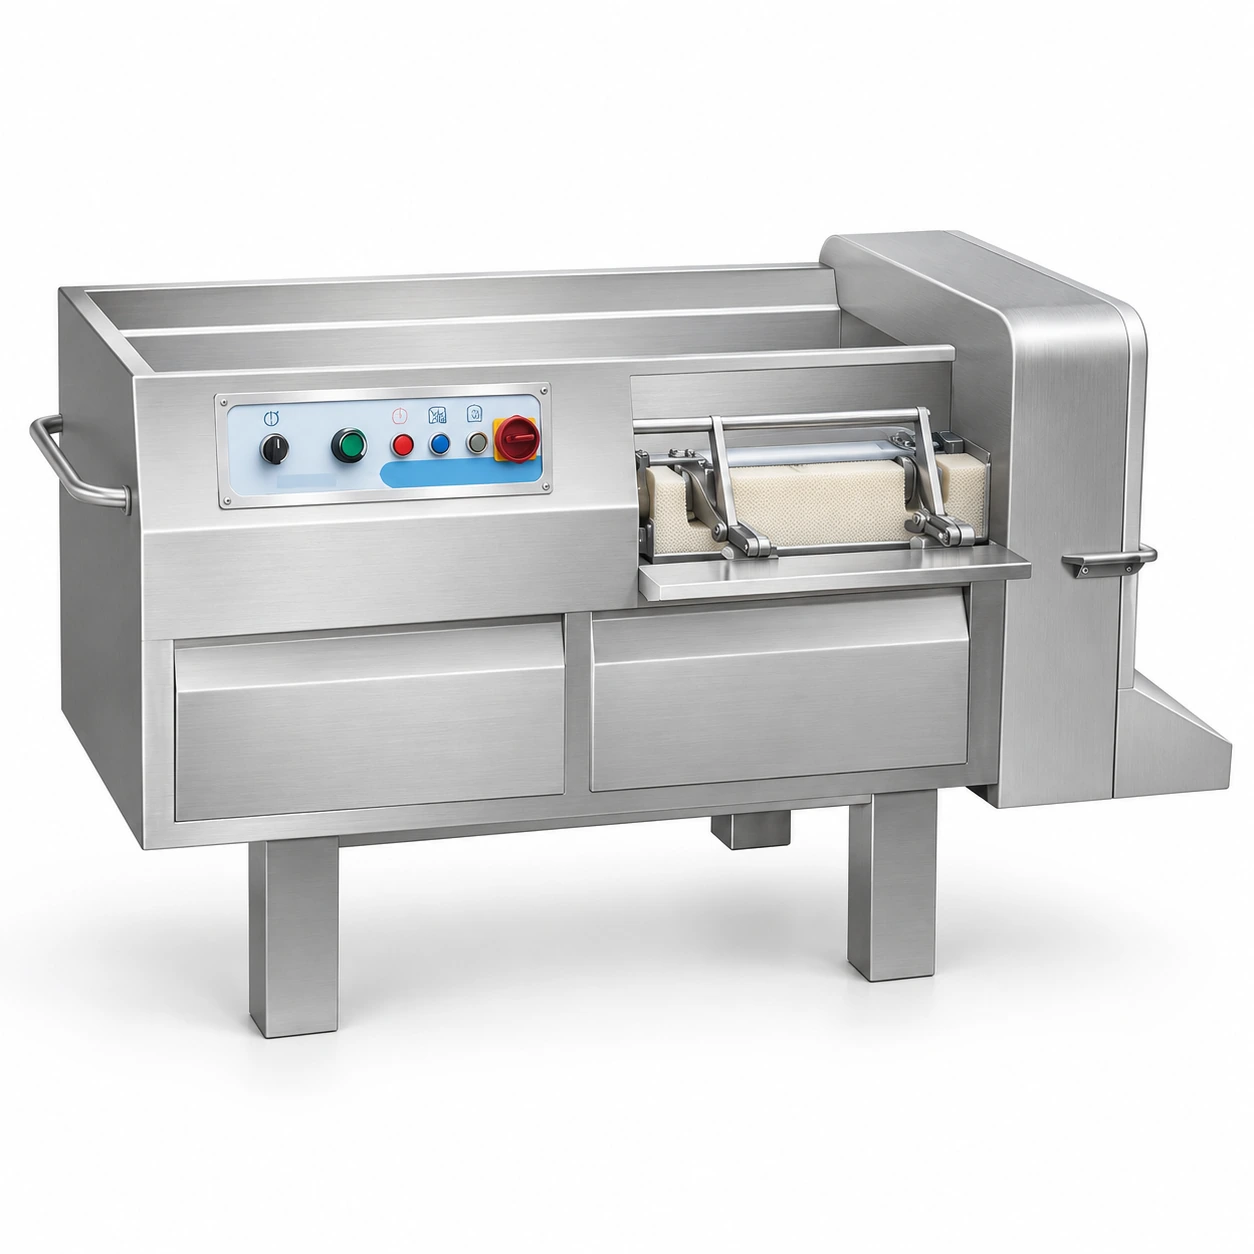
Food Dicing Machine
Dicing equipment for the preparation stage of your food process. Discuss the cutting size and output you need to select a configuration.
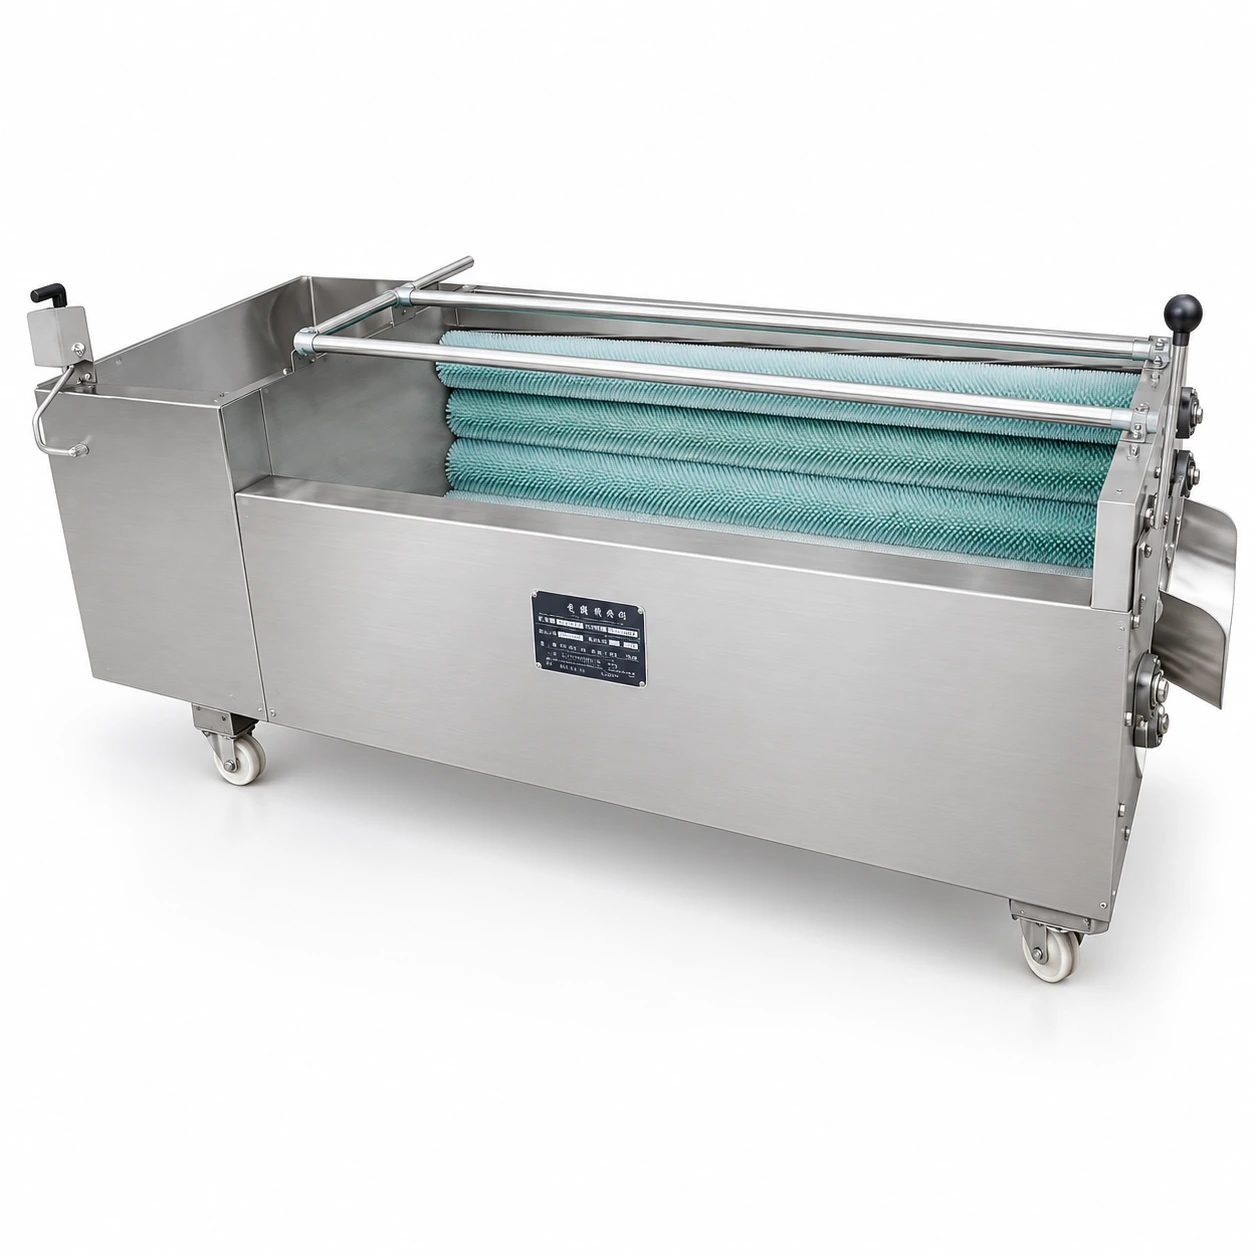
Brush Washing Machine
Brush washing equipment for food preparation. Share the ingredients you process and your output requirements to discuss a suitable configuration.
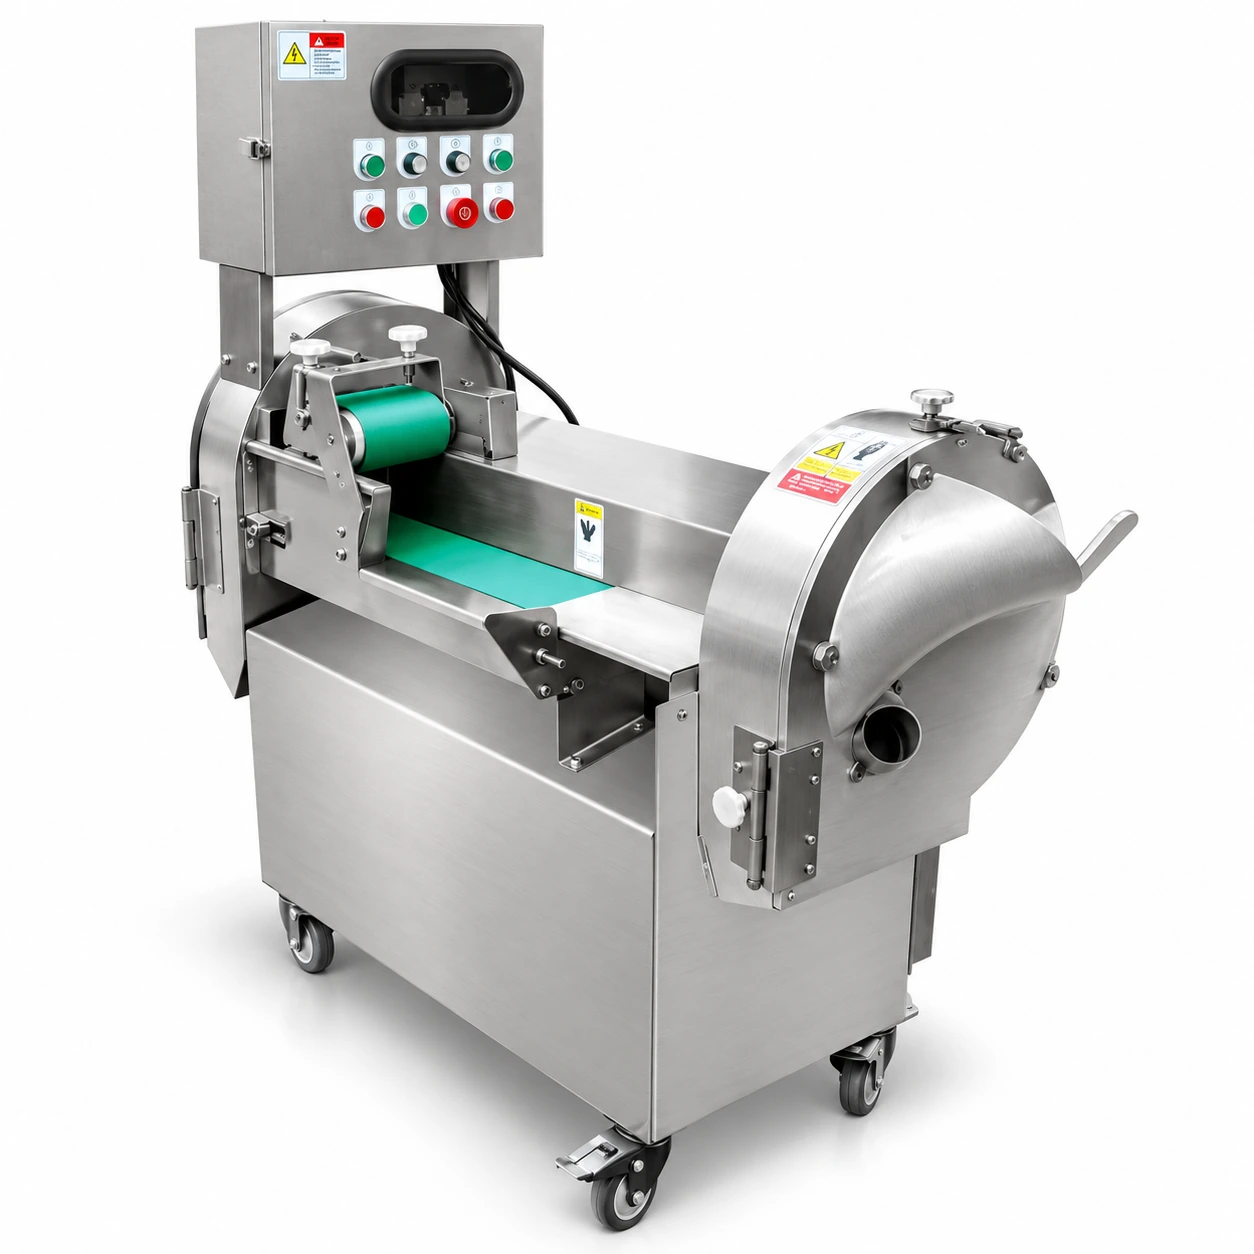
Multifunctional Vegetable Cutter
Vegetable cutting equipment for commercial food preparation. Share your ingredients, cutting format and output target to select the right configuration.
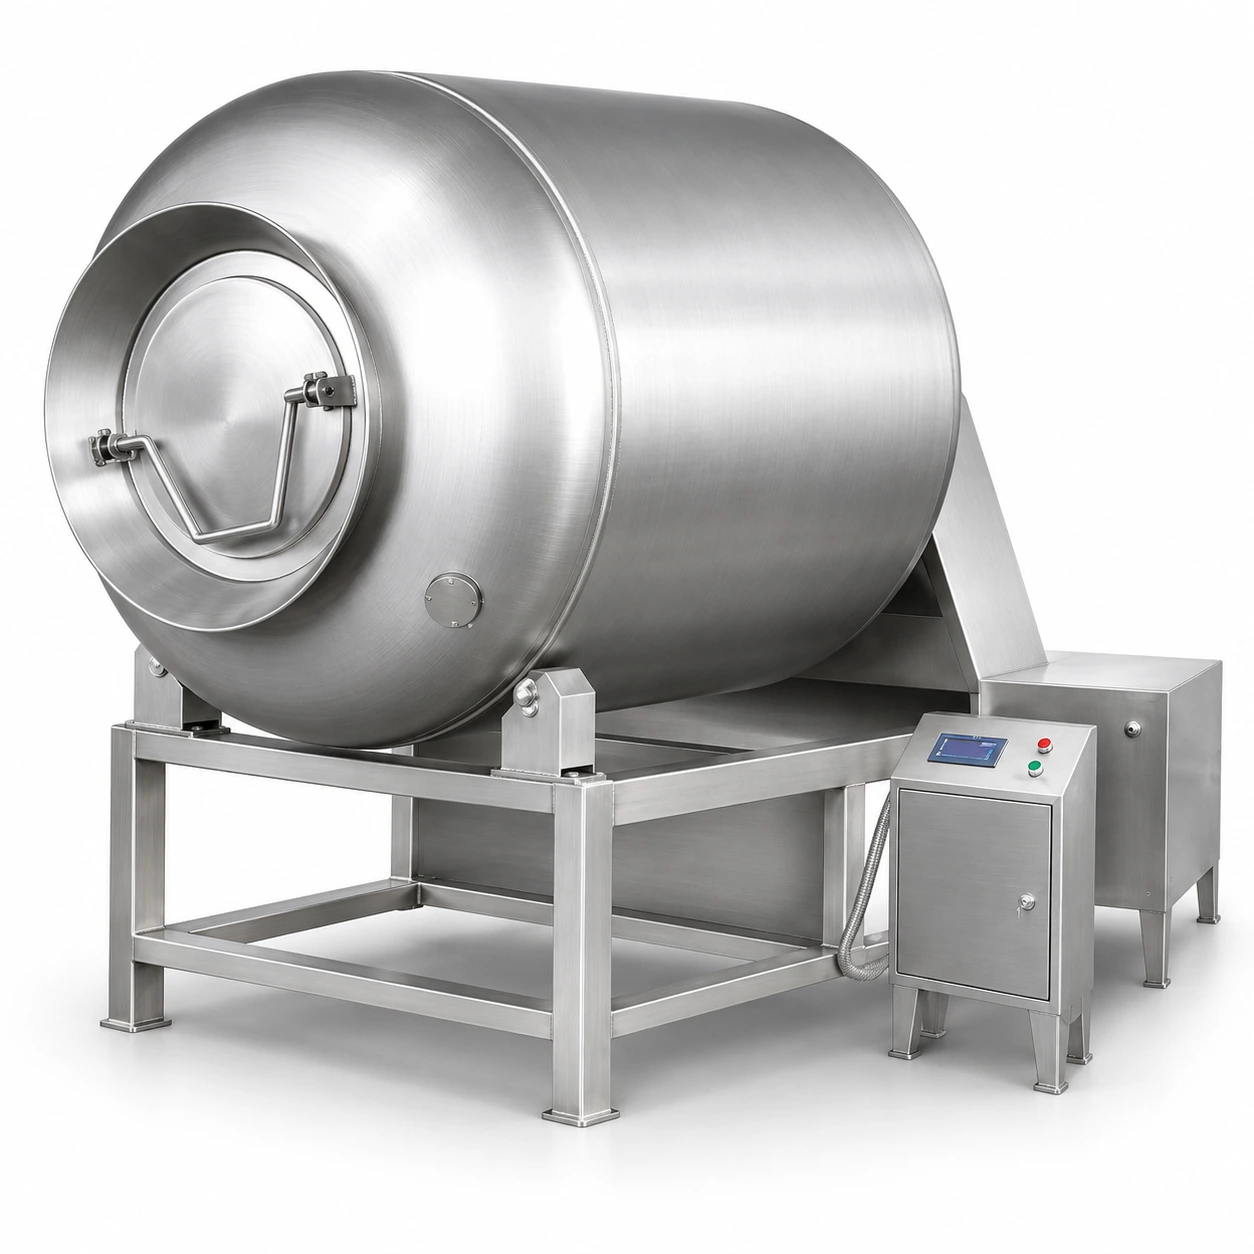
Food Tumbling Machine
Tumbling equipment for your food preparation process. Discuss batch size, product handling and the configuration required for your application.
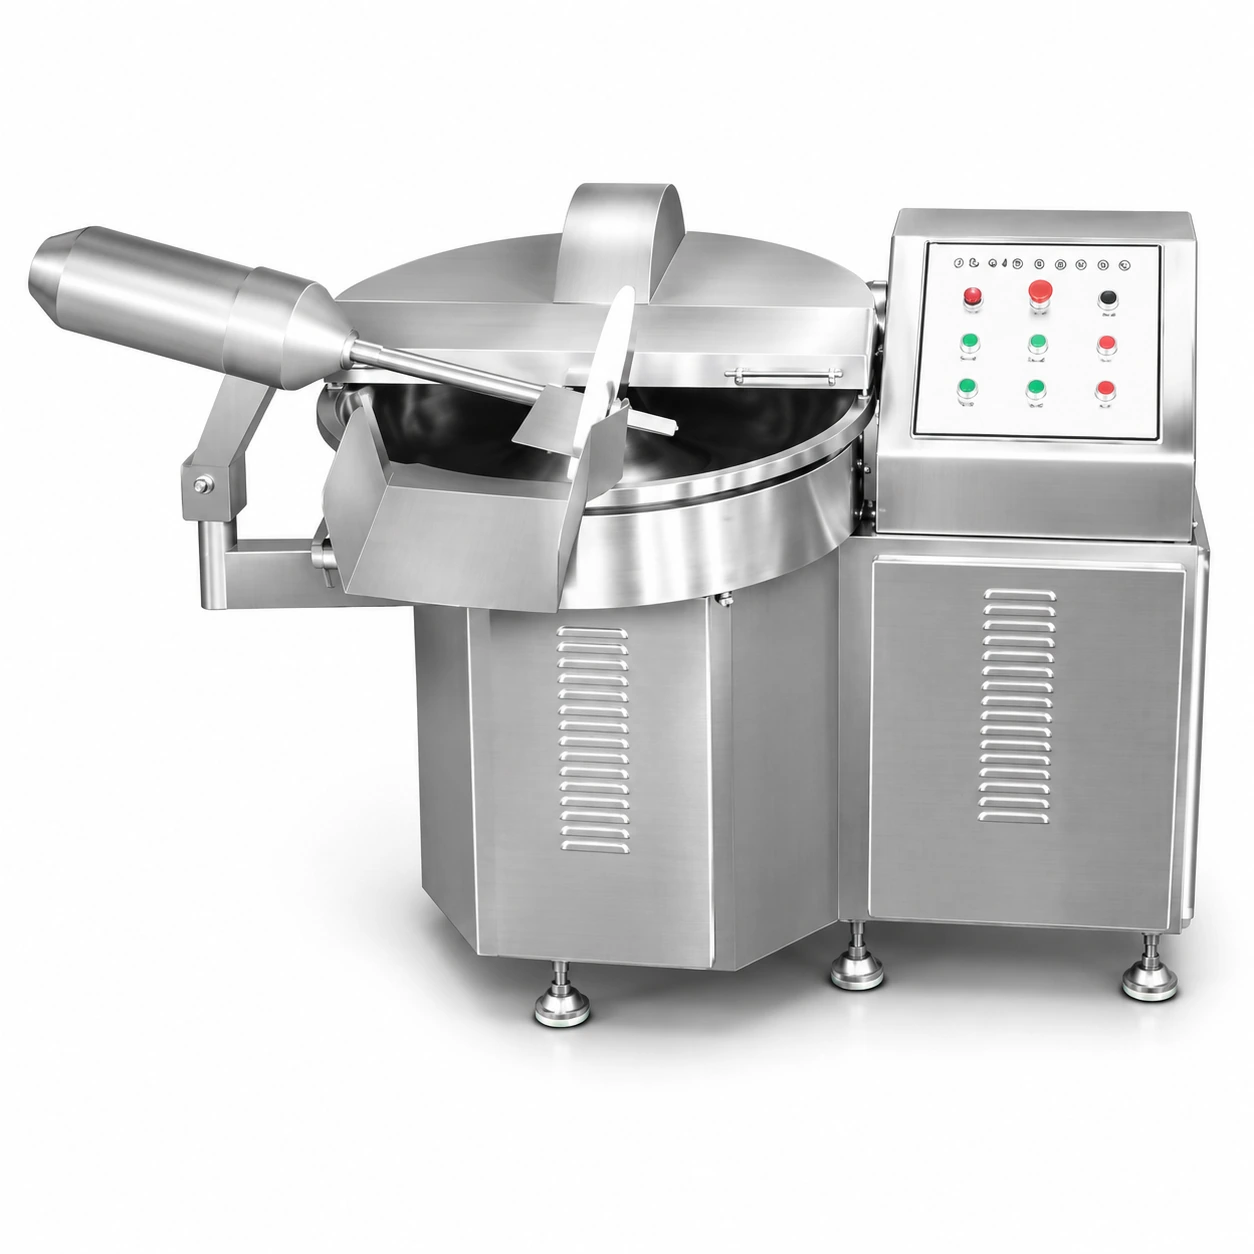
Bowl Chopper
Bowl chopping and mixing equipment for commercial food preparation. Compare your batch requirements with the available configuration.
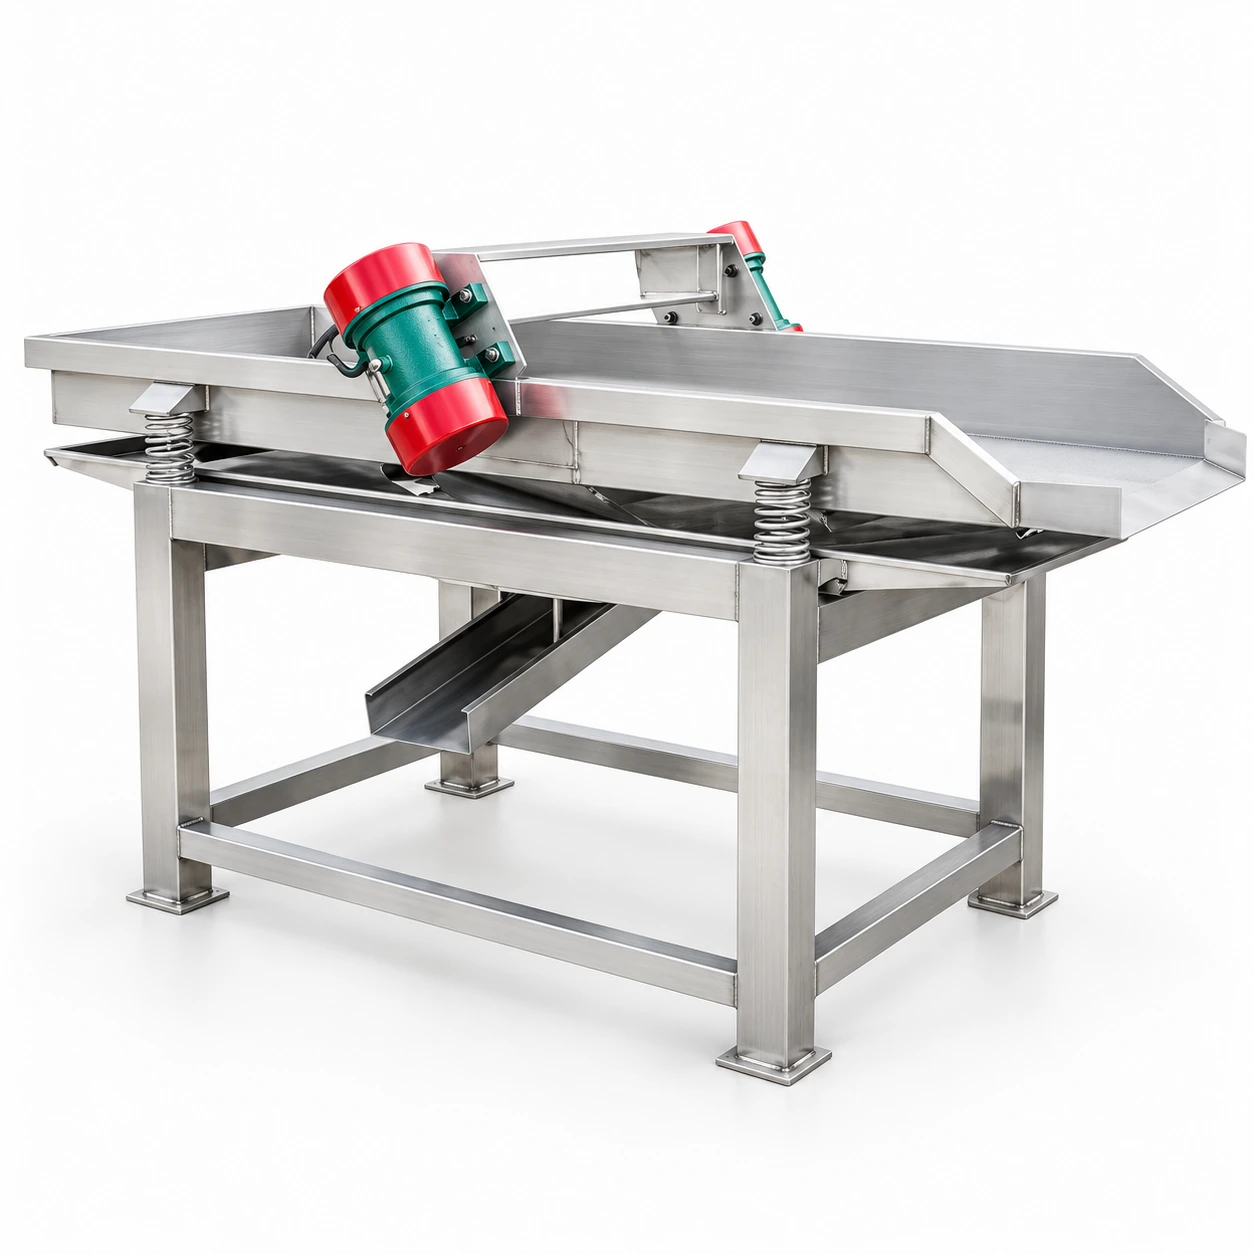
Vibrating Screen
Vibrating screening equipment for food processing and material handling. Discuss screen size, product characteristics and output with your enquiry.
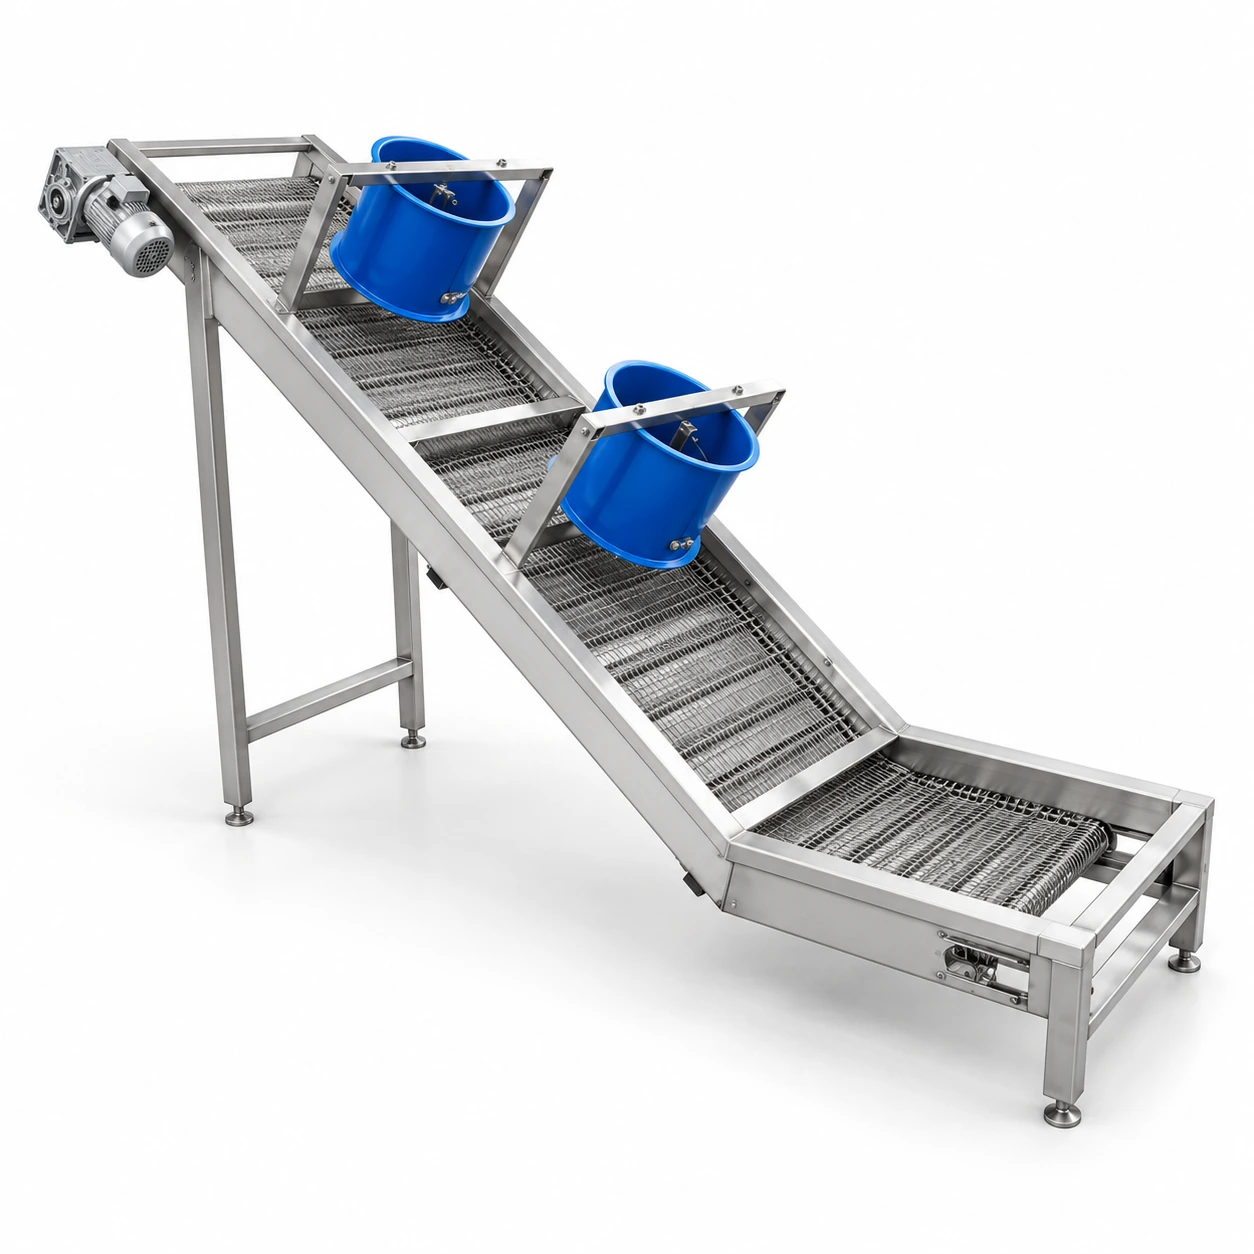
Food Elevator
An inclined elevator for transferring food between process stages. Confirm lifting height, layout and product handling requirements for your line.
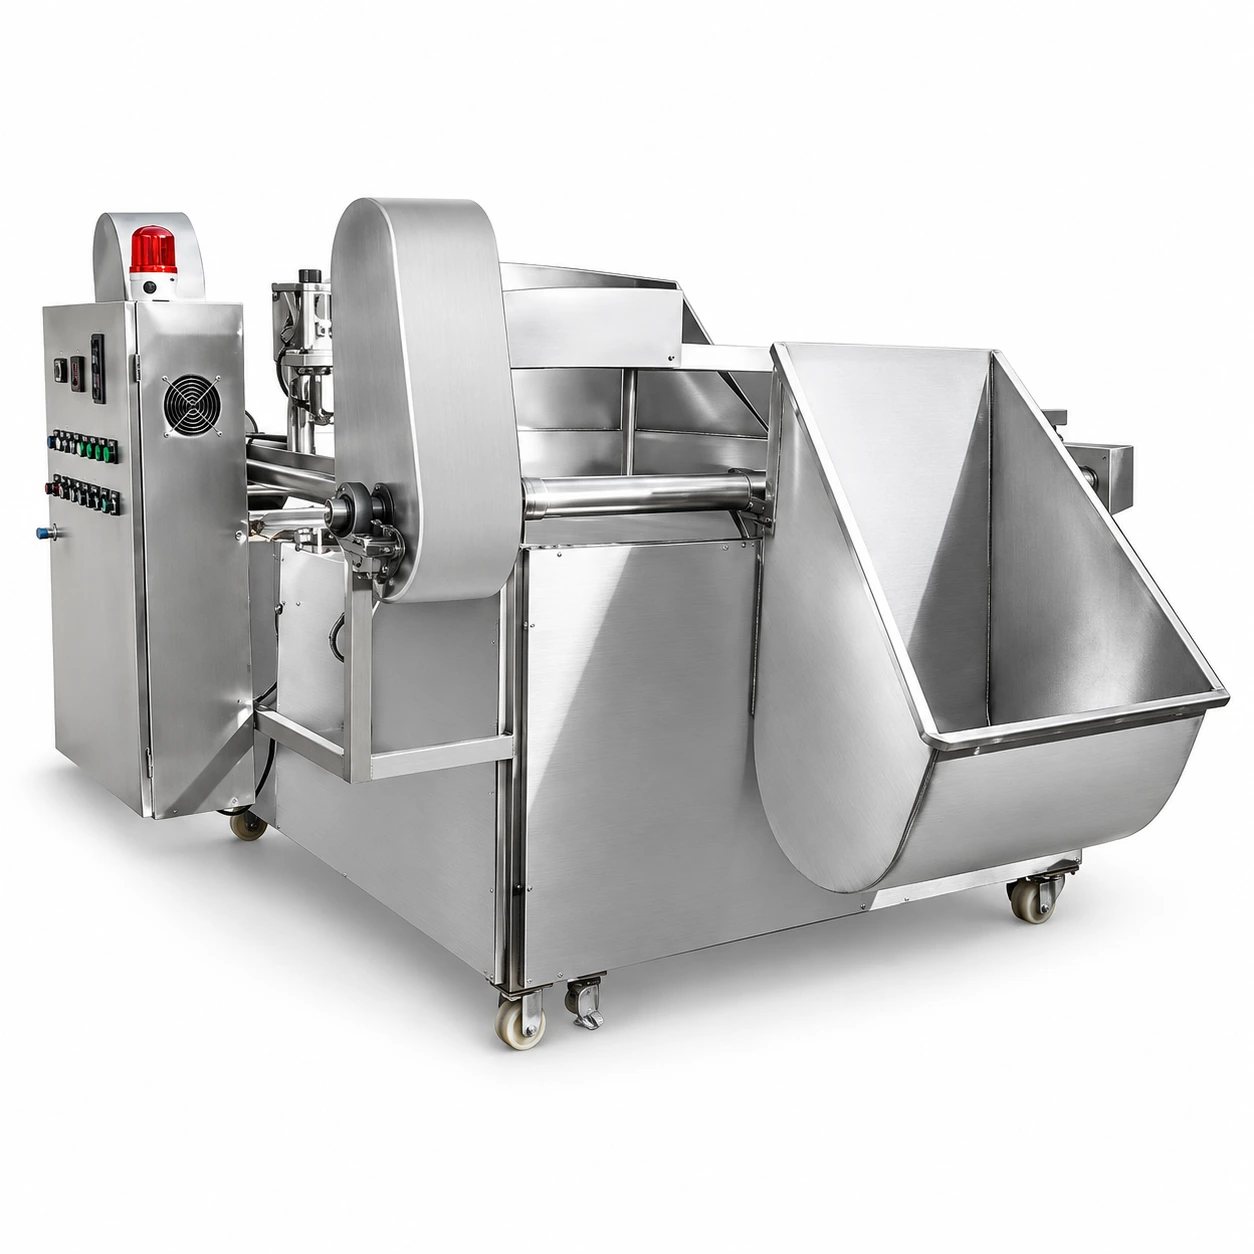
Industrial Fryer
Frying equipment for commercial food processing. Share your product, batch size and heating requirements to explore a suitable configuration.
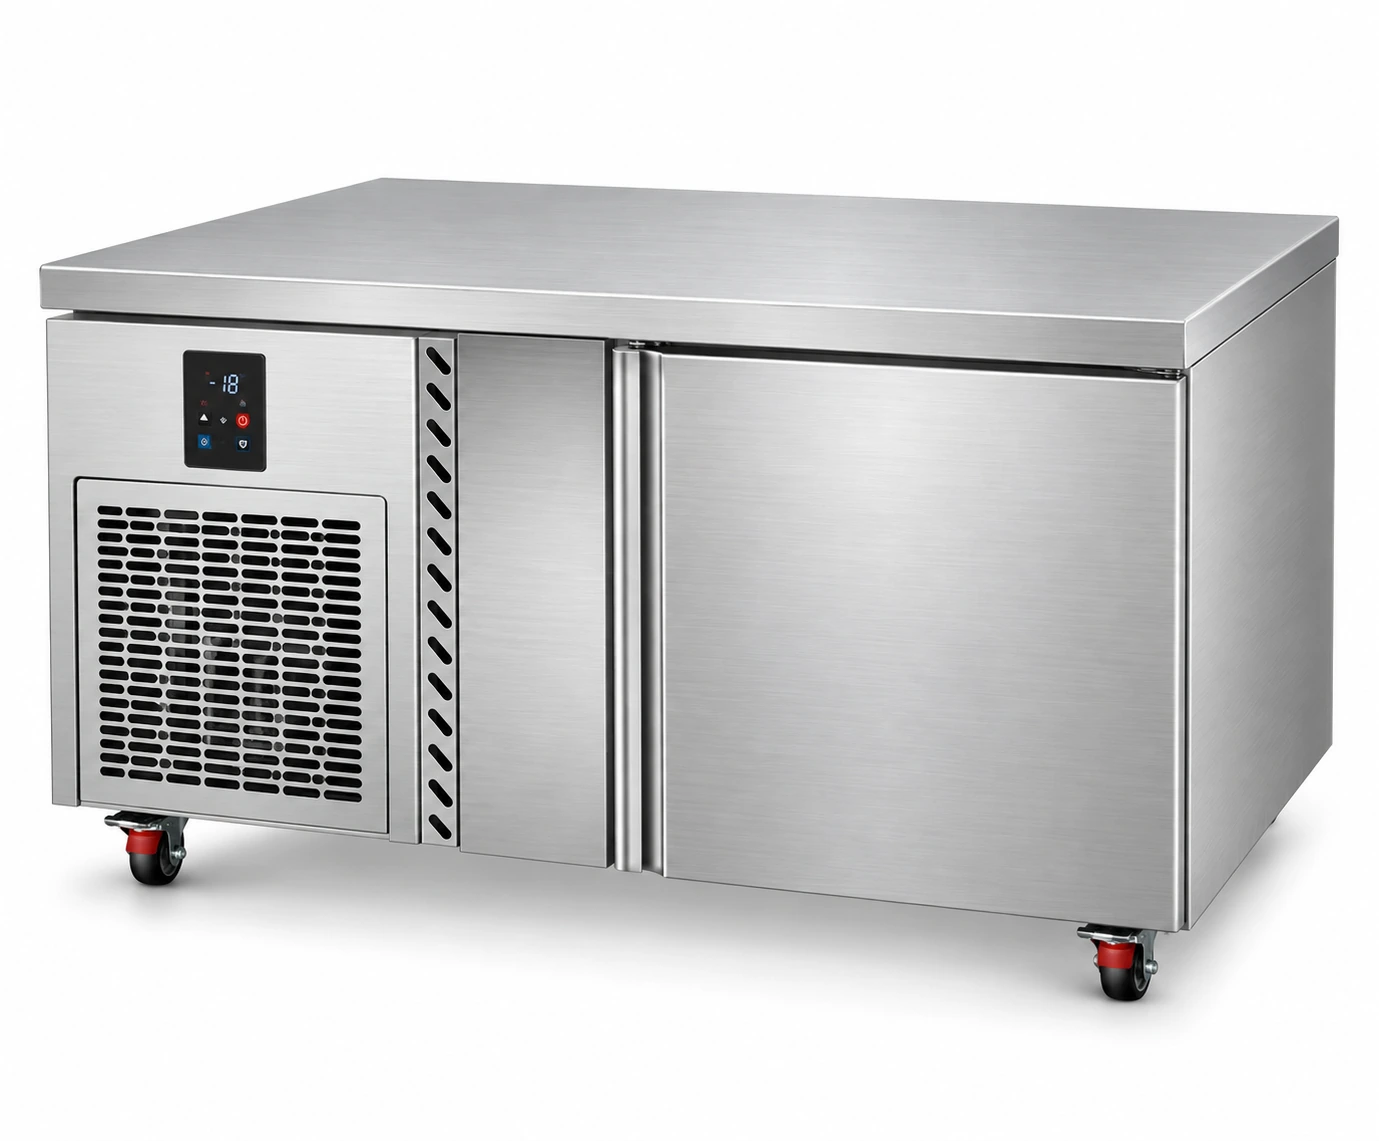
5-Tray Worktop Blast Freezer · −45°C
A 5-tray worktop blast freezer with 150 L cabinet volume and forced-air cooling. Compare its footprint, electrical requirements and loading format to your workflow.
Range reference image7-Tray Worktop Blast Freezer · −45°C
A 7-tray worktop blast freezer with 150 L cabinet volume and forced-air cooling. Compare its footprint, electrical requirements and loading format to your workflow.
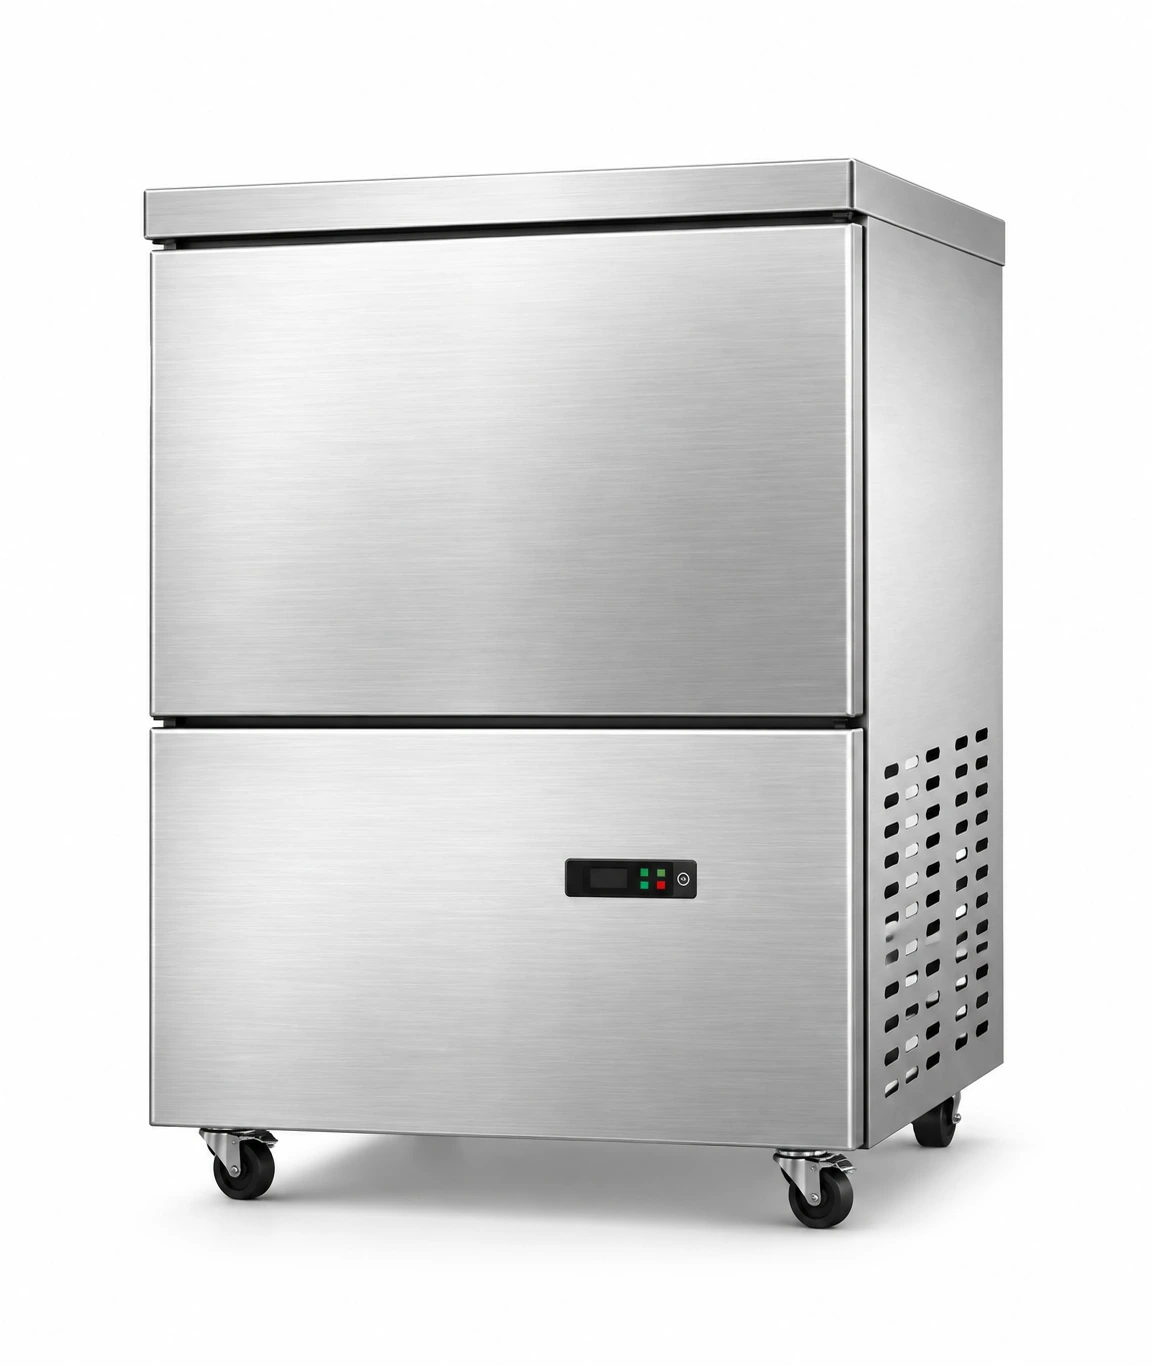
3-Tray Rack Blast Freezer · −45°C
A 3-tray tray rack blast freezer with 90 L cabinet volume and forced-air cooling. Compare its footprint, electrical requirements and loading format to your workflow.
 Range reference image
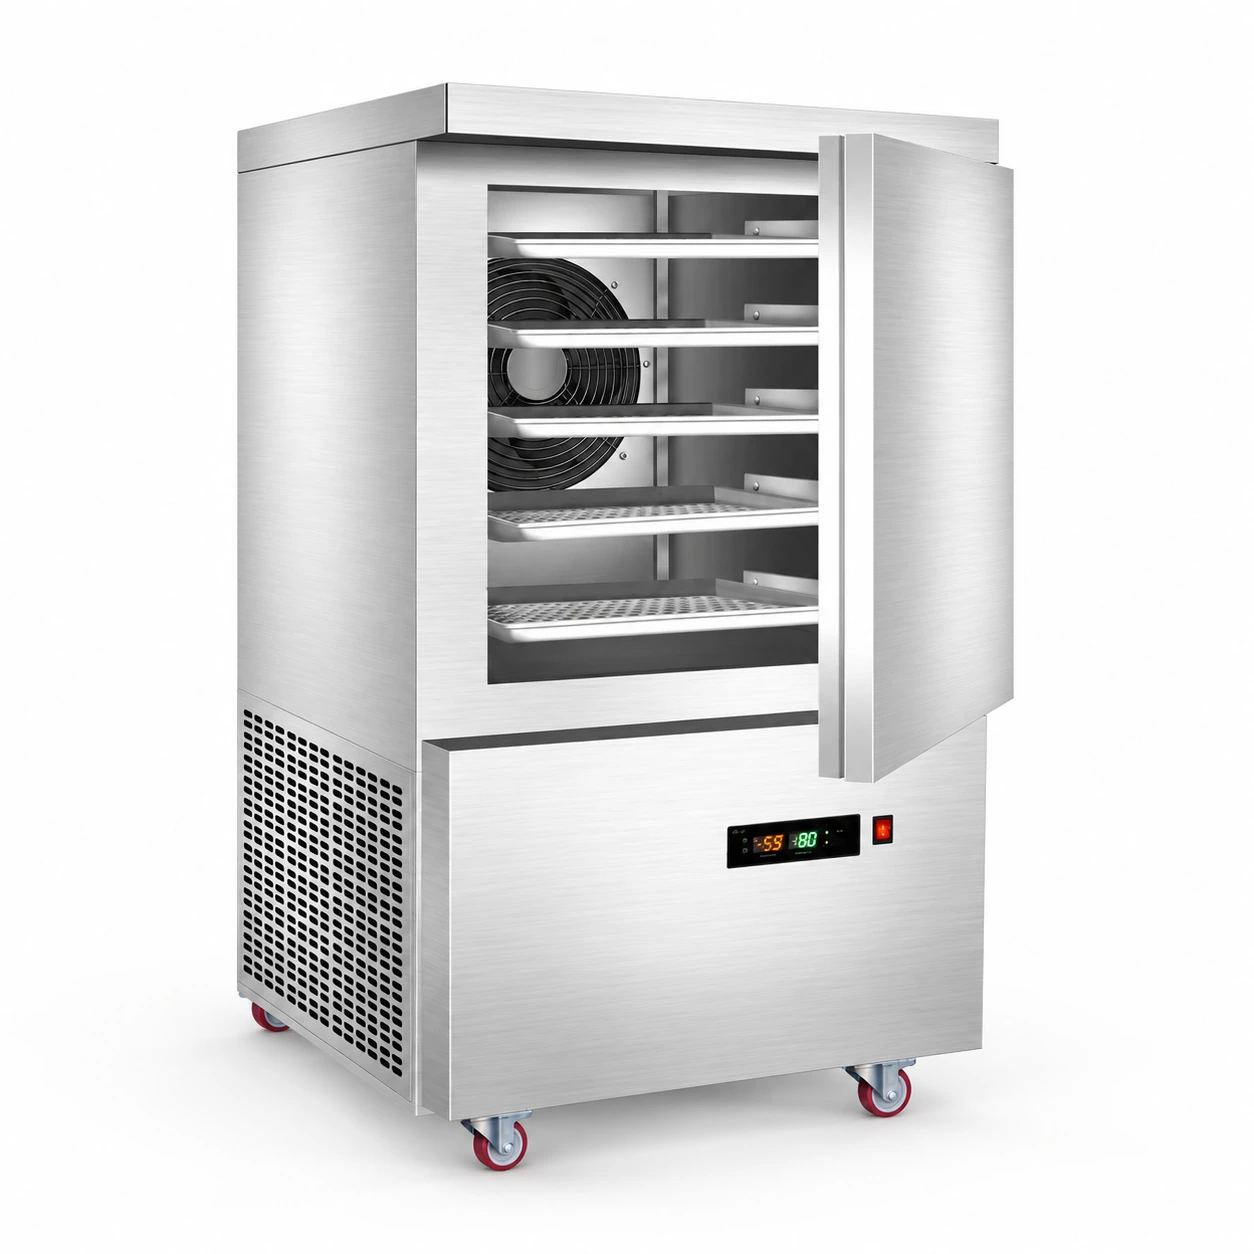
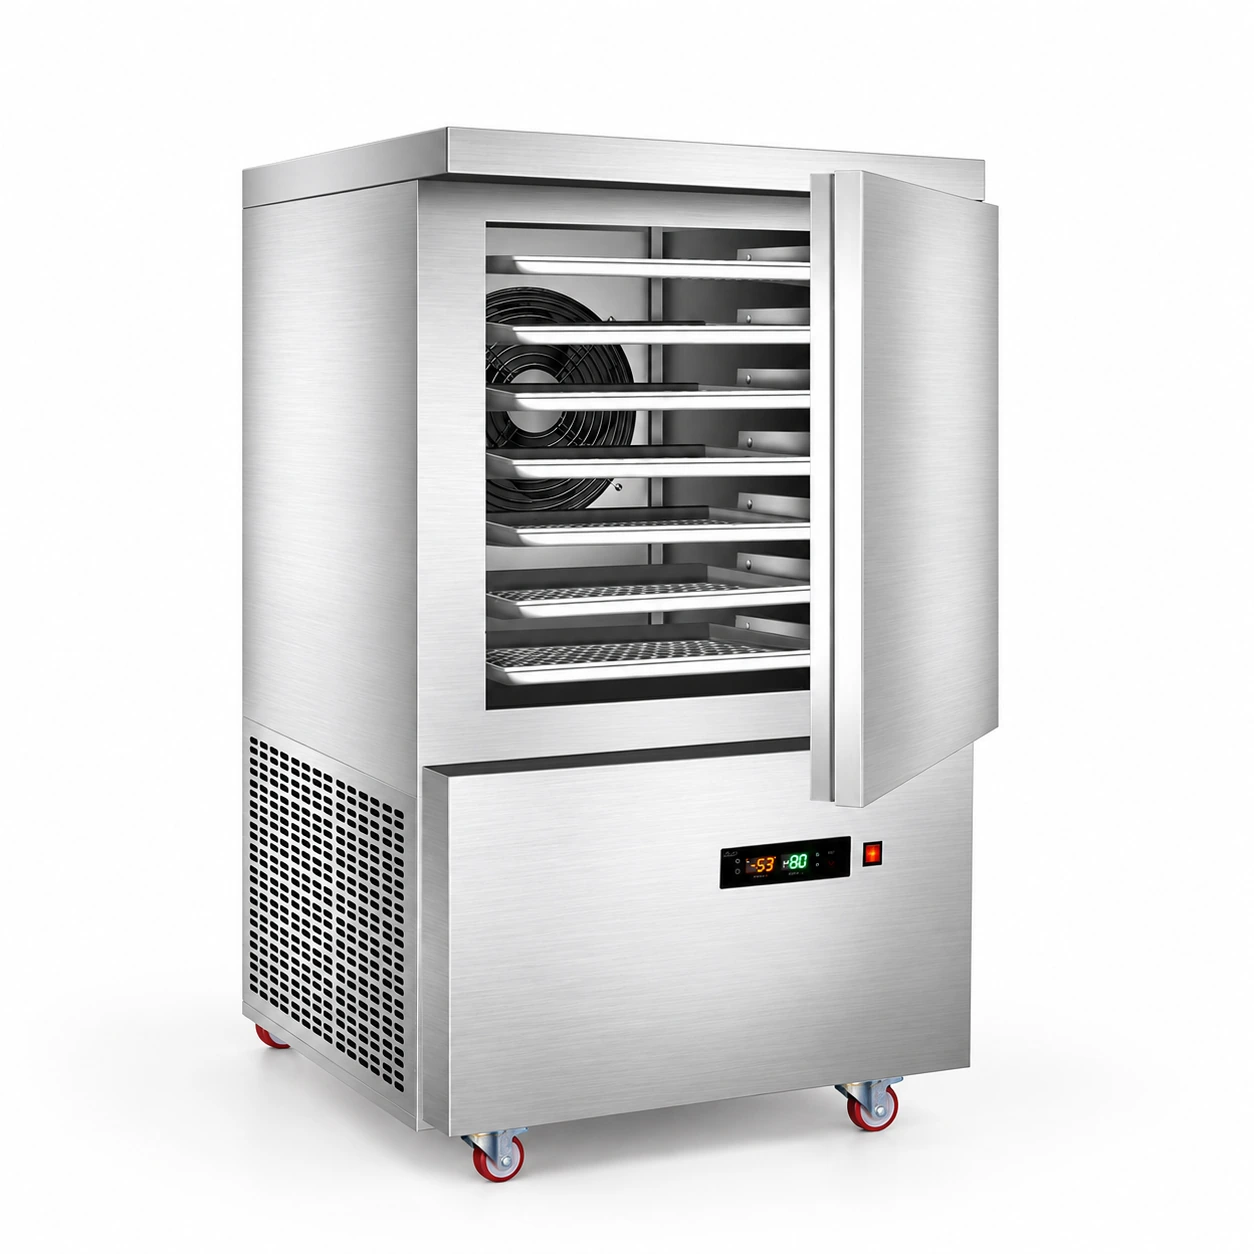
5-Tray Rack Blast Freezer · −45°C
A 5-tray tray rack blast freezer with 130 L cabinet volume and forced-air cooling. Compare its footprint, electrical requirements and loading format to your workflow.
 Range reference image
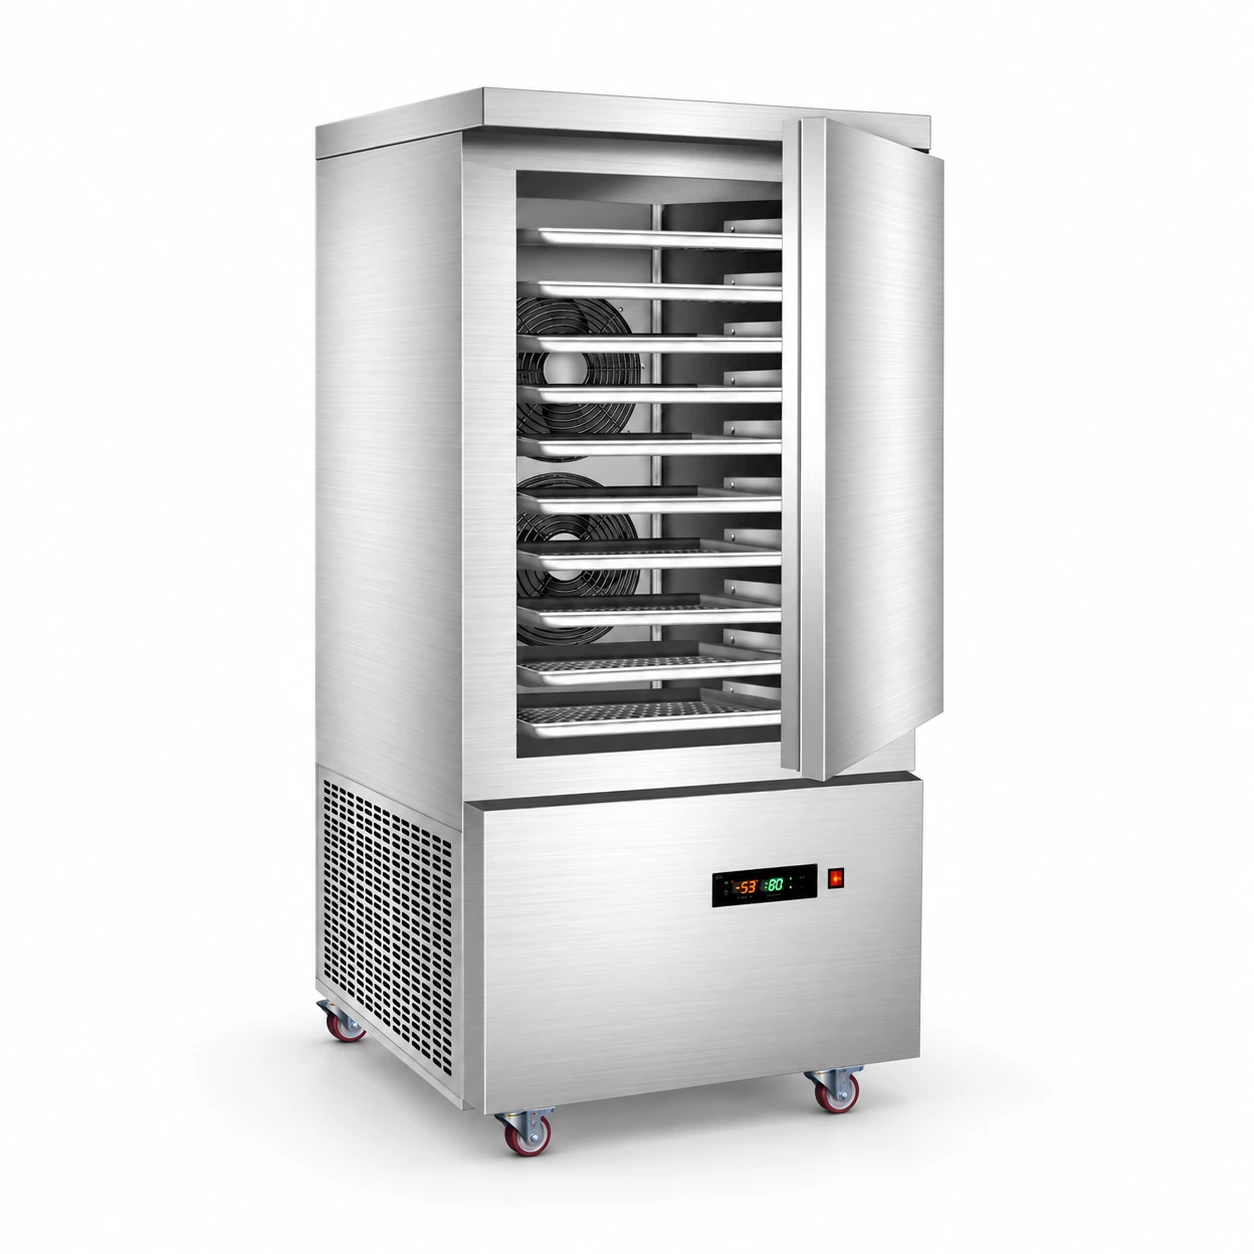
7-Tray Rack Blast Freezer · −45°C
A 7-tray tray rack blast freezer with 180 L cabinet volume and forced-air cooling. Compare its footprint, electrical requirements and loading format to your workflow.
 Range reference image
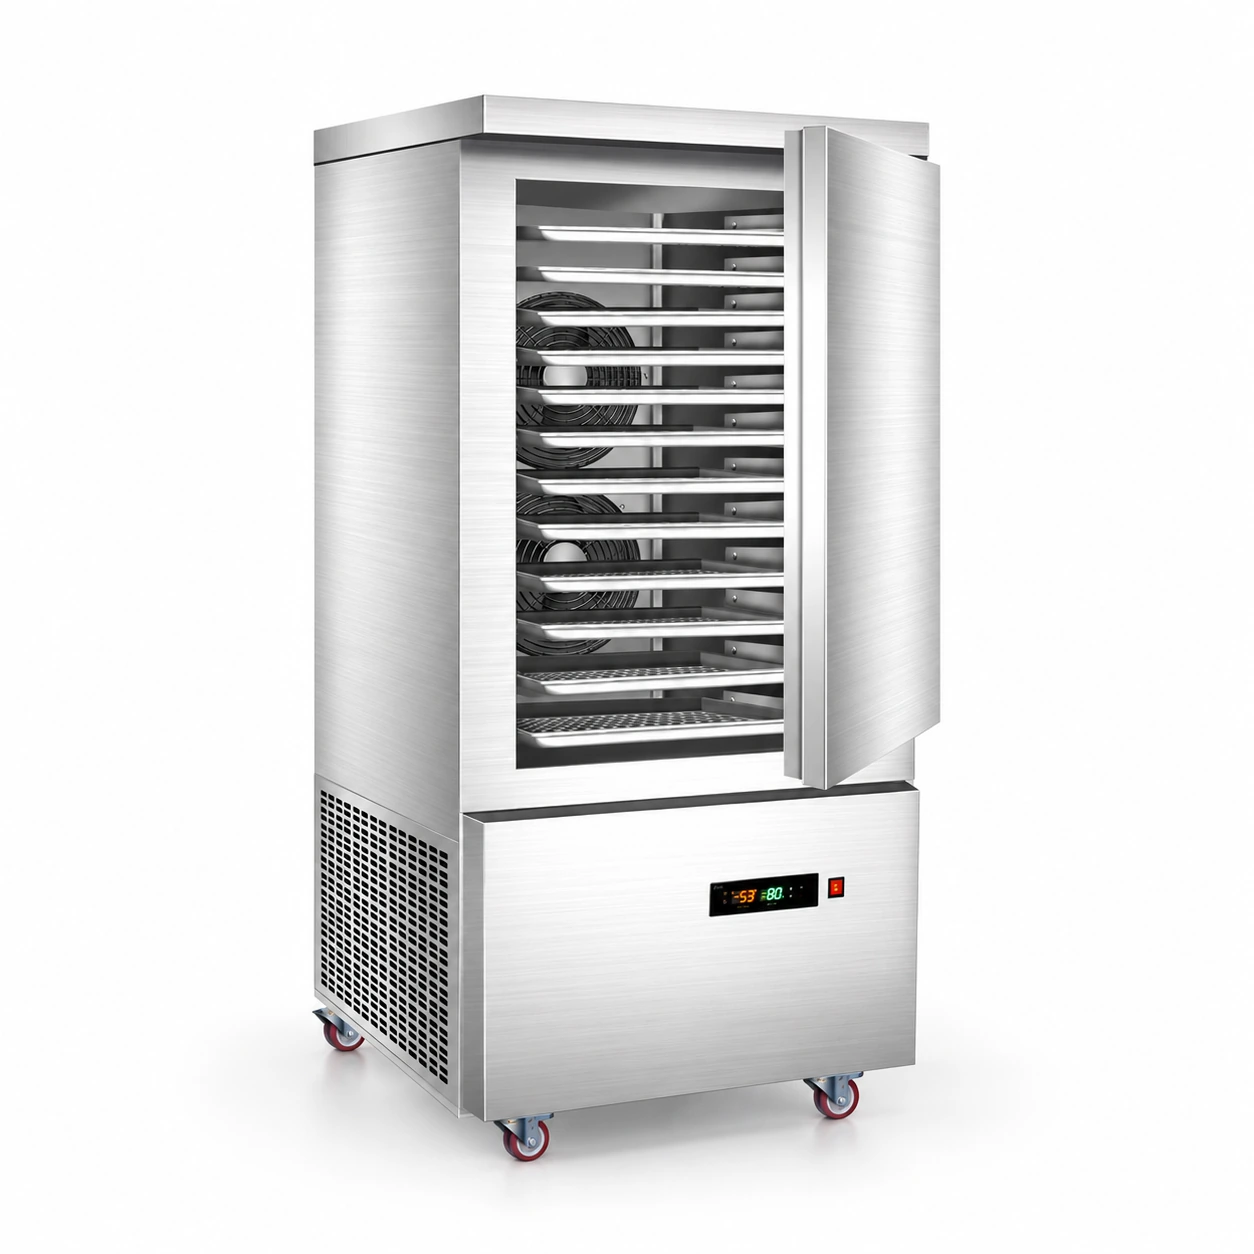
10-Tray Rack Blast Freezer · −45°C
A 10-tray tray rack blast freezer with 230 L cabinet volume and forced-air cooling. Compare its footprint, electrical requirements and loading format to your workflow.
 Range reference image
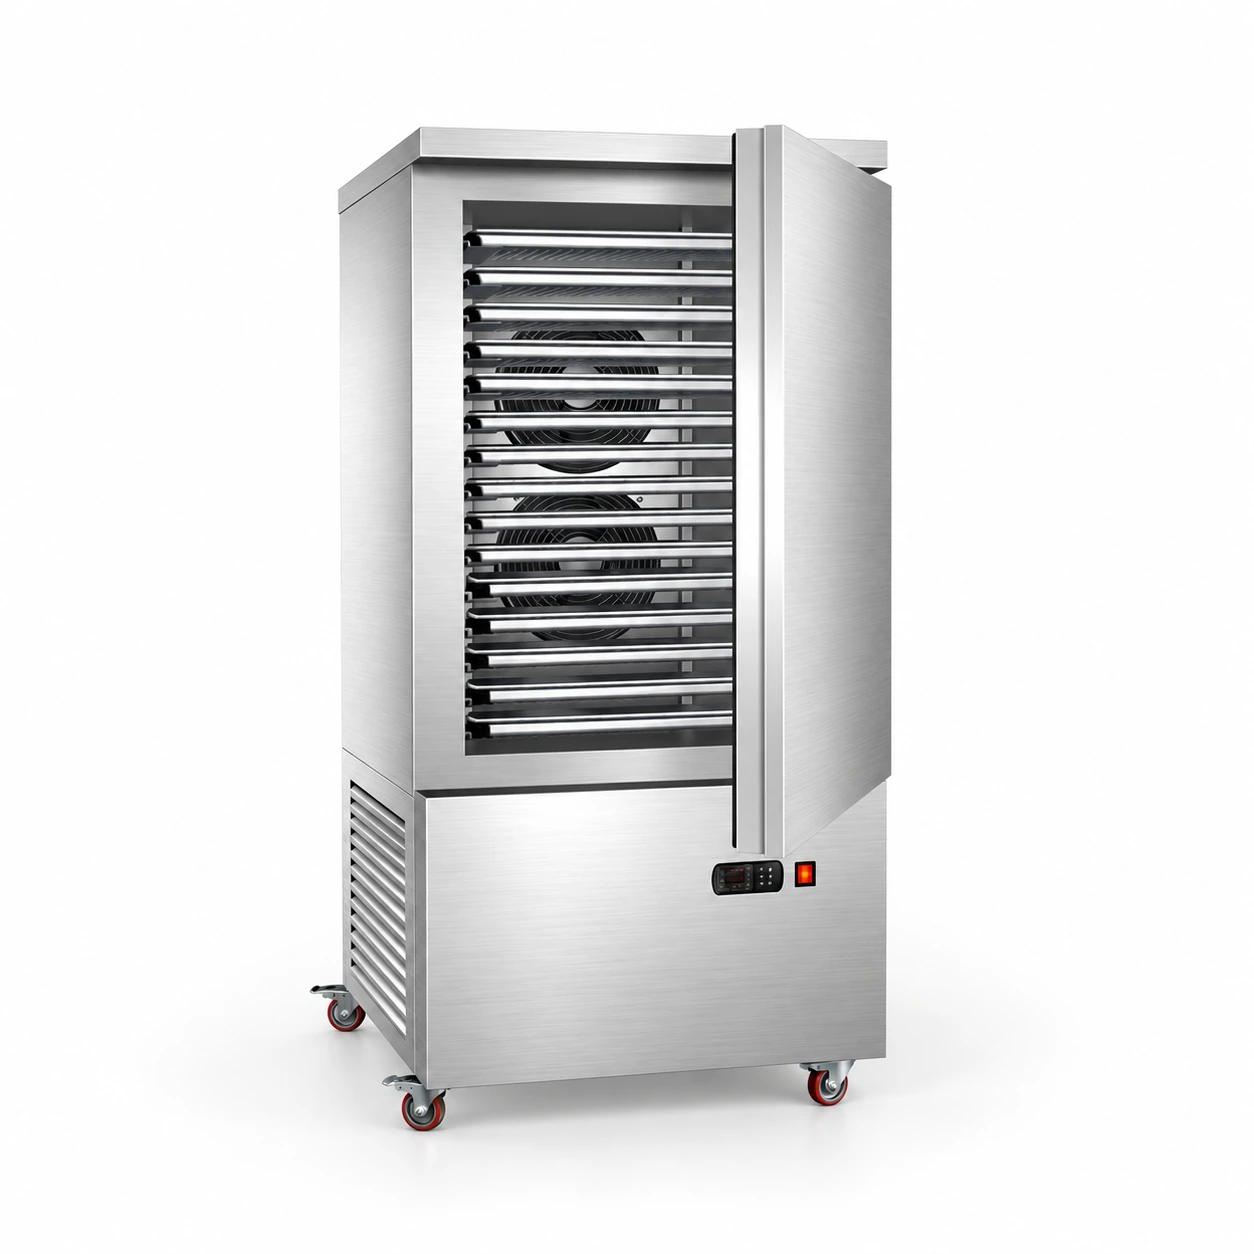
12-Tray Rack Blast Freezer · −45°C
A 12-tray tray rack blast freezer with 300 L cabinet volume and forced-air cooling. Compare its footprint, electrical requirements and loading format to your workflow.
 Range reference image
15-Tray Rack Blast Freezer · −45°C
A 15-tray tray rack blast freezer with 300 L cabinet volume and forced-air cooling. Compare its footprint, electrical requirements and loading format to your workflow.
Model-specific photo pending
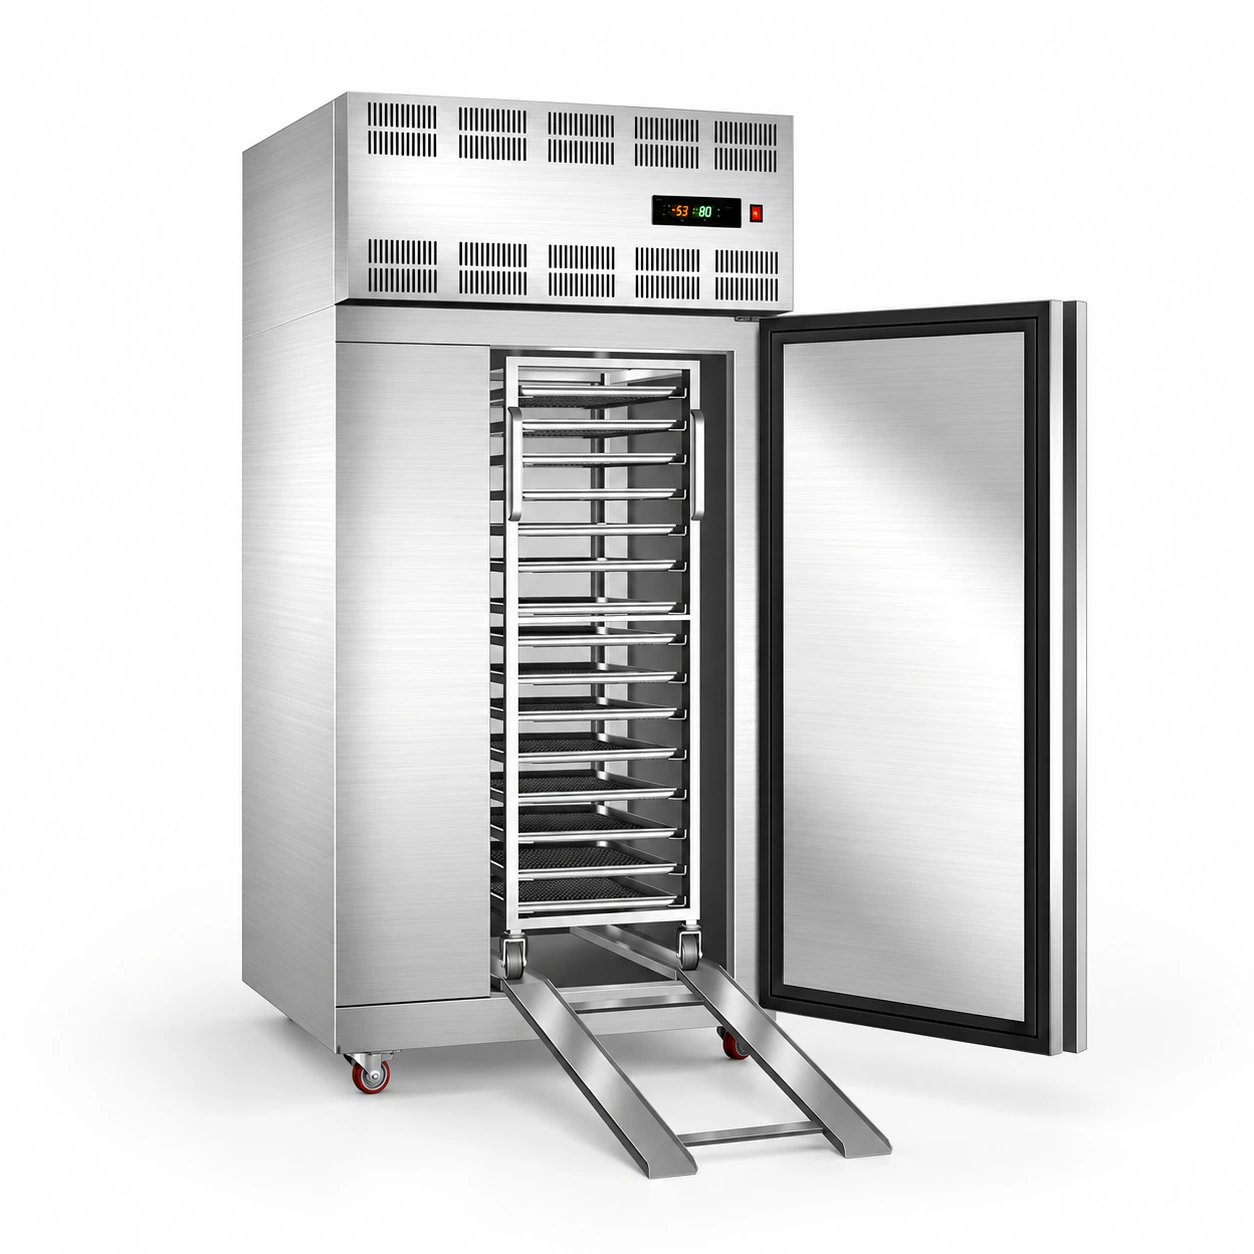
18-Tray Rack Blast Freezer · −45°C
A 18-tray tray rack blast freezer with 400 L cabinet volume and forced-air cooling. Compare its footprint, electrical requirements and loading format to your workflow. Included tray quantity is inconsistent in the catalog and must be confirmed.
 Range reference image
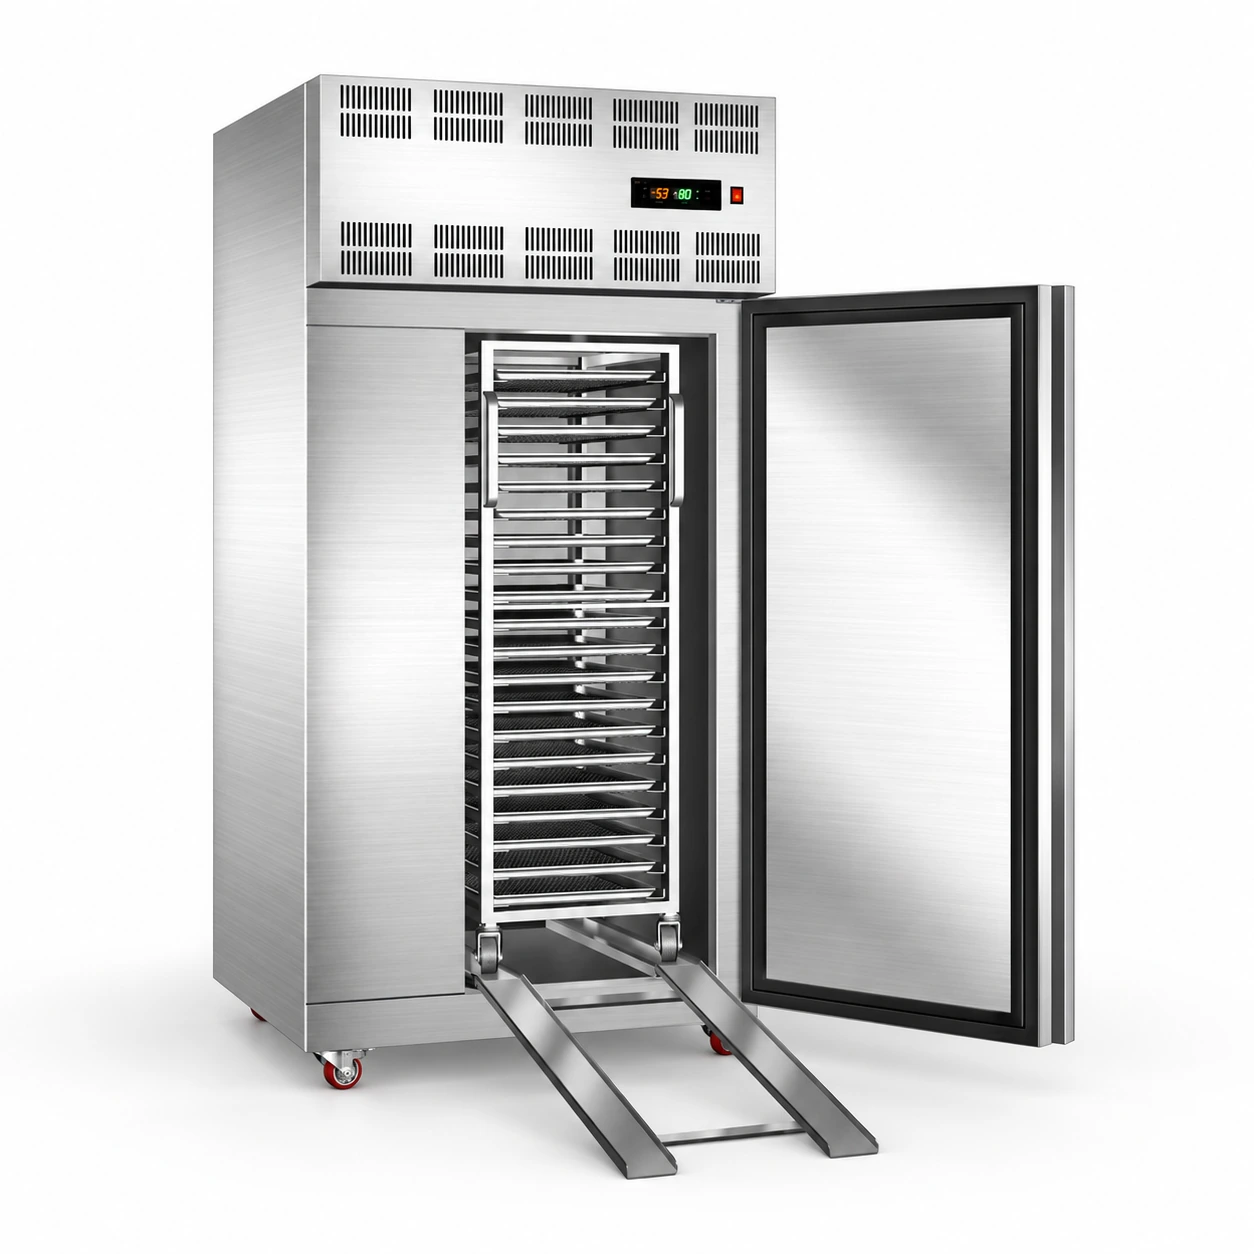
15-Tray Trolley Blast Freezer · −45°C
A 15-tray trolley blast freezer with 700 L cabinet volume and forced-air cooling. Compare its footprint, electrical requirements and loading format to your workflow.
 Range reference image
20-Tray Trolley Blast Freezer · −45°C
A 20-tray trolley blast freezer with 700 L cabinet volume and forced-air cooling. Compare its footprint, electrical requirements and loading format to your workflow.
Model-specific photo pending
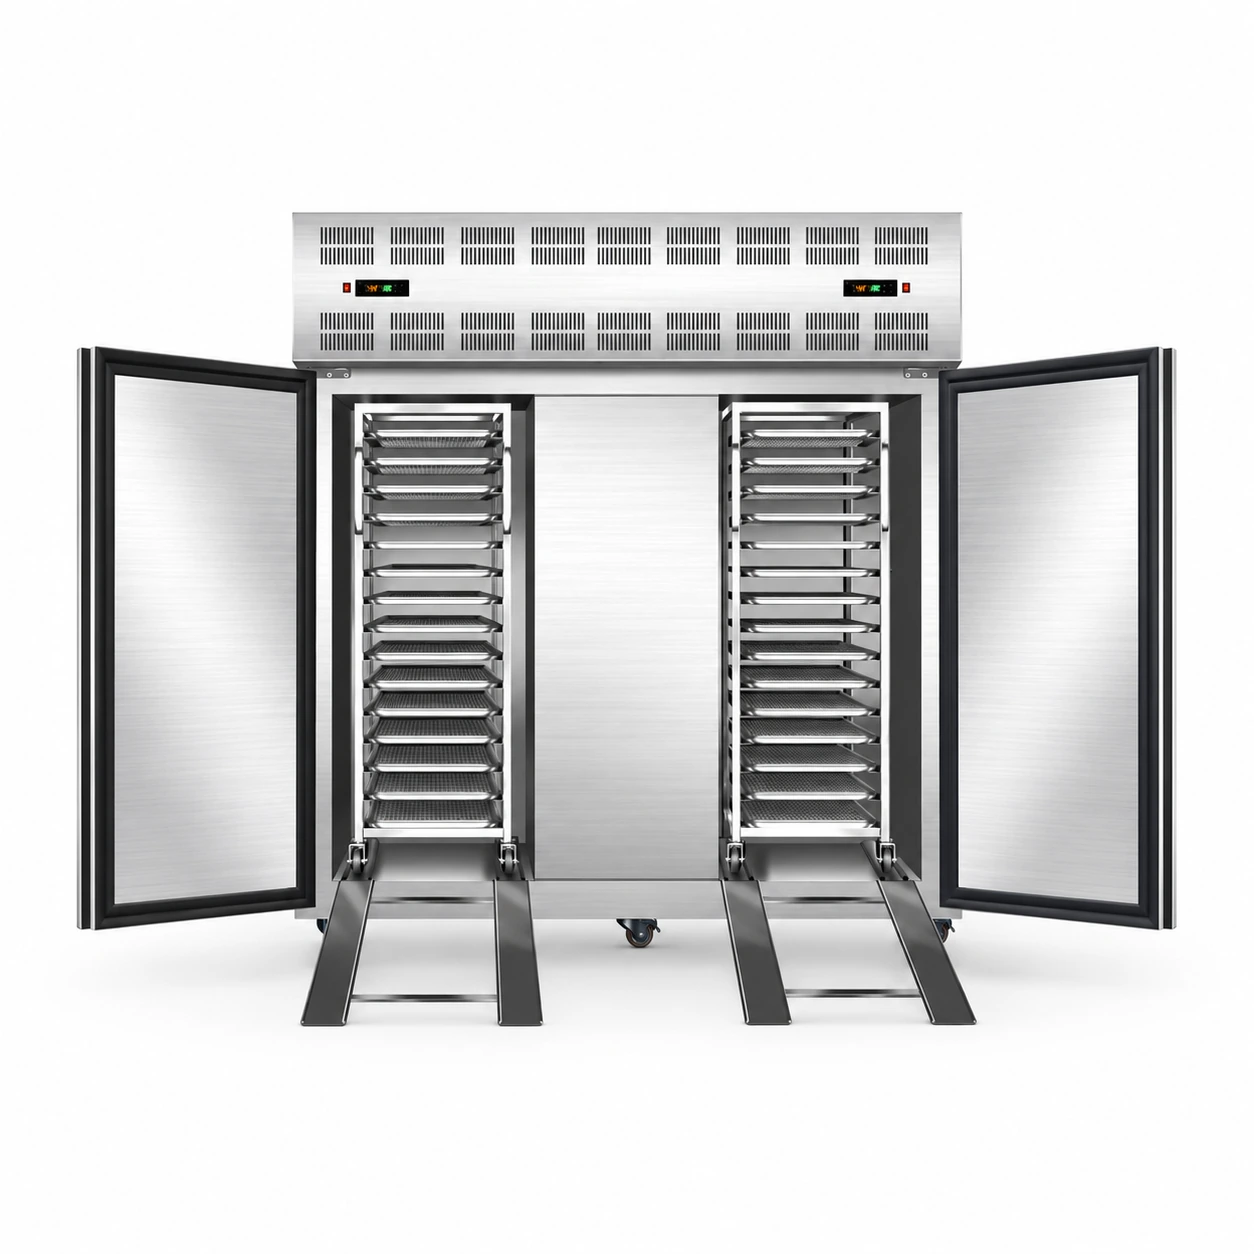
24-Tray Rack Blast Freezer · −45°C
A 24-tray tray rack blast freezer with 600 L cabinet volume and forced-air cooling. Compare its footprint, electrical requirements and loading format to your workflow.
 Range reference image
30-Tray Trolley Blast Freezer · −45°C
A 30-tray trolley blast freezer with 1400 L cabinet volume and forced-air cooling. Compare its footprint, electrical requirements and loading format to your workflow.
Model-specific photo pending
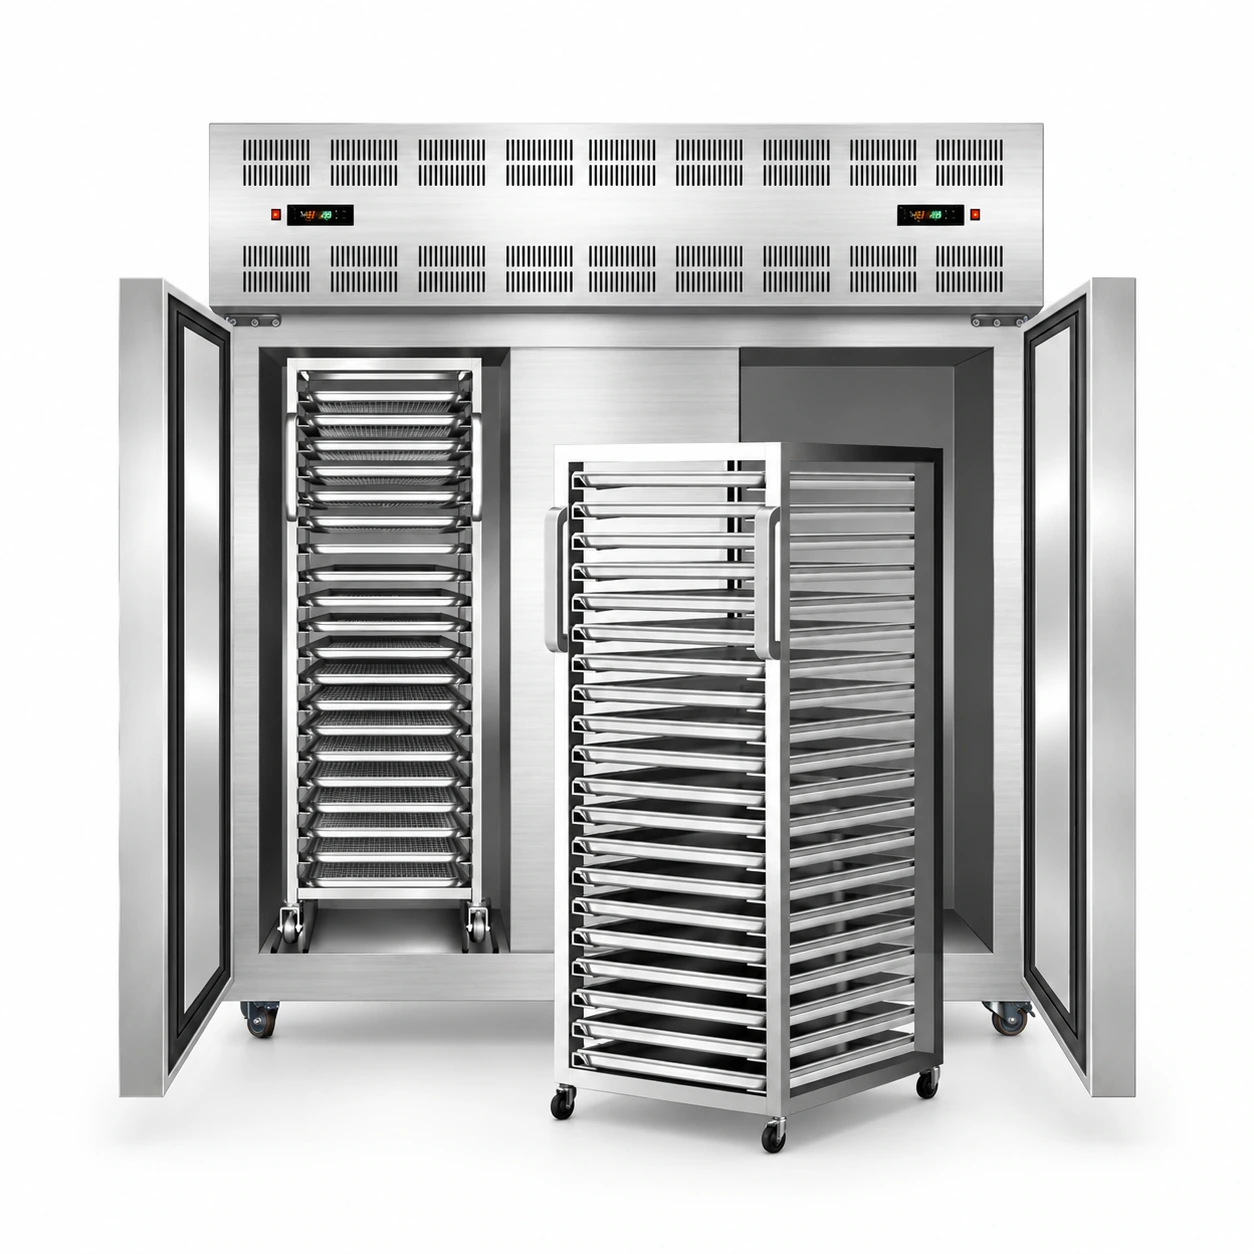
36-Tray Rack Blast Freezer · −45°C
A 36-tray tray rack blast freezer with 900 L cabinet volume and forced-air cooling. Compare its footprint, electrical requirements and loading format to your workflow. Included tray quantity is inconsistent in the catalog and must be confirmed.
 Range reference image
40-Tray Trolley Blast Freezer · −45°C
A 40-tray trolley blast freezer with 1400 L cabinet volume and forced-air cooling. Compare its footprint, electrical requirements and loading format to your workflow.
Range reference image5-Tray Rack Blast Freezer · −60°C
A 5-tray tray rack blast freezer with 180 L cabinet volume and forced-air cooling. Compare its footprint, electrical requirements and loading format to your workflow.
Range reference image7-Tray Rack Blast Freezer · −60°C
A 7-tray tray rack blast freezer with 180 L cabinet volume and forced-air cooling. Compare its footprint, electrical requirements and loading format to your workflow.
Range reference image10-Tray Rack Blast Freezer · −60°C
A 10-tray tray rack blast freezer with 300 L cabinet volume and forced-air cooling. Compare its footprint, electrical requirements and loading format to your workflow.
Range reference image12-Tray Rack Blast Freezer · −60°C
A 12-tray tray rack blast freezer with 300 L cabinet volume and forced-air cooling. Compare its footprint, electrical requirements and loading format to your workflow.
Range reference image15-Tray Rack Blast Freezer · −60°C
A 15-tray tray rack blast freezer with 300 L cabinet volume and forced-air cooling. Compare its footprint, electrical requirements and loading format to your workflow.
Range reference image15-Tray Trolley Blast Freezer · −60°C
A 15-tray trolley blast freezer with 700 L cabinet volume and forced-air cooling. Compare its footprint, electrical requirements and loading format to your workflow.
Range reference image20-Tray Trolley Blast Freezer · −60°C
A 20-tray trolley blast freezer with 700 L cabinet volume and forced-air cooling. Compare its footprint, electrical requirements and loading format to your workflow.
Model-specific photo pending
24-Tray Rack Blast Freezer · −60°C
A 24-tray tray rack blast freezer with 600 L cabinet volume and forced-air cooling. Compare its footprint, electrical requirements and loading format to your workflow.
Range reference image30-Tray Trolley Blast Freezer · −60°C
A 30-tray trolley blast freezer with 1400 L cabinet volume and forced-air cooling. Compare its footprint, electrical requirements and loading format to your workflow.
Model-specific photo pending
36-Tray Rack Blast Freezer · −60°C
A 36-tray tray rack blast freezer with 900 L cabinet volume and forced-air cooling. Compare its footprint, electrical requirements and loading format to your workflow. Included tray quantity is inconsistent in the catalog and must be confirmed.
Range reference image40-Tray Trolley Blast Freezer · −60°C
A 40-tray trolley blast freezer with 1400 L cabinet volume and forced-air cooling. Compare its footprint, electrical requirements and loading format to your workflow.
Range reference image5-Tray Rack Blast Freezer · −70°C
A 5-tray tray rack blast freezer with 180 L cabinet volume and forced-air cooling. Compare its footprint, electrical requirements and loading format to your workflow.
Range reference image7-Tray Rack Blast Freezer · −70°C
A 7-tray tray rack blast freezer with 180 L cabinet volume and forced-air cooling. Compare its footprint, electrical requirements and loading format to your workflow.
Range reference image10-Tray Rack Blast Freezer · −70°C
A 10-tray tray rack blast freezer with 300 L cabinet volume and forced-air cooling. Compare its footprint, electrical requirements and loading format to your workflow.
Range reference image12-Tray Rack Blast Freezer · −70°C
A 12-tray tray rack blast freezer with 300 L cabinet volume and forced-air cooling. Compare its footprint, electrical requirements and loading format to your workflow.
Range reference image15-Tray Rack Blast Freezer · −70°C
A 15-tray tray rack blast freezer with 300 L cabinet volume and forced-air cooling. Compare its footprint, electrical requirements and loading format to your workflow.
Range reference image15-Tray Trolley Blast Freezer · −70°C
A 15-tray trolley blast freezer with 700 L cabinet volume and forced-air cooling. Compare its footprint, electrical requirements and loading format to your workflow.
Range reference image20-Tray Trolley Blast Freezer · −70°C
A 20-tray trolley blast freezer with 700 L cabinet volume and forced-air cooling. Compare its footprint, electrical requirements and loading format to your workflow.
Model-specific photo pending
24-Tray Rack Blast Freezer · −70°C
A 24-tray tray rack blast freezer with 600 L cabinet volume and forced-air cooling. Compare its footprint, electrical requirements and loading format to your workflow.
Range reference image30-Tray Trolley Blast Freezer · −70°C
A 30-tray trolley blast freezer with 1400 L cabinet volume and forced-air cooling. Compare its footprint, electrical requirements and loading format to your workflow.
Model-specific photo pending
36-Tray Rack Blast Freezer · −70°C
A 36-tray tray rack blast freezer with 900 L cabinet volume and forced-air cooling. Compare its footprint, electrical requirements and loading format to your workflow. Included tray quantity is inconsistent in the catalog and must be confirmed.
Range reference image40-Tray Trolley Blast Freezer · −70°C
A 40-tray trolley blast freezer with 1400 L cabinet volume and forced-air cooling. Compare its footprint, electrical requirements and loading format to your workflow.
Range reference image5-Tray Rack Blast Freezer · −80°C
A 5-tray tray rack blast freezer with 180 L cabinet volume and forced-air cooling. Compare its footprint, electrical requirements and loading format to your workflow.
Range reference image7-Tray Rack Blast Freezer · −80°C
A 7-tray tray rack blast freezer with 180 L cabinet volume and forced-air cooling. Compare its footprint, electrical requirements and loading format to your workflow.
Range reference image10-Tray Rack Blast Freezer · −80°C
A 10-tray tray rack blast freezer with 300 L cabinet volume and forced-air cooling. Compare its footprint, electrical requirements and loading format to your workflow.
Range reference image12-Tray Rack Blast Freezer · −80°C
A 12-tray tray rack blast freezer with 300 L cabinet volume and forced-air cooling. Compare its footprint, electrical requirements and loading format to your workflow.
Range reference image15-Tray Rack Blast Freezer · −80°C
A 15-tray tray rack blast freezer with 300 L cabinet volume and forced-air cooling. Compare its footprint, electrical requirements and loading format to your workflow.
Range reference image15-Tray Trolley Blast Freezer · −80°C
A 15-tray trolley blast freezer with 700 L cabinet volume and forced-air cooling. Compare its footprint, electrical requirements and loading format to your workflow.
Range reference image20-Tray Trolley Blast Freezer · −80°C
A 20-tray trolley blast freezer with 700 L cabinet volume and forced-air cooling. Compare its footprint, electrical requirements and loading format to your workflow.
Model-specific photo pending
24-Tray Rack Blast Freezer · −80°C
A 24-tray tray rack blast freezer with 600 L cabinet volume and forced-air cooling. Compare its footprint, electrical requirements and loading format to your workflow.
Range reference image30-Tray Trolley Blast Freezer · −80°C
A 30-tray trolley blast freezer with 1400 L cabinet volume and forced-air cooling. Compare its footprint, electrical requirements and loading format to your workflow.
Model-specific photo pending
36-Tray Rack Blast Freezer · −80°C
A 36-tray tray rack blast freezer with 900 L cabinet volume and forced-air cooling. Compare its footprint, electrical requirements and loading format to your workflow. Included tray quantity is inconsistent in the catalog and must be confirmed.
Range reference image40-Tray Trolley Blast Freezer · −80°C
A 40-tray trolley blast freezer with 1400 L cabinet volume and forced-air cooling. Compare its footprint, electrical requirements and loading format to your workflow.